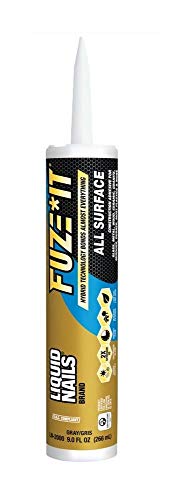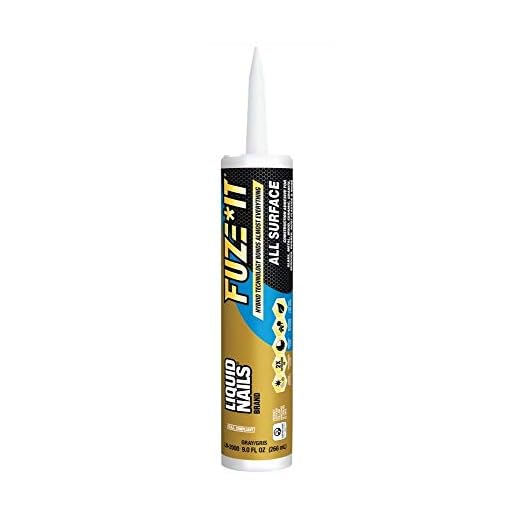


When it comes to home improvement projects, having the right tools on hand is essential. However, there are times when you may not have all the tools you need, such as a caulking gun. But don’t worry, you can still use Liquid Nails without a caulking gun! Liquid Nails is a versatile adhesive that can be used for a variety of projects, and with a few simple tricks, you can apply it without a caulking gun.
The first step in using Liquid Nails without a caulking gun is to prepare your surface. Make sure it is clean, dry, and free of any dust or debris. This will ensure a strong bond between the adhesive and the surface. Additionally, you may want to use a primer if you are applying Liquid Nails to a particularly smooth or non-porous surface.
Once your surface is prepared, it’s time to apply the Liquid Nails. Squeeze a small amount of the adhesive onto a scrap piece of cardboard or a disposable plate. Then, take a putty knife or a similar tool and scoop up a small amount of adhesive. Use the putty knife to spread a thin layer of adhesive onto the surface, applying even pressure.
After applying the Liquid Nails, press the two surfaces firmly together. Make sure to align them properly before the adhesive sets. You may want to use clamps or heavy objects to hold the surfaces in place while the adhesive dries. Allow the adhesive to cure for the recommended amount of time before subjecting it to any stress or load.
In conclusion, while having a caulking gun is convenient, it is not always necessary to use Liquid Nails. With a few simple tricks and tools, you can still achieve a strong and reliable bond between surfaces. So don’t let the lack of a caulking gun stop you from completing your home improvement projects – give Liquid Nails a try!
Choosing the Right Tools for Liquid Nails Application
When it comes to using Liquid Nails without a caulking gun, it is important to choose the right tools for the job. While you may not have a specialized tool like a caulking gun, there are a few alternatives that can help you apply Liquid Nails effectively. Here are some options to consider:
1. Putty Knife or Spatula
A putty knife or spatula can be a useful tool for applying Liquid Nails without a caulking gun. These tools are typically made of metal or plastic and have a flat surface for spreading the adhesive. They provide good control and allow you to evenly distribute the Liquid Nails on the desired surface. Be sure to choose a putty knife or spatula that is wide enough to cover the area you are working on.
2. Foam Brush or Roller
Another option for applying Liquid Nails is to use a foam brush or roller. These tools are commonly used for painting, but they can also be effective for spreading adhesive. The foam material allows for smooth application and helps to minimize any air bubbles or unevenness. A foam brush or roller can be a great choice for larger projects or surfaces that require a more even coating of Liquid Nails.
Remember, regardless of the tool you choose, it is important to work quickly and efficiently when applying Liquid Nails. The adhesive can dry and harden relatively fast, so it is essential to have everything prepared before you start the application process.
In addition to choosing the right tool, it is also important to use proper safety equipment such as gloves and goggles when handling Liquid Nails. This will help protect your skin and eyes from the adhesive and any potential splashes or spills.
| Tool | Advantages | Disadvantages |
|---|---|---|
| Putty Knife or Spatula | Provides good control Evenly distributes the adhesive |
May not be suitable for large projects or surfaces |
| Foam Brush or Roller | Smooth application Minimizes air bubbles and unevenness |
May not be suitable for small or detailed areas |
By choosing the right tools for Liquid Nails application, you can achieve excellent results without the need for a caulking gun. Whether you opt for a putty knife, spatula, foam brush, or roller, remember to work quickly and efficiently to ensure the adhesive bonds properly to the surface.
Step-by-Step Guide: Applying Liquid Nails without a Caulking Gun
If you don’t have a caulking gun but still need to apply some Liquid Nails, don’t worry! You can still get the job done with a few simple tools and techniques. Follow this step-by-step guide to learn how:
- Gather your materials. You will need a tube of Liquid Nails adhesive, a utility knife or scissors, a putty knife or a smooth-edged tool, and a clean rag.
- Prepare your work area. Clear away any debris, dust, or loose particles from the surface where you plan to apply the Liquid Nails. A clean surface will ensure better adhesion.
- Open the tube of Liquid Nails. Using a utility knife or scissors, carefully cut off the tip of the nozzle at a 45-degree angle. Make sure the opening is big enough to allow the adhesive to flow smoothly.
- Squeeze the Liquid Nails onto the surface. Hold the tube at a 45-degree angle and apply even pressure to the tube to release the adhesive. Start at one end of the surface and work your way to the other, creating a thin line or a series of dots depending on your needs.
- Spread the adhesive. Using a putty knife or a smooth-edged tool, spread the Liquid Nails evenly over the surface. This will help ensure proper coverage and adhesion.
- Press the materials together. If you are joining two surfaces, align them carefully and press them together firmly. Apply consistent pressure for a few moments to help the Liquid Nails bond the materials together.
- Clean up any excess adhesive. Use a clean rag to wipe away any excess Liquid Nails that may have squeezed out during the application process. It’s important to remove any excess adhesive before it dries.
- Allow the adhesive to dry. Follow the manufacturer’s instructions for drying time. Keep in mind that the drying time may vary depending on factors such as temperature and humidity.
That’s it! By following these simple steps, you can successfully apply Liquid Nails without a caulking gun. Remember to work carefully and efficiently to ensure the best results.
Tips and Tricks for a Clean and Effective Liquid Nails Application
When it comes to using Liquid Nails without a caulking gun, there are a few tips and tricks that can help ensure a clean and effective application. Whether you’re working on a small DIY project or a larger renovation, these techniques will help you achieve professional-looking results.
Prepare the Surface
Before applying Liquid Nails, it’s important to prepare the surface properly. Start by cleaning the area thoroughly to remove any dirt, dust, or debris. Use a mild detergent and water solution, and scrub the surface with a clean cloth or sponge. Allow it to dry completely before moving on to the next step.
Apply the Liquid Nails
When applying Liquid Nails without a caulking gun, it’s best to use a putty knife or a similar tool. Apply a thin, even layer of adhesive to one of the surfaces you want to bond together. For better adhesion, it’s recommended to apply the Liquid Nails in a zigzag pattern or in small dots rather than a straight line.
Once the adhesive is applied, press the two surfaces firmly together. Make sure to align them properly before applying any pressure. Use clamps or weights to hold the surfaces in place while the adhesive dries. Be sure to follow the manufacturer’s instructions for the recommended drying time.
Clean up Excess Adhesive
After the Liquid Nails has dried and bonded the surfaces together, it’s time to clean up any excess adhesive. Use a razor blade or a putty knife to carefully scrape away any visible adhesive that has squeezed out from the edges. Take your time and be gentle to avoid damaging the surfaces.
For any residue that is difficult to remove, you can use a solvent such as acetone or mineral spirits. Apply a small amount to a clean cloth and gently rub the residue until it dissolves. Be cautious when using solvents and follow the manufacturer’s instructions for proper ventilation and safety precautions.
By following these tips and tricks, you can achieve a clean and effective Liquid Nails application without the need for a caulking gun. Remember to always read and follow the manufacturer’s instructions for the best results. Happy bonding!


