

If you’re looking to add a touch of elegance and sophistication to your home, chiseling stone veneer can be a great way to achieve that. Stone veneer is a popular choice for many homeowners who want the look of natural stone without the expensive costs and heavy weight. Chiseling stone veneer allows you to create unique textures and patterns, adding depth and character to your walls, fireplace, or any other surface you choose.
Before you begin, it’s important to gather all the necessary tools and materials. You’ll need a chisel, a rubber mallet, safety goggles, gloves, and of course, the stone veneer itself. It’s recommended to work outdoors or in a well-ventilated area to prevent dust and debris from accumulating. Safety should always be a priority, so make sure to wear your goggles and gloves throughout the process.
Start by preparing the surface where you’ll be installing the stone veneer. Ensure that it’s clean, dry, and free from any loose debris. It’s also a good idea to apply a layer of mortar to the surface to help bond the stone veneer. Once the surface is ready, lay out the stone veneer in your desired pattern, making sure to leave space between each piece for the mortar. This will allow you to visualize how the final result will look.
Understanding Stone Veneer
Stone veneer is a type of decorative facing material that is used to create the look of natural stone on the surface of walls, fireplaces, and other architectural features. It is made from thin slices of real stone or from synthetic materials that are designed to resemble natural stone.
Stone veneer is a popular choice for both interior and exterior applications due to its versatility and durability. It can be used to enhance the appearance of a wide range of spaces, from residential homes to commercial buildings. Stone veneer can be installed on both flat and curved surfaces, making it a flexible option for various design needs.
The installation process for stone veneer varies depending on the specific type of product being used, but generally involves applying an adhesive to the surface and securing the veneer pieces in place. Some stone veneer products come with an interlocking system that makes installation even easier.
Stone veneer offers a number of benefits over traditional stone, such as cost-effectiveness and ease of installation. It is also lighter in weight, which can make it easier to transport and handle. Additionally, stone veneer requires less maintenance compared to natural stone, as it is less prone to cracking, chipping, and staining.
When choosing stone veneer for a project, it’s important to consider factors such as the desired style, color, and texture. Stone veneer is available in a wide range of options, including various types of natural stone, such as granite, limestone, and slate, as well as numerous synthetic materials that offer different looks and finishes.
Overall, stone veneer is a popular choice for adding a touch of elegance and natural beauty to any space. Whether used for a small accent wall or a complete facade, stone veneer can transform the look of an interior or exterior setting, creating a lasting impression.
Choosing the Right Tools
When it comes to chiseling stone veneer, having the right tools can make all the difference. Here are some essential tools you’ll need for this project:
1. Masonry Chisel: A masonry chisel is specifically designed for cutting and shaping stone. Make sure to choose one with a sharp, beveled edge.
2. Hammer: A heavy-duty hammer is necessary for striking the chisel and creating precise cuts. Look for a hammer that is comfortable to hold and has a solid grip.
3. Safety Glasses: Safety should always be a top priority when working with stone. Protect your eyes by wearing safety glasses to prevent any debris from entering your eyes.
4. Dust Mask: Cutting stone veneer can produce a lot of dust. Protect your lungs by wearing a dust mask to prevent inhaling any harmful particles.
5. Work Gloves: Stone can be rough and abrasive, so it’s important to wear work gloves to protect your hands from cuts and scratches.
6. Tape Measure: Accurate measurements are crucial for achieving precise cuts. Use a tape measure to measure and mark the dimensions of the stone veneer.
7. Pencil or Marker: To ensure accurate cutting, use a pencil or marker to mark the desired cuts on the stone veneer before chiseling.
8. Mason’s Hammer or Handset: If you’re working with larger stones or need to trim the edges, a mason’s hammer or handset can be useful for breaking or trimming pieces.
9. Stone File: A stone file can help smooth out any rough edges or sharp corners after chiseling.
By using the right tools and taking the necessary safety precautions, you can effectively chisel stone veneer and create stunning results for your project.
Preparing the Surface
Before you start chiseling the stone veneer, it’s important to properly prepare the surface where the veneer will be applied. This will ensure a strong and long-lasting bond between the veneer and the substrate.
The first step is to clean the surface thoroughly. Remove any dirt, dust, or debris using a stiff brush or a power washer. Pay special attention to any areas that may have mold or mildew, as these will prevent the veneer from adhering properly.
Next, inspect the surface for any cracks or damage. If you find any, it’s crucial to repair them before applying the veneer. Fill any cracks with an appropriate filler and smooth it out with a trowel. Allow the filler to dry completely before proceeding.
Once the surface is clean and free of cracks, apply a bonding agent or primer to enhance the adhesion of the veneer. Follow the manufacturer’s instructions for the specific product you are using, as application methods may vary.
After applying the bonding agent, it’s important to let it dry completely. This will ensure maximum adhesion and prevent any shifting or movement of the veneer once it is installed. Check the drying time specified by the manufacturer to ensure proper curing.
Finally, inspect the surface one more time to make sure it is smooth and free of any debris. Any bumps or rough areas can impact the appearance and installation of the stone veneer. Use sandpaper or a sanding block to smooth out any imperfections.
| Summary |
|---|
| 1. Clean the surface thoroughly. |
| 2. Inspect and repair any cracks or damage. |
| 3. Apply a bonding agent or primer. |
| 4. Let the bonding agent dry completely. |
| 5. Inspect and smooth the surface. |
Chiseling Techniques
Chiseling stone veneer requires precision and careful technique to achieve the desired shape and texture. Here are some important chiseling techniques to follow:
1. Marking the Stone
Before chiseling, it is essential to mark the stone with the desired shape or design using a pencil or marker. This will serve as a guide for your chiseling work.
2. Choosing the Right Chisel
There are various types of chisels available for stone veneer work. Select a chisel that is suitable for the size and texture of the stone you are working with. A pointed chisel is commonly used for detailed work, while a flat chisel is effective for removing larger sections of material.
3. Holding the Chisel
Hold the chisel firmly with your dominant hand, placing your fingers at the base of the handle for better control. Your other hand can be used to support and guide the chisel as needed.
4. Making Short, Controlled Strikes
Start chiseling by making short and controlled strikes along the marked lines of the stone. Avoid using excessive force as this can cause the stone to fracture or break. Instead, use a light to medium hammering motion to gradually shape the stone.
5. Removing Small Sections
When removing small sections of stone, position the chisel at an angle and tap it lightly with the hammer. Repeat this process along the marked lines until the desired shape or design is achieved.
6. Smoothing Rough Edges
After chiseling, you may need to smooth out any rough edges or uneven surfaces. This can be done using sandpaper or a rubbing stone, gently filing away any imperfections for a smoother finish.
By following these chiseling techniques, you can create beautiful stone veneer pieces with precision and detail. Remember to always prioritize safety by wearing protective eyewear and gloves when working with stone and tools.
| Chiseling Techniques | Benefits |
|---|---|
| Precisely mark the stone | Ensures accuracy in shaping |
| Choose the right chisel | Effective removal of material |
| Hold the chisel properly | Better control and accuracy |
| Make short, controlled strikes | Gradual shaping without causing damage |
| Remove small sections carefully | Accurate shaping of the stone |
| Smooth rough edges | Improved aesthetics and finish |
Finishing and Sealing
Once you have chiseled and installed the stone veneer, it’s important to properly finish and seal the surface to protect it and enhance its appearance. Here are the steps you should follow:
Clean the Surface
Before applying any finish or sealer, make sure the surface of the stone veneer is clean and free from any dust, debris, or loose particles. Use a soft brush or vacuum to remove any dirt or loose material. You can also use a mild detergent and water solution to gently scrub the surface and remove any stubborn stains.
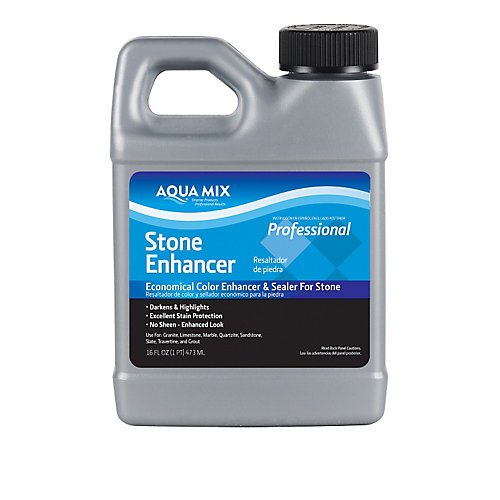
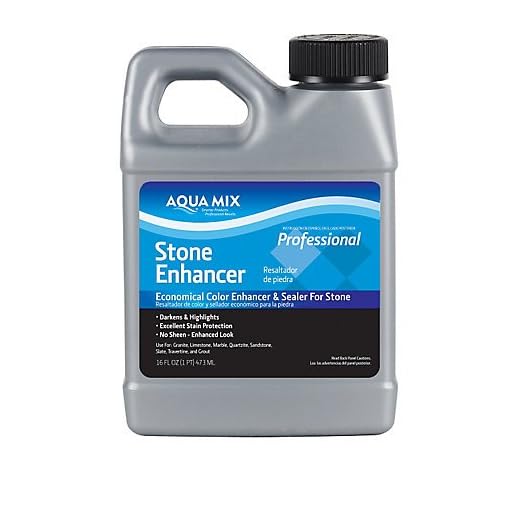
Apply a Stone Enhancer
To enhance the natural beauty of the stone and bring out its colors, you can apply a stone enhancer. This product will penetrate the pores of the stone and darken its appearance, giving it a richer and more vibrant look. Follow the manufacturer’s instructions for application and wait for the enhancer to dry completely before proceeding to the next step.
Seal the Surface
To protect the stone veneer from stains, water damage, and deterioration, it’s important to seal the surface. There are different types of sealers available, including water-based and solvent-based options. Choose a sealer that is specifically designed for stone veneer and follow the manufacturer’s instructions for application.
Start by applying a thin and even coat of sealer using a brush, roller, or sprayer. Make sure to cover the entire surface, including the edges and corners. Allow the sealer to penetrate the stone for the recommended amount of time, typically around 15-30 minutes. Then, remove any excess sealer by gently wiping the surface with a clean cloth or sponge.
Allow the sealer to dry completely before applying a second coat if necessary. Some sealers may require multiple coats for maximum protection. Always check the manufacturer’s recommendations and allow sufficient drying time between coats.
After the final coat has dried, check the surface for any areas that may have been missed or need additional sealing. Apply an extra coat of sealer to these areas and allow it to dry completely.
Remember to regularly maintain and reseal the stone veneer surface every few years, or as directed by the sealer manufacturer, to ensure its longevity and continued protection.
By properly finishing and sealing your chiseled stone veneer, you can enjoy a beautiful and durable surface that will enhance the aesthetics of any space.


