
If you are a woodworking enthusiast or a professional carpenter, you know the importance of keeping your tools organized and protected. One essential tool for any woodworker is the chisel, and having a designated chisel box can make your work much more efficient. In this article, we will guide you through the process of making your own chisel box, so you can have a stylish and functional storage solution for your chisels.
First, you will need to gather the necessary materials. You will need a sturdy wood, such as oak or birch, for the box itself. Additionally, you will need a saw, wood glue, nails or screws, sandpaper, and a hinge for the lid. It is also a good idea to have some stain or varnish to add a finishing touch to your chisel box.
To begin, measure and cut the wood into the desired dimensions for your box. You will need a bottom piece, four sides, and a lid. Make sure to leave enough room for your chisels to fit comfortably inside the box. Once you have the pieces cut, use wood glue and nails or screws to assemble the box. It is important to ensure that the corners are square and the box is sturdy.

Next, you can sand the surfaces of the box to make them smooth and rounded. This will not only enhance the appearance of your chisel box but also protect your chisels from any rough edges. After sanding, you can apply a stain or varnish of your choice to give the box a polished, professional look. Finally, attach the hinge to the lid of the box, making sure it opens and closes smoothly.
Once your chisel box is complete, you can arrange your chisels inside, making sure to keep them organized and easily accessible. Having a dedicated chisel box will not only protect your valuable tools but also make your woodworking projects more enjoyable and efficient. So, follow these steps and start creating your own chisel box today!
Materials For Making A Chisel Box
When it comes to making a chisel box, you will need a few essential materials to get started. Here are the primary materials required for this project:
1. Wood
First and foremost, you will need a high-quality wood for the construction of your chisel box. It is recommended to use hardwood, such as oak or maple, for its durability and strength. Make sure the wood is free from any cracks or defects that could compromise the integrity of the box.
2. Screws or Nails
To assemble the different parts of the chisel box, you will need screws or nails. Choose the appropriate size for the thickness of the wood you are using. Screws give a stronger hold, while nails are easier to work with, so it’s a matter of personal preference.
3. Wood Glue
To reinforce the joints and ensure a sturdy construction, wood glue is essential. Use a high-quality wood glue that provides a strong bond. Apply the glue evenly and make sure it covers the entire surface area that needs to be joined.
4. Hinges
To allow the chisel box to open and close smoothly, you will need hinges. Choose high-quality hinges that are durable and can withstand regular use. Consider using concealed hinges for a sleek and professional look.
5. Clasps or Latches
To secure the chisel box when not in use, consider adding clasps or latches. These will help keep the box closed and prevent the chisels from falling out during transport or storage. Choose a sturdy and reliable clasp or latch that can withstand frequent opening and closing.
6. Sandpaper or Sanding Block
To achieve a smooth and polished finish on your chisel box, you will need sandpaper or a sanding block. Start with a coarse grit and gradually move to a finer grit for a refined finish. Sand all the surfaces, edges, and corners of the box to ensure a professional and polished look.
With these materials in hand, you are ready to embark on your chisel box construction project. Remember to take your time and pay attention to detail for the best results. Good luck!
Tools You Will Need
Before you start making your chisel box, make sure you have the following tools:
- Chisel
- Hammer
- Saw
- Measuring tape
- Sandpaper
- Drill
- Screws
- Screwdriver
- Clamps
- Wood glue
- Ruler
Having these tools will make it easier for you to measure, cut, and assemble the pieces of the chisel box. It is important to have the right tools to ensure accuracy and efficiency during the construction process.
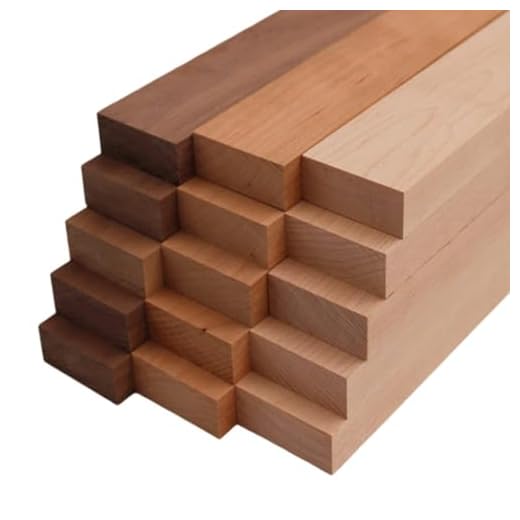
Types Of Wood
When it comes to making a chisel box, the type of wood you choose can greatly affect the final product. There are several different types of wood that are commonly used in woodworking projects. Here are some of the most popular choices:
1. Pine
Pine is a softwood that is widely available and relatively inexpensive. It has a light color and a straight grain, which makes it easy to work with. However, pine is not as durable as some other types of wood and may dent or scratch more easily.
2. Oak
Oak is a hardwood that is known for its strength and durability. It has a distinct grain pattern and a rich color that can vary from light to dark. Oak is a popular choice for furniture and larger woodworking projects due to its sturdiness.
3. Maple
Maple is another hardwood that is often used in woodworking. It has a light color with a tight grain pattern, which gives it a smooth and even appearance. Maple is known for its durability and resistance to moisture, making it a good choice for items that may be exposed to the elements.
4. Walnut
Walnut is a hardwood that is prized for its rich, dark color and beautiful grain patterns. It has a medium to coarse texture and is often used in high-end woodworking projects. Walnut is also known for its stability and resistance to warping.
These are just a few examples of the many types of wood that can be used in woodworking projects. Each type of wood has its own unique characteristics and advantages, so it’s important to consider your specific needs and preferences when choosing the right wood for your chisel box.
Steps To Build A Chisel Box
Building a chisel box is a great woodworking project that can help you organize and protect your chisels. Follow these steps to build your own chisel box:
Gather Your Materials
Before you start building your chisel box, gather all the necessary materials. You will need the following:
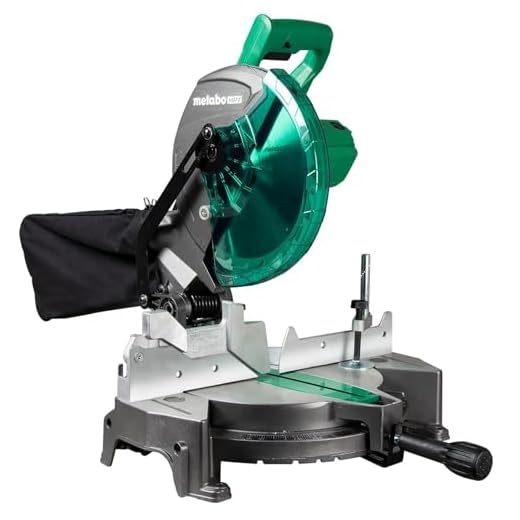
- 3/4-inch thick hardwood
- Table saw or miter saw
- Router with a straight cutting bit
- Chisel
- Measuring tape
- Pencil
- Sanding block
- Wood glue
- Clamps
- Screws
- Drill
- Screwdriver
Measure and Cut the Pieces
Measure and mark the dimensions for your chisel box on the hardwood. Use the table saw or miter saw to make the necessary cuts according to your measurements.
Prepare the Dadoes
Use the router with a straight cutting bit to create dadoes on the inside walls of the box. These dadoes will hold the chisels in place.
Assemble the Box
Apply wood glue to the edges of the box pieces and join them together. Use clamps to hold the pieces in place while the glue dries.
Sand and Finish
Once the glue is dry, use a sanding block to smooth the surfaces of the box. Apply a finish of your choice to protect the wood and enhance its appearance.
Attach the Lid
If desired, you can attach a lid to your chisel box. Measure and cut a piece of hardwood for the lid and attach it using screws and a drill.
Your chisel box is now complete! You can now use it to organize and store your chisels, keeping them protected and easily accessible for your woodworking projects.
Measure And Cut The Wood
Before you begin building your chisel box, you’ll need to measure and cut the wood to the right dimensions. It’s important to be precise with your measurements to ensure that the box is sturdy and functional.
Start by selecting the type of wood you want to use for your chisel box. Popular choices include pine, oak, or plywood. Consider the desired size of the box and the tools you plan to store inside it when choosing the thickness and width of the wood.
Once you have your wood selected, use a tape measure to measure each side of the box. Remember to account for the thickness of the wood when calculating your measurements. Use a pencil to mark the dimensions on the wood to serve as a guide for cutting.
For straight cuts, use a miter saw or a circular saw equipped with a guide. Make sure to wear protective goggles and follow all safety precautions when using power tools. For angled cuts, use a miter saw or a table saw with an adjustable blade.
Double-check your measurements before making any cuts and remember the old adage: “measure twice, cut once.” It’s always better to be cautious and double-check than to make a mistake and ruin a piece of wood.
After cutting the wood pieces to size, use sandpaper or a sander to smooth down any rough edges or splinters. This will ensure that your chisels don’t get damaged when being placed inside the box.
Once you have all your wood pieces measured and cut, you’re ready to move on to the next step in building your chisel box.
Assemble The Box
1. Start by laying out all the pieces of the chisel box. Make sure you have the front, back, and two sides.
2. Apply a small amount of wood glue to the edges of the front and back pieces.
3. Attach the two side pieces to the front and back pieces, making sure the edges line up properly.
4. Clamp the pieces together tightly and let the glue dry for at least 24 hours.
5. Once the glue is dry, remove the clamps and clean up any excess glue with a damp cloth.
6. Next, it’s time to attach the bottom of the box. Apply wood glue to the edges of the bottom piece and slide it into place.
7. Use clamps to hold the bottom in place while the glue dries. Let it sit for another 24 hours.
8. After the glue has fully dried, remove the clamps and clean up any excess glue.
9. Finally, sand down any rough edges or surfaces of the chisel box to give it a smooth finish.
10. Congratulations! Your chisel box is now assembled and ready to be used.