


The Black and Decker Bullseye Laser Level is a versatile and powerful tool that can help you with a wide range of projects. Whether you’re hanging pictures, installing shelves, or aligning tiles, this laser level is designed to make your tasks easier and more accurate. With its innovative features and user-friendly design, you’ll wonder how you ever completed projects without it.
One of the key features of the Bullseye Laser Level is its laser projection technology. This technology allows you to project a horizontal or vertical laser line on any surface, making it easy to align and level your work. The laser line is highly visible, so you can easily see it even in bright lighting conditions. This eliminates the need for traditional bubble levels and ensures that your work is precise and accurate.
Using the Black and Decker Bullseye Laser Level is straightforward and intuitive. To begin, simply turn on the unit and select the laser projection mode that best suits your needs. The level features both a horizontal and vertical projection, allowing you to choose the one that is most appropriate for your project.
Next, position the Bullseye Laser Level against the surface you wish to work on. The level features a built-in suction cup that allows it to securely attach to most surfaces. Once in place, adjust the level until the laser line aligns with your desired reference point. The laser line will then act as a guide, allowing you to easily and accurately complete your task.
In addition to its laser level functionality, the Black and Decker Bullseye Laser Level also includes a built-in backlit bubble vial. This allows you to use the tool as a traditional bubble level, should you prefer. The backlit vial ensures that you can easily see the bubble in any lighting condition, making it even more versatile.
With its durable construction and user-friendly design, the Black and Decker Bullseye Laser Level is a must-have tool for any DIY enthusiast or professional. It will save you time and effort on your projects, and ensure that your work is precise and accurate. Whether you’re a seasoned pro or just starting out, this laser level is sure to become an indispensable tool in your arsenal.
Unboxing and Assembly
When you first receive your Black and Decker Bullseye Laser Level, it’s important to properly unbox and assemble the device before using it. Follow the steps below to get started:
1. Unboxing
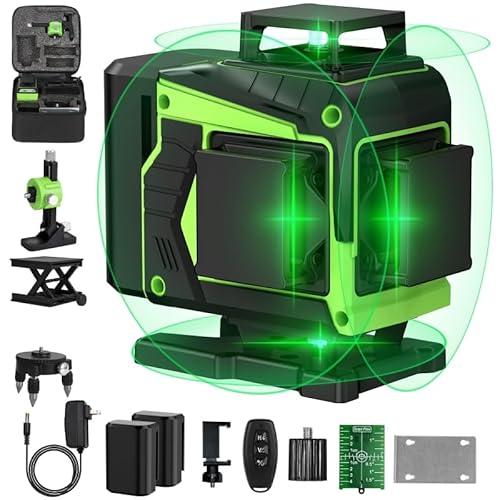
Open the package carefully and remove all the contents. Make sure you have everything included in the package, including the laser level, a user manual, and any additional accessories or attachments.
2. Checking the contents
Before assembly, check the contents to make sure everything is in good condition and there are no missing parts or damage. If you find any issues, contact Black and Decker customer support for assistance.
3. Assembly
To assemble the Black and Decker Bullseye Laser Level, follow these steps:
| Step | Description |
|---|---|
| Step 1 | Attach the laser level to the mounting bracket using the provided screws. Ensure it is secured tightly. |
| Step 2 | Insert the required batteries into the laser level according to the instructions in the user manual. |
| Step 3 | Adjust the level vials on the laser level to ensure accuracy during use. Refer to the user manual for detailed instructions. |
| Step 4 | Attach the included wall mounting bracket to a stable surface using screws or adhesive strips. |
| Step 5 | Secure the laser level onto the wall mounting bracket, ensuring it is properly aligned and stable. |
| Step 6 | Refer to the user manual for any additional assembly or setup instructions specific to your model. |
Once you have completed the assembly, your Black and Decker Bullseye Laser Level is ready to be used for various projects and tasks that require precise leveling and alignment. Make sure to read the user manual thoroughly to understand all the features and functions of the device.
Mounting the Laser Level
Before you begin using the Black and Decker Bullseye Laser Level, it is important to mount it correctly to ensure accurate measurements. Follow these steps to mount the laser level:
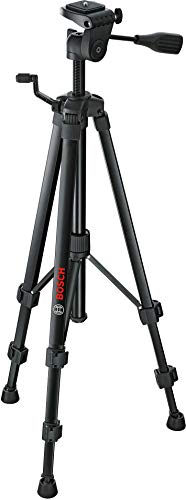
| Step 1: | Choose a flat, stable surface to mount the laser level. It is recommended to use a tripod or another solid surface to ensure stability. |
| Step 2: | Place the laser level on the chosen surface, ensuring that it is not tilted or wobbly. Adjust the device if needed. |
| Step 3: | If you are using a tripod, secure the laser level to the tripod mount. Ensure that it is firmly attached to prevent any movement during use. |
| Step 4: | Once the laser level is securely mounted, ensure that it is level by using the built-in bubble vials. Adjust as necessary until the device is perfectly level. |
By following these steps, you can ensure that your Black and Decker Bullseye Laser Level is mounted correctly, allowing you to make accurate measurements for your projects.
Adjusting the Laser Level
Properly adjusting the Black and Decker Bullseye Laser Level is crucial for accurate and precise measurements. Follow these steps to ensure your laser level is aligned correctly:
- Set up the laser level: Place the laser level on a stable surface or mount it on a tripod. Make sure it is positioned at the desired height and angle for your project.
- Turn on the laser: Press the power button to turn on the laser. The laser beam will project onto the surface.
- Align the laser: Use the built-in bubble level to ensure the laser level is perfectly horizontal or vertical. Adjust the position of the laser level until the bubble is centered.
- Adjust the laser beam: If the laser beam is not hitting the desired target accurately, you may need to make additional adjustments. Some laser levels have knobs or buttons to fine-tune the alignment. Consult the user manual for specific instructions.
- Test the alignment: Once you have adjusted the laser level, test its alignment by projecting the beam onto a wall or surface. Use a measuring tape or ruler to verify that the laser beam is hitting the desired target accurately.
Remember to always handle the laser level with care and avoid direct eye contact with the laser beam. Follow the manufacturer’s instructions for any additional safety precautions.
By properly adjusting your Black and Decker Bullseye Laser Level, you can ensure precise measurements and achieve professional-grade results for your projects.
Using the Laser Level
When using the Black and Decker Bullseye Laser Level, there are a few steps you should follow to ensure accurate measurements and ease of use.
1. Preparation:
Before using the laser level, ensure that the surface you will be working on is clean and free from any debris. This will prevent any interference with the laser beam and ensure accurate readings.
2. Powering On:
To power on the laser level, simply press the power button located on the device. The laser beam will then be emitted from the level, ready for use.
3. Leveling:
Place the laser level on a flat and stable surface. Use the built-in bubble vials to ensure that the level is perfectly horizontal and vertical. Adjust the position of the level until the bubbles are centered within the vials.
4. Positioning:
Determine the area you need to measure or mark. Position the laser level at the desired location and adjust the height and orientation to align the laser beam with the area you are working on.
5. Laser Beam:
Once the laser level is positioned correctly, the laser beam will project onto the surface. Use the laser beam as a guide to mark or measure the desired area accurately.
6. Locking:
If you need to lock the laser level in position, use the locking mechanism provided. This will prevent any accidental movement of the level and ensure consistent measurements throughout your project.
7. Powering Off:
To power off the laser level, simply press the power button again. The laser beam will turn off, and the device can be safely stored.
8. Additional Tips:
Always be cautious when working with lasers and avoid looking directly into the laser beam. It is also recommended to wear safety goggles to protect your eyes.
By following these steps, you can easily and effectively use the Black and Decker Bullseye Laser Level for your measurement and marking needs.
Maintenance and Storage
Proper maintenance and storage of your Black and Decker Bullseye Laser Level will help ensure its long-term performance and reliability. Here are some guidelines to follow:
- After each use, clean the laser level with a soft, dry cloth to remove any dust or debris. Avoid using harsh chemicals or solvents that may damage the device.
- Inspect the laser level regularly for any signs of damage or wear. If you notice any cracks, dents, or other issues, discontinue use and contact Black and Decker for assistance.
- Store the laser level in a cool, dry place away from direct sunlight and extreme temperatures. Excessive heat or cold can affect the performance of the device.
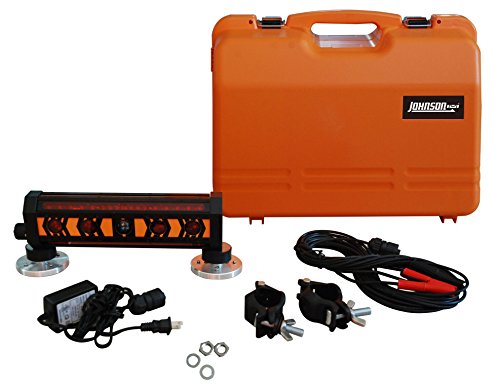
- Keep the laser level in its protective case when not in use to prevent any accidental damage. The case will also help shield the device from dust and other contaminants.
- Remove the batteries from the laser level if you won’t be using it for an extended period of time. This will help prevent any battery leakage that may damage the device.
By following these simple maintenance and storage practices, you can ensure that your Black and Decker Bullseye Laser Level remains in excellent condition and continues to meet your needs for years to come.