


Attaching an axe head to a handle may seem like a daunting task, but with the right tools and technique, it can be done easily and securely. Whether you’re replacing a damaged handle or assembling a new axe, this guide will walk you through the step-by-step process.
Step 1: Choose the Right Axe Head and Handle
Before you begin, make sure you have a suitable axe head and handle. The axe head should be made of high-quality steel and have a sharp cutting edge. The handle should be made of durable wood, such as hickory or ash, and be properly sized and shaped for your grip.
Step 2: Prepare the Axe Head and Handle

Start by preparing both the axe head and the handle. Remove any dirt or debris from the axe head and inspect it for any signs of damage. If necessary, sharpen the cutting edge using a file or grinder. Similarly, inspect the handle for any defects, such as cracks or splits, and sand it smooth if needed.
Note: It’s important to wear protective gloves and eyewear during this process to avoid any injuries.
Section 1: Preparing the Axe Head
In order to attach the axe head to the handle, it is important to properly prepare the axe head. This ensures a secure and long-lasting connection between the head and the handle.
Gather the necessary tools and materials
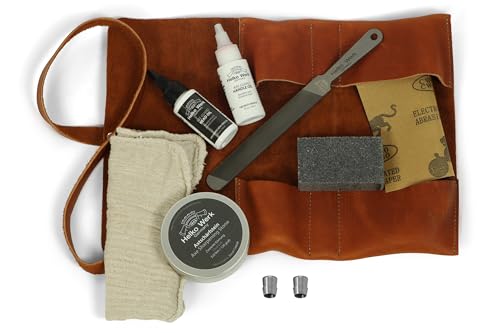
Before starting the process, make sure you have all the necessary tools and materials. You will need:
| File or rasp | To smooth any rough edges on the axe head |
| Wire brush | To remove any rust or debris |
| Sandpaper or emery cloth | To clean and smooth the surface of the axe head |
| Clamps | To hold the axe head securely |
| Epoxy adhesive or axe wedge | To secure the axe head to the handle |
Clean and smooth the axe head
Start by using a file or rasp to smooth any rough edges on the axe head. This will help prevent splinters and injuries during use. Next, use a wire brush to remove any rust or debris from the surface of the head. Finally, use sandpaper or emery cloth to clean and smooth the surface of the axe head.
It is important to have a clean and smooth surface to ensure a strong bond between the axe head and the handle.
Section 2: Preparing the Handle
Before attaching the axe head to the handle, it is important to properly prepare the handle to ensure a secure and long-lasting attachment. Here are the steps to prepare the handle:
- Clean the handle: Remove any dirt, debris, or old adhesive from the handle. Use a brush or cloth to wipe the handle clean.
- Smooth any rough spots: Sand the handle with sandpaper to smooth out any rough spots. This will help create a better surface for the adhesive to adhere to.
- Apply wood sealant: Apply a wood sealant to the handle to protect it from moisture and improve its longevity. Use a paintbrush to evenly coat the entire handle with the sealant. Let it dry according to the sealant manufacturer’s instructions.
- Measure and mark the handle: Measure the length of the axe head and mark the corresponding position on the handle. This will help you align the head properly when attaching it.
- Drill a hole: Using a drill bit that matches the size of the screw or wedge that will be used to attach the axe head, drill a hole at the marked position on the handle. Make sure the hole is deep enough to securely hold the screw or wedge.
By following these steps, you can ensure that your handle is properly prepared and ready for attaching the axe head. This will result in a strong and reliable connection between the head and handle, making your axe safe and efficient to use.
Section 3: Attaching the Axe Head to the Handle
Once you have prepared your axe head and handle, it is time to attach them together. Follow these steps to securely fasten the axe head to the handle:
-
Step 1: Alignment
Align the eye of the axe head with the top end of the handle. The eye is the hole in the axe head where the handle will go. Ensure that the eye and the handle are properly aligned and centered.
-
Step 2: Fitting the Handle
Insert the top end of the handle into the eye of the axe head. Apply a gentle twisting motion while pushing the handle into the eye. This will help the handle slide in smoothly.
-
Step 3: Securing the Axe Head
Once the handle is fully inserted into the eye, secure the axe head by driving wooden or metal wedges into the slot provided at the top of the handle. Start with one wedge and then add more if necessary. Make sure the wedges are hammered tightly to prevent any movement.
-
Step 4: Final Check
After securing the axe head, give the axe a few light taps on a solid surface to ensure it is firmly attached. Check for any movement or looseness. If there is any play, repeat step 3 and tighten the wedges further.
Congratulations! You have successfully attached the axe head to the handle. The axe is now ready for use.


