When it comes to climbing or hiking in icy and snowy conditions, having your ice axe easily accessible is crucial for your safety and mobility. One of the most convenient ways to carry your ice axe is by attaching it securely behind your backpack. This not only keeps your hands free for other tasks but also ensures that the axe is within reach whenever you need it. In this article, we will guide you through the process of attaching your ice axe behind your backpack.
Step 1: Choose the right backpack
Before you can attach your ice axe, it’s important to have a backpack that is designed to accommodate this equipment. Look for a backpack with dedicated attachment points or loops specifically meant for securing an ice axe. These attachment points are usually located at the bottom or sides of the backpack.
Step 2: Prepare the ice axe
Before attaching the ice axe, make sure it is properly prepared. Remove any covers or guards from the pick and adze, and check that the axe is clean and in good condition. Sharpen the pick if necessary, as a sharp pick provides better grip on the ice.
Step 3: Attach the ice axe
Now it’s time to attach the ice axe behind your backpack. Locate the dedicated attachment points or loops on your backpack. Place the pick of the ice axe into one of these loops, making sure it is facing towards the back of the backpack. Then, secure the shaft of the ice axe to the backpack using the straps or buckles provided.
Note: Some backpacks may have different attachment mechanisms, such as bungee cords or Velcro straps. Follow the manufacturer’s instructions for your specific backpack.
Step 4: Test the attachment
Once the ice axe is attached, give it a gentle tug to ensure that it is securely fastened. You don’t want it to loosen or fall off while you’re on the move. Adjust the straps or buckles if necessary to achieve a tight and secure fit.
By securely attaching your ice axe behind your backpack, you can hike or climb with peace of mind, knowing that your essential equipment is easily accessible whenever you need it. Follow these steps and always prioritize safety while enjoying your outdoor adventures!
Choosing the Right Ice Axe
When it comes to choosing an ice axe, there are several factors to consider that will ensure you have the right tool for your needs.
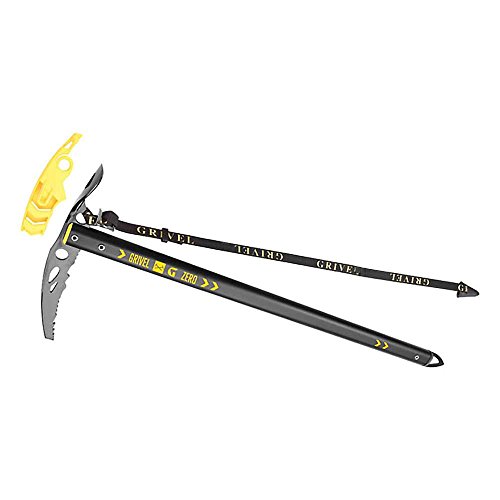
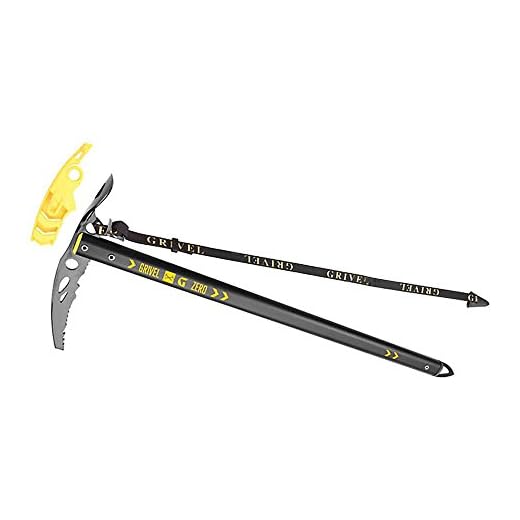
Length: The length of the ice axe is an important consideration. Longer ice axes provide better reach and stability on steep terrain, while shorter ice axes are lighter and more maneuverable. Consider the type of climbing you will be doing and choose the appropriate length accordingly.
Shaft Material: Ice axe shafts can be made from a variety of materials, including aluminum and carbon fiber. Aluminum shafts are more durable and resistant to scratches, while carbon fiber shafts are lighter and more flexible. Consider your priorities in terms of weight, durability, and performance when choosing a shaft material.
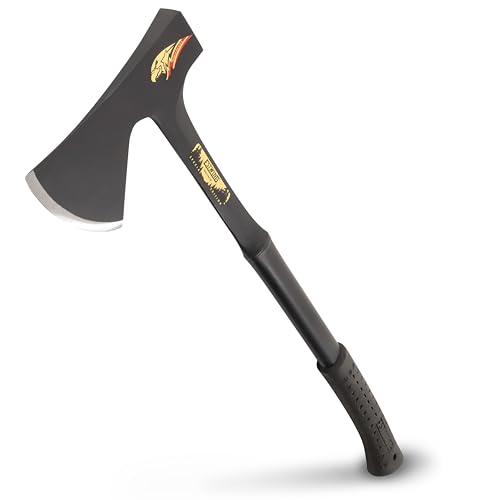
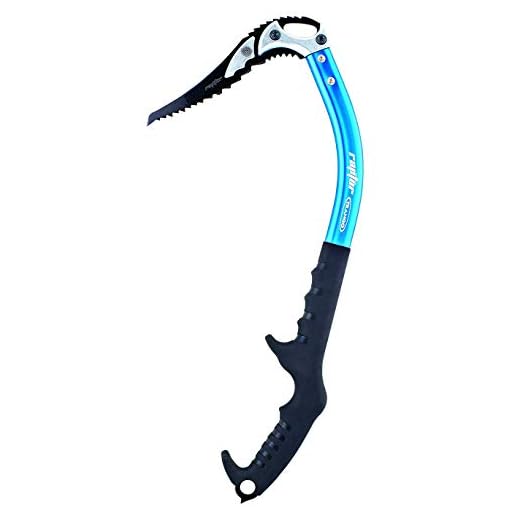
Head Design: Ice axe heads come in different designs, such as classic, modular, and technical. Classic heads have a traditional design and are suitable for general mountaineering. Modular heads have interchangeable components, allowing for customization depending on the conditions. Technical heads are designed for more advanced climbing and feature aggressive picks and hammer options. Consider your skill level and the type of climbing you will be doing when choosing a head design.
Pick Type: Ice axe picks can be classified as either adze or hammer. Adze picks have a flat, wide blade and are ideal for cutting steps and chopping ice. Hammer picks have a pointed end and are suitable for pounding pitons and ice anchors. Consider the activities you will be engaging in and choose the appropriate pick type accordingly.
Leash: Some ice axes come with a leash, which is a safety strap that attaches the axe to your wrist. Leashes provide added security by preventing the axe from being dropped. Consider your comfort and preference when it comes to using a leash.
By considering these factors and choosing the ice axe that best suits your needs, you can ensure a safe and enjoyable climbing experience. Remember to always practice proper ice axe techniques and familiarize yourself with the specific features and usage guidelines of your chosen ice axe.
Step-by-Step Guide to Attaching the Ice Axe
Attaching your ice axe to the back of your backpack can be essential for safe and efficient mountaineering. Follow these step-by-step instructions to securely attach your ice axe:
| Step | Description |
|---|---|
| 1 | Start by finding the ice axe loop or attachment point on your backpack. This is usually located near the bottom of the backpack and is specifically designed to hold an ice axe. |
| 2 | Insert the pick of the ice axe into the loop or attachment point. Ensure that the pick is facing downward and that the ice axe is centered in the loop. |
| 3 | Wrap the shaft of the ice axe around the outside of the backpack, starting from the bottom and moving upwards. |
| 4 | Secure the ice axe using the compression straps or bungee cords on the sides of the backpack. Pull the straps tight to ensure a snug fit. |
| 5 | Double-check the attachment to make sure it is secure. Give the ice axe a gentle tug to ensure that it is firmly attached and won’t come loose during your climb. |
| 6 | If your backpack does not have a specific ice axe attachment point, you can use gear loops or daisy chains located on the outside of the backpack to secure the ice axe. Simply thread the pick and shaft through the loops or chains and tighten as necessary. |
By following these steps, you can ensure that your ice axe is securely and conveniently attached to your backpack, allowing you to have quick access to it when needed during your mountaineering adventures.
Benefits of Attaching the Ice Axe
When heading out for mountaineering or backpacking in icy or snowy conditions, it is crucial to have proper gear and equipment for safety and efficiency. One essential tool is the ice axe, which helps to provide stability, balance, and support while traversing slippery slopes and climbing steep terrains. Attaching the ice axe securely to your backpack offers several benefits:
1. Safety and Accessibility
Attaching the ice axe behind your backpack ensures that it is easily accessible when needed. In case of a fall or a sudden need for self-arrest or anchoring, having the ice axe within reach can make a significant difference. With it securely fastened to your backpack, you can quickly grab it and use it to arrest a potential fall or provide stability during challenging sections of your hike.
2. Weight Distribution
By attaching the ice axe to your backpack, you can distribute its weight evenly across your entire gear load. This prevents any imbalances and reduces strain on your body, especially if you are carrying other heavy equipment or supplies. Proper weight distribution ensures a more comfortable and efficient hiking experience.
| Benefits | Explanation |
|---|---|
| Safety | Quick access for self-arrest or anchoring |
| Safety | Stability during challenging sections |
| Weight Distribution | Evenly distributes weight across gear load |
| Comfort | Reduces strain on the body |
Attaching the ice axe securely to the back of your backpack is a simple yet effective way to benefit from having this essential tool readily available for safety and ease of travel. Before heading out, make sure to practice securing the ice axe correctly and comfortably, ensuring it doesn’t hinder your movement or affect your balance.
Tips for Securing the Ice Axe
When heading out on a mountaineering adventure, it’s important to properly secure your ice axe to your backpack to ensure easy access and prevent any accidental damage or injury. Here are some tips to help you securely attach your ice axe behind your backpack:
| Tip | Description |
|---|---|
| 1 | Choose a backpack with dedicated ice axe loops or attachments. |
| 2 | Position the ice axe handle horizontally along the back of the backpack. |
| 3 | Place the top of the ice axe head into the top loop or attachment point. |
| 4 | Slide the ice axe down to the bottom loop or attachment point and secure it. |
| 5 | Use additional straps or bungee cords to further secure the ice axe if necessary. |
| 6 | Ensure the axe is not obstructing your movement or interfering with your backpack’s hip belt. |
| 7 | Regularly check the tightness of the attachment to avoid any unexpected detachment. |
By following these tips, you can confidently secure your ice axe behind your backpack, allowing you to tackle any icy terrain with ease and peace of mind.
When to Use Ice Axe Attachments
Ice axe attachments are essential tools for mountaineers and climbers when facing challenging and icy terrain. They provide a secure and convenient way to carry your ice axe and ensure quick access when needed. Here are some situations where using ice axe attachments can be beneficial:
Steep and Icy Terrain
When climbing steep and icy slopes, it is crucial to have your ice axe within easy reach. Attaching it to your backpack allows you to quickly grab it and use it as a self-arrest tool to prevent a fall or to anchor yourself in the snow or ice.
Technical Climbing
In technical climbing scenarios, where you may encounter vertical or near-vertical ice or mixed terrain, having your ice axe readily available is essential. By attaching it to your backpack, you can keep both of your hands free for climbing, and easily reach for your ice axe when necessary.
Ice axe attachments also come in handy during rappelling or belaying situations, where you may need your ice axe to secure yourself or create an anchor point.
Remember, ice axe attachments should always be used in conjunction with proper climbing techniques and skills. They are not a substitute for training and experience in icy or alpine environments. Always ensure you have received adequate education and practice before attempting challenging climbs.