

Blackening an axe head not only enhances its appearance but also helps protect it from corrosion and rust. Whether you want to restore an old axe or customize a new one, blackening the head can give it a unique and stylish look. In this article, we will explore the step-by-step process of blackening an axe head using simple materials and techniques.
Before diving into the blackening process, it’s important to note that safety should be your top priority. Make sure to wear protective gloves and eyewear throughout the entire process. Additionally, work in a well-ventilated area to avoid inhaling any harmful fumes.
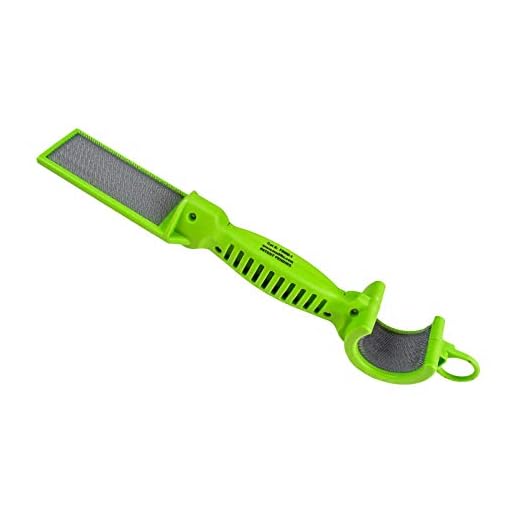
The first step in blackening an axe head is to remove any existing rust or coatings. Use a wire brush or sandpaper to scrub off any loose rust or dirt. If the axe head has a protective coating, such as paint or varnish, you will need to remove it using a paint stripper or a chemical solution specifically designed for this purpose. Once the axe head is clean and free from any coatings, rinse it thoroughly with water and let it dry completely.
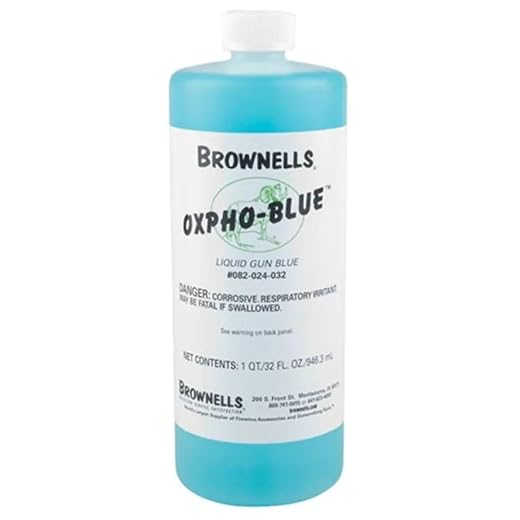
After the axe head is dry, it’s time to apply a blackening agent. There are several blackening agents available in the market, such as gun bluing solutions or black oxide kits. Follow the instructions provided with the blackening agent to mix it properly and apply it to the axe head. Use a brush or a cloth to evenly coat the entire surface of the head. Make sure to apply multiple thin layers rather than a single thick layer to achieve a more uniform and durable black finish.
Once the blackening agent is applied, you will need to let it sit for a specified period of time, as mentioned in the instructions. During this time, the blackening agent will react with the metal, creating a dark and protective oxide layer. After the specified time has passed, rinse the axe head with water to remove any excess blackening agent. Finally, dry the axe head thoroughly and apply a thin layer of oil or wax to further protect it from rust and corrosion.
By following these steps, you can easily blacken an axe head and give it a sleek and captivating appearance. Remember to prioritize safety, choose the right blackening agent, and apply thin and even layers for the best results. Get ready to impress others with your beautifully blackened axe head!
How to Blacken an Axe Head
Blackening the axe head not only improves its appearance, but it also helps to protect it from rust and corrosion. Here are steps to guide you through the blackening process:
Step 1: Clean the Axe Head
Start by cleaning the axe head using a metal brush or steel wool. Remove any rust, dirt, or debris thoroughly to ensure proper blackening.
Step 2: Heat the Axe Head
Next, heat the axe head using a propane torch or a heat source like a campfire. Heat it until it turns a dull red color. Heating the metal helps to prepare it for the blackening process.
Step 3: Apply the Blackening Solution
Once heated, carefully apply a blackening solution to the entire surface of the axe head. You can use a commercial blackening solution or make your own by mixing equal parts of distilled water and instant coffee. Apply the solution using a brush or a sponge, ensuring even coverage.
Step 4: Let it Sit
Allow the blackening solution to sit on the axe head for the recommended amount of time, usually around 15-30 minutes. During this time, the solution will react with the metal, creating a blackened finish.
Step 5: Rinse and Dry
Rinse the axe head thoroughly with water to remove any excess blackening solution. Dry it completely using a clean cloth or towel.
Step 6: Apply a Protective Coating (optional)
If desired, you can apply a protective coating to further enhance the longevity of the blackened finish. Some options include applying a clear lacquer or using a metal sealer specifically designed for blackened surfaces.
Note: It’s always a good idea to wear protective gloves, goggles, and work in a well-ventilated area when handling blackening solutions and applying heat to the axe head.
Following these steps will help you successfully blacken your axe head and achieve a beautiful, well-protected result.
Preparing the Axe Head
Before blackening the axe head, it is important to properly prepare it to ensure the best results. Follow these steps to prepare your axe head:
1. Clean the Axe Head
Start by thoroughly cleaning the axe head to remove any dirt, rust, or debris. You can use a steel brush or sandpaper to gently scrub the surface of the axe head. Make sure to remove all the rust and dirt from both the blade and the sides of the axe head.
2. Remove Any Existing Coating
If your axe head has any existing coating, such as paint or varnish, it is necessary to remove it before blackening. Use a paint stripper or a suitable solvent to remove the coating. Follow the instructions on the product to ensure safe and effective removal.
3. Rinse and Dry the Axe Head
After cleaning and removing any existing coating, rinse the axe head with clean water to remove any residue or chemicals. Make sure to thoroughly dry the axe head before proceeding to the next step. You can use a clean cloth or allow it to air dry.
4. Apply a Rust Preventative
To further protect your axe head from rusting, consider applying a rust preventative. There are various rust preventative products available on the market. Follow the instructions provided by the manufacturer to apply the rust preventative evenly on the axe head.
By properly preparing your axe head, you will achieve better results when blackening it. This process will help ensure a clean surface for the blackening solution to adhere to, resulting in a beautiful and long-lasting finish.
Cleaning and Preparing the Surface
Before blackening the axe head, it is important to properly clean and prepare the surface. This will ensure that the blackening solution adheres well to the metal and provides a uniform finish.
Cleaning the Axe Head
The first step in preparing the surface is to clean the axe head thoroughly. Use a wire brush or sandpaper to remove any rust, dirt, or debris from the surface. Scrub the entire surface of the axe head, paying special attention to any areas with stubborn build-up. Rinse the axe head with clean water to remove any loose particles.
Removing Existing Coatings
If the axe head has any existing coatings, such as paint or varnish, it is important to remove them before blackening. Use a paint stripper or a scraper to strip away the coating, following the manufacturer’s instructions. Be careful not to damage the metal surface during this process. After removing the coating, clean the surface again to ensure it is free from any residue.
Once the axe head is clean and free from any previous coatings, it is ready for the blackening process. The next step is to create a blackening solution and apply it to the surface. Refer to the instructions specific to the blackening solution you are using for the best results.
To protect yourself from any harmful chemicals, make sure to wear appropriate protective gear such as gloves, safety glasses, and a mask when working with blackening solutions. Additionally, work in a well-ventilated area to minimize exposure to fumes.
After blackening, the axe head will have a beautiful black finish that not only enhances its appearance but also provides a layer of protection against rust and corrosion. Remember to properly care for the blackened axe head to maintain its finish and prolong its lifespan.
| Materials Needed: | Tools Needed: |
|---|---|
| – Wire brush or sandpaper | – Paint stripper or scraper |
| – Clean water | – Gloves |
| – Blackening solution | – Safety glasses |
| – Mask |
Applying the Blackening Solution
Once you have prepared your axe head by cleaning and sanding it, it’s time to apply the blackening solution. The blackening solution is what gives the axe head its dark, black color and helps protect it from rust and corrosion.
Here are the steps to apply the blackening solution:
- Put on protective gloves and safety goggles to protect your hands and eyes.
- Make sure your work area is well-ventilated, as the blackening solution can give off fumes.
- Prepare the blackening solution according to the manufacturer’s instructions. This usually involves diluting the solution with water.
- Dip a clean cloth or sponge into the blackening solution.
- Apply the blackening solution to the entire surface of the axe head, making sure to cover it evenly.
- Let the blackening solution sit on the axe head for the recommended amount of time. This can vary depending on the brand you are using, so refer to the instructions.
- After the recommended time has passed, rinse off the blackening solution with clean water. Make sure to remove all traces of the solution.
- Dry the axe head thoroughly with a clean cloth.
Once you have applied the blackening solution and dried the axe head, you can proceed to the next steps of the blackening process, such as applying a protective coating or oiling the axe head.
Finishing and Sealing the Axe Head
After the axe head has been properly blackened, it is important to finish and seal it to protect it from rust and corrosion. Here are the steps to follow:
1. Cleaning the Axe Head
Start by cleaning off any residual blackening solution from the axe head. Use a clean cloth or paper towel to wipe away any excess solution. Make sure the axe head is completely dry before proceeding to the next step.
2. Applying Finishing Oil
Apply a thin layer of finishing oil to the entire surface of the axe head. Use a clean cloth to rub the oil into the metal. This will help enhance the blackened color and provide additional protection against rust and corrosion.
3. Removing Excess Oil
After the finishing oil has been applied, use a clean cloth to remove any excess oil from the axe head. Be sure to wipe off any areas where the oil may have pooled or dripped. This will prevent a sticky residue from forming on the surface.
4. Buffing the Axe Head
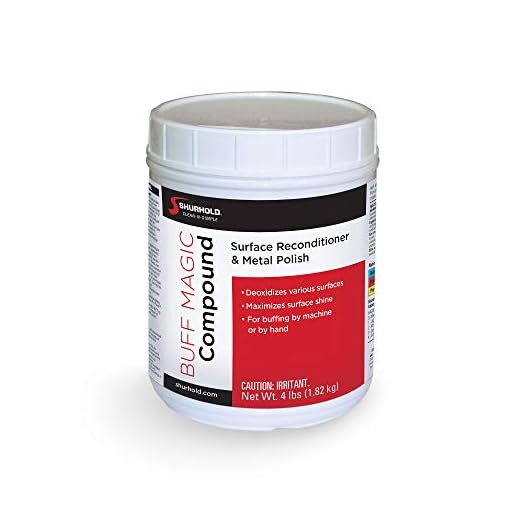
To further enhance the finish, you can buff the axe head using a soft cloth or buffing pad. Apply gentle pressure and use circular motions to buff the surface of the axe head. This will help remove any smudges or imperfections and leave a smooth, shiny finish.
5. Sealing the Axe Head
To provide maximum protection, it is recommended to seal the axe head with a clear coat. There are various clear coat options available, such as lacquer or polyurethane. Follow the instructions on the product’s packaging for the best results. Apply the clear coat in thin, even layers, allowing each layer to dry before applying the next one.
By following these steps, you can ensure that your blackened axe head remains in excellent condition for years to come. Regular maintenance and inspection will also help prolong its lifespan and ensure optimal performance.


