
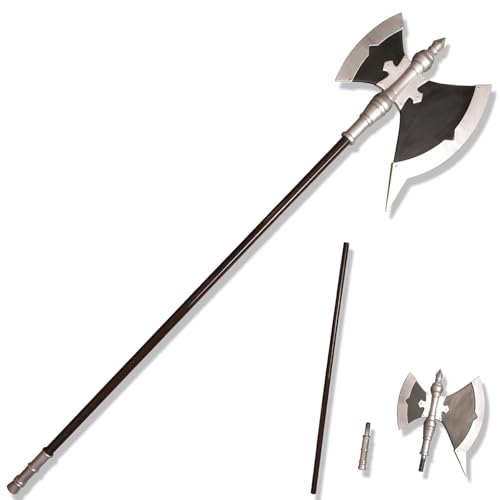


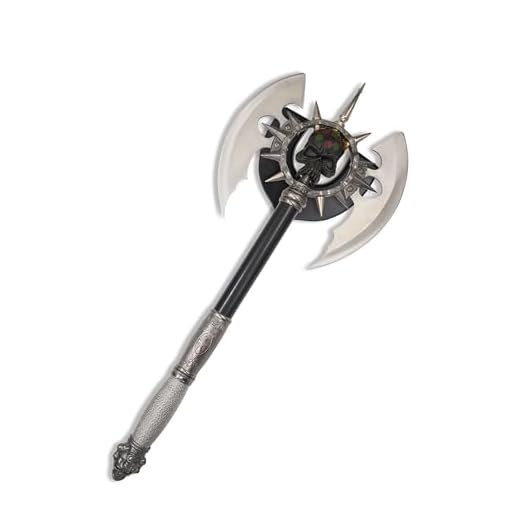
Looking to create a prop axe for your next cosplay or theatre production? With a little creativity and some basic materials, you can make a realistic prop axe that will be sure to impress. Whether you’re dressing up as a Viking warrior or a demonic creature, a well-crafted prop axe can add that extra touch of authenticity to your costume.
To start, gather the necessary materials. You will need a wooden dowel, foam or cardboard, craft foam, a utility knife, hot glue gun, and paint. The wooden dowel will serve as the handle of your prop axe, while the foam or cardboard will be used to create the axe head. Craft foam can be used to add decorative details and give your prop axe a finished look.
Begin by shaping the axe head out of foam or cardboard. Use a reference image or template to guide you in creating the desired shape. Once you have cut out the shape, use a utility knife to carve out any details, such as the blade and the beveled edges. Take your time with this step to ensure that the axe head looks as realistic as possible.
Next, attach the axe head to the wooden dowel. Apply a generous amount of hot glue to the end of the dowel and carefully press the foam or cardboard axe head onto it. Hold it in place until the glue has dried and the two pieces are securely attached. If desired, you can reinforce the connection with additional hot glue or tape for added durability.
Finally, it’s time to add the finishing touches. Use craft foam to create decorative elements, such as the handle grip or any designs on the axe head. Attach these with hot glue, making sure to securely adhere them to the prop. Once the glue has dried, you can paint the prop axe using acrylic paints to give it a realistic appearance. Consider adding details such as weathering or rust to enhance the overall look.
With these simple steps, you can create a prop axe that is not only visually impressive, but also safe to use during performances or events. Remember to always handle prop weapons responsibly and to check any guidelines or regulations regarding their use. Now go forth and showcase your crafting skills with your new prop axe!
Prop Axe: How to Create a Realistic and Safe Replica
If you’re looking to add an eye-catching prop to your costume or theatrical production, a prop axe can be a great choice. However, safety is always a concern when it comes to props, especially ones that resemble weapons. In this guide, we’ll walk you through the process of creating a realistic and safe prop axe.
Materials Needed
- 1 wooden dowel
- 1 foam block
- 1 craft knife
- 1 sanding block
- 1 paintbrush
- 1 set of acrylic paints
- 1 hot glue gun
- 1 piece of cardboard
Step 1: Shaping the Axe Head
Start by taking your foam block and shaping it into the desired axe head shape using a craft knife. Be sure to carve out the blade and the indentation where the wooden dowel will be attached later. Once you’re satisfied with the shape, use a sanding block to smooth out any rough edges.
Step 2: Painting the Axe Head
Next, use your acrylic paints to paint the foam axe head. You can choose to paint it to resemble wood or metal depending on your preference. Use a paintbrush to apply the paint in thin, even layers, allowing each layer to dry before applying the next. This will give the axe head a realistic finish.
Step 3: Attaching the Dowel
Take your wooden dowel and carefully insert it into the indentation on the foam axe head. Apply hot glue around the base of the dowel to secure it in place. Hold it firmly until the glue dries completely.
Step 4: Creating the Handle
To create the handle of the prop axe, cut a piece of cardboard to the desired length and width. Wrap the cardboard tightly around the wooden dowel, securing it with hot glue along the edges. This will provide a comfortable and realistic handle for your prop axe.
Step 5: Finishing Touches
Once the glue has dried, go over the entire prop axe with a final layer of paint to ensure a smooth and consistent finish. You can also add additional details, such as faux leather straps or metallic accents, to enhance the realism of the prop.
Remember to always treat your prop axe with care and caution, even though it is not a real weapon. Avoid swinging it too close to others and handle it responsibly.
With these steps, you can create a realistic and safe prop axe that will impress everyone with its authenticity. Enjoy your new prop and have fun bringing your characters to life!
Choosing the Right Materials
When making a prop axe, it’s important to choose the right materials to ensure both durability and safety. Here are some key factors to consider:
1. Wood: Selecting the right type of wood is crucial for an effective prop axe. Oak or pine wood are popular choices due to their strength and availability. They are also easy to shape and carve into the desired axe head and handle.
2. Foam: For the axe head, foam is an excellent material as it is lightweight and safe. Look for high-density foam to ensure durability. It’s advisable to use a foam that is easy to carve and shape to get the desired design for your axe head.
3. Paint: Choosing the right paint is essential to give your prop axe a realistic and appealing look. Acrylic or spray paint works well, as it adheres to the wood and foam. Consider using multiple layers of paint for better coverage and durability.
4. Adhesives: To secure the different parts of the prop axe, strong adhesives are necessary. Epoxy glue or wood glue are excellent choices for bonding the wood and foam together and ensuring a sturdy axe.
5. Safety Equipment: While working with materials like foam and paint, it’s essential to prioritize safety. Wear gloves, safety glasses, and a dust mask to protect yourself from any potential harm.
By carefully selecting the right materials for your prop axe, you can ensure a realistic and durable prop that will make your cosplay or theatrical performance shine!
Step-by-Step Assembly Guide
- Start by gathering all the materials you will need for the prop axe, including the axe head, wooden handle, screws, and paint.
- Place the axe head on a flat surface and position the wooden handle next to it, making sure they align properly.
- Using a drill or screwdriver, insert two screws through the holes in the axe head and into the wooden handle. Make sure the screws are secure to ensure the axe head and handle will not come apart during use.
- Once the axe head and handle are securely attached, it is time to paint the prop axe. Choose a paint color that matches your desired aesthetic or the theme of your costume.
- Before painting, sand down any rough edges or imperfections on the wooden handle to ensure a smooth finish. This will also help the paint adhere better to the surface.
- Apply a coat of primer to the entire prop axe to create a base for the paint. Let the primer dry completely before moving on to the next step.
- Using a paintbrush or spray paint, apply several thin coats of paint to the prop axe, allowing each coat to dry fully before adding the next. This will ensure an even and professional-looking finish.
- Once the paint is dry, your prop axe is ready to use or display. Make sure to handle it with care and store it in a safe place when not in use.
Following these step-by-step instructions, you can easily assemble and paint your own prop axe to enhance your costume or cosplay.
Painting and Finishing Touches
Once you have assembled your prop axe, it’s time to give it a realistic and eye-catching finish. The painting process is crucial to creating an authentic-looking prop.
First, prepare the surface of the prop axe by sanding it lightly with a fine-grit sandpaper. This will help the paint adhere better and provide a smoother finish. Make sure to remove any dust or debris before proceeding.
Next, choose the colors you want to use for your prop axe. If you’re aiming for a realistic look, opt for shades of brown, black, and silver. However, feel free to let your creativity shine and choose any color scheme that suits your taste or the theme of your project.
Step 1: Base Coat
Start by applying a base coat of paint to the entire prop axe. This will serve as the foundation for the rest of the painting process. Use a brush or spray paint for this step, depending on your preference.
Apply the base coat evenly, making sure to cover all surfaces of the prop axe. Allow the paint to dry completely before moving on to the next step.
Step 2: Details and Weathering
Now it’s time to add the details and weathering to your prop axe. Use a smaller brush and different shades of paint to create depth and texture. You can add scratches, dirt, or rust to make the axe look more realistic.
Pay attention to the details and focus on areas that would naturally experience wear and tear, such as the blade and the handle. Practice different techniques and textures to achieve the desired effect.
Remember to take breaks and step back to evaluate your work from different angles. This will help you spot any areas that need further attention or adjustment.
Once you’re satisfied with the painting and weathering, let the prop axe dry completely. You can also consider adding a coat of clear varnish or sealant to protect the paint and add a glossy finish.
With the painting and finishing touches complete, your prop axe is ready to steal the show. Whether it’s for a costume, a film production, or a cosplay event, your prop axe will now look stunning and authentic.
Safety Tips and Precautions
When making a prop axe, it is important to prioritize safety and take necessary precautions to prevent accidents or injuries. Here are some important safety tips to keep in mind:
1. Use Proper Safety Equipment
Always wear protective gear, such as safety goggles, gloves, and a dust mask, when working with tools or materials that may cause injury or produce harmful dust.
2. Work in a Well-Ventilated Area
Ensure that the work area is properly ventilated to avoid inhaling any toxic fumes or dust particles. If working indoors, open windows or use a fan to improve air circulation.
3. Select the Right Materials
Choose lightweight materials, such as foam or cardboard, to build the prop axe. Avoid using heavy or sharp objects that can cause harm or be difficult to handle.
4. Follow Proper Tool Usage
Use tools responsibly and follow the manufacturer’s instructions. Keep blades sharp and properly maintained to prevent accidents. Always use tools in a controlled manner.
5. Secure Workpieces Safely
Secure workpieces properly before working on them to prevent slipping or movement. Use clamps or vices to hold materials in place to achieve accurate cuts or measurements.
6. Take Breaks and Stay Hydrated
Working on a prop axe project can be physically demanding. Take regular breaks to rest and rehydrate yourself. Staying hydrated will help you maintain focus and prevent fatigue.
7. Dispose of Waste Material Correctly
Dispose of any waste material, such as excess foam or cardboard, safely and responsibly. Follow local regulations and guidelines for proper disposal.
Remember, safety should always be a top priority when working on any DIY project. By following these safety tips and using common sense, you can complete your prop axe project with minimal risks or accidents.


