


Are you tired of your axe getting damaged when you’re not using it? A simple solution to this problem is to create an axe sheath. Not only will it protect your axe from scratches and dents, but it will also make it easier to transport and store. In this article, we will guide you through the process of making an axe sheath pattern.
Step 1: Measure the Axe
The first step in making an axe sheath pattern is to measure your axe. Use a measuring tape to determine the length and width of your axe blade, as well as the length of the handle. Write down these measurements and keep them handy for reference.
Step 2: Create a Template
Next, you’ll need to create a template for your axe sheath pattern. Start by drawing a rectangle on a piece of paper or cardboard, using the measurements you took in step 1. Make sure to add extra space to account for the thickness of the blade and handle.
Step 3: Cut out the Pattern

Once you’re satisfied with your template, use a pair of scissors or a utility knife to carefully cut it out. Make sure to follow the lines precisely, as any deviations may result in an ill-fitting sheath.
Step 4: Test the Pattern
Now that you have your pattern, it’s time to test it. Slide the pattern onto your axe blade and handle to see if it fits properly. You should be able to slide the sheath on and off the axe without any difficulty. If the fit is too tight or too loose, make adjustments to the pattern accordingly.
Step 5: Transfer the Pattern
After you’re satisfied with the fit of your pattern, it’s time to transfer it onto your desired material. You can use leather, canvas, or any other durable fabric that you prefer. Lay your pattern onto the material and trace around it with a pencil or fabric marker.
Step 6: Cut and Sew
Once you’ve traced the pattern onto the material, carefully cut it out. Remember to cut inside the traced line to ensure a snug fit. Then, sew the edges of the material together using a strong thread or leather stitching techniques. Make sure to leave an opening at the top of the sheath for easy insertion and removal of the axe.
Step 7: Add Finishing Touches
Lastly, you can add any finishing touches to your axe sheath. This could include decorative stitching, a snap button closure, or even a strap to secure the sheath to your belt. Get creative and make it your own!
By following these simple steps, you’ll be able to make your own axe sheath pattern and protect your axe in style. Happy crafting!
Step-by-step guide for making axe sheath pattern
Creating a custom axe sheath pattern allows you to protect your axe head and handle while also adding a personal touch to your tool. Follow the steps below to make your own axe sheath pattern.
|
Step 1: Measure your axe Start by measuring the length and width of your axe head, as well as the length of the handle. These measurements will be the basis for your sheath pattern. |
|
Step 2: Create a template Using a piece of cardboard or heavy paper, create a template for your sheath. Start by drawing a rectangle that matches the width and length of your axe head. Then, draw an elongated shape that will accommodate the length of the handle. |
|
Step 3: Add extra space To ensure that your sheath will fit your axe comfortably, add an extra inch or two to the width and length measurements in your template. This will allow for some wiggle room when you insert the axe. |
|
Step 4: Cut out the pattern Using a pair of scissors or a cutting tool, carefully cut out your sheath pattern from the cardboard or heavy paper. Make sure to follow the lines you drew and create clean edges. |
|
Step 5: Test the fit Place the pattern over your axe head and handle to test the fit. Adjust the size if necessary by trimming the edges of the pattern until it fits securely. |
|
Step 6: Transfer the pattern to leather Once you are satisfied with the fit of your pattern, place it over a piece of leather that is suitable for your sheath. Trace the outline of your pattern onto the leather using a marker or pen. |
|
Step 7: Cut and shape the leather Using a utility knife or leather cutting tool, carefully cut out the leather following the outline you traced. Pay attention to the curves and angles of the pattern to ensure accuracy. |
|
Step 8: Fold and stitch Fold the leather along the lines of your pattern to create the sheath shape, leaving an opening at the top for the axe head. Use leather stitching techniques to secure the sides of the sheath, making sure it is tightly stitched. Hot Pick
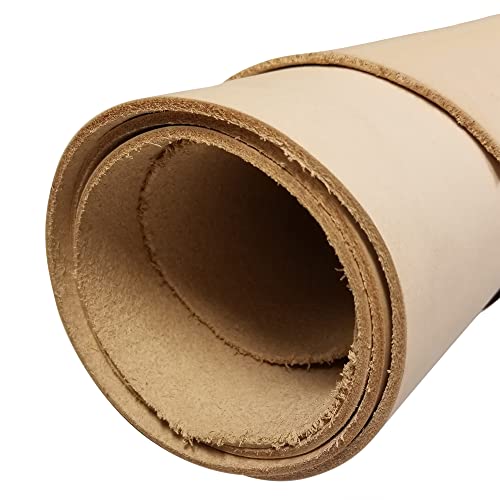
High-Quality Veg Tan Tooling Leather Eco-friendly leather crafting options
This sustainable double shoulder leather is perfect for crafting a variety of products, offering durability and a chance to refine leatherworking skills.
|
|
Step 9: Finishing touches Trim any excess leather and smooth out any rough edges. You can also add decorative elements or personal touches to your sheath, such as stamping or dyeing. |
With these step-by-step instructions, you can easily create a custom axe sheath pattern that perfectly fits your axe and showcases your personal style.
What you need to get started
Before you begin making your axe sheath pattern, it’s essential to gather the necessary materials and tools. Here are some things you’ll need:
- Leather: Choose a thick and durable leather that can withstand the wear and tear of an axe sheath. Vegetable-tanned leather is a popular choice for this project.
- Measuring tools: Get a ruler or measuring tape to accurately measure the size of your axe and determine the dimensions for the sheath.
- Marker or pen: Use a marker or pen to mark the measurements and outline on the leather. Make sure to choose a marker that won’t stain or damage the leather.
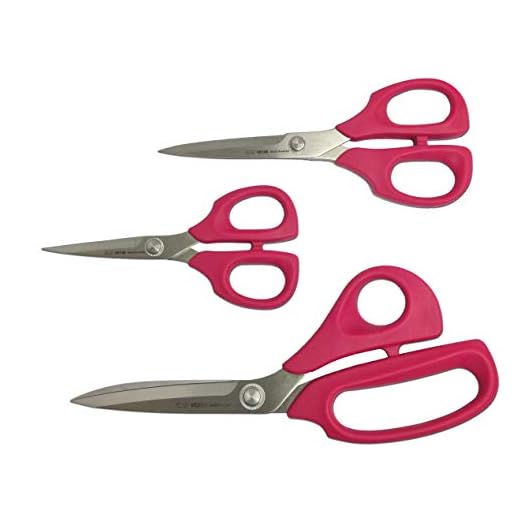
- Cutting tools: You’ll need a sharp knife or a leather cutting tool to cut the leather according to the pattern. Make sure the tool is suitable for precision cutting.
- Awl: An awl will come in handy for punching holes on the leather to sew it together. Choose an awl with a sharp point and a comfortable grip.
- Needle and thread: Use a sturdy needle and durable thread to sew the pieces of the axe sheath together. Waxed thread is often preferred for this type of project.
- Beeswax: Beeswax is used to condition and strengthen the thread. Rubbing the thread with beeswax before sewing will make it more resilient and less prone to fraying.
- Hammer or mallet: A hammer or mallet can be used to hammer the stitches and ensure they are securely pressed into the leather.
- Rivet or snap fastener (optional): If you want to add a closure mechanism to your axe sheath, you can use a rivet or snap fastener for a secure and easy-to-use closure.
With these essential materials and tools, you’ll be well-prepared to embark on your axe sheath pattern-making journey.
Creating the pattern
Before you can make an axe sheath, you will need a pattern to work with. Here are the steps you can follow to create your own pattern:
1. Measure the axe blade
Start by measuring the dimensions of the axe blade. Use a measuring tape to measure the length, width, and thickness of the blade. Write down these measurements as they will be used later to create the pattern.
2. Draw the outline of the sheath
Using a pencil and a piece of paper, draw the outline of the sheath based on the measurements you took in the previous step. Make sure to leave space for the blade to fit snugly inside the sheath.
Remember to include extra space for any additional features you want to add to the sheath, such as a pocket for a firestarter or a belt loop.
3. Add seam allowance
To allow for sewing, add a seam allowance of about 1/4 inch to the outline of the sheath. This will ensure that there is enough material for the edges to be sewn together.
Once you have added the seam allowance, carefully cut out the pattern along the outer edge.
By following these steps, you can create your own pattern for an axe sheath. Remember to double-check your measurements and make any necessary adjustments to ensure a perfect fit for your axe.
Finishing touches and tips
Once you have completed your axe sheath pattern, there are a few finishing touches and tips you can follow to ensure a professional-looking final product.
1. Trim the edges
Using a pair of sharp scissors or a craft knife, carefully trim the excess material from the edges of your pattern. This will give your sheath a clean and neat appearance.
2. Secure the edges
After trimming, you can secure the edges of the sheath by sewing them together or using fabric glue. This will prevent any fraying and add durability to your sheath.
3. Add decorative elements
If you want to personalize your axe sheath, consider adding some decorative elements. You can sew on patches, attach metal studs, or use leather stamps to create patterns or designs.

4. Apply a finish
To protect your axe sheath from water and wear, you can apply a finish such as leather conditioner or wax. This will also give the sheath a polished and professional look.
5. Test the fit
Before using your newly made sheath, make sure to test the fit by inserting your axe. Ensure that the axe slides in and out smoothly and that the sheath provides a snug and secure fit. Make any necessary adjustments if needed.
Following these finishing touches and tips will help you create a high-quality and functional axe sheath that will protect your axe and look great at the same time.