
Removing a bonsai tree from its pot may seem like a daunting task, especially for beginners. However, with the right tools and proper techniques, it can be done successfully without causing harm to the tree. Whether you need to repot your bonsai or want to check the health of its roots, knowing how to remove it from the pot is an essential skill for any bonsai enthusiast.
Step 1: Prepare the necessary tools
Before attempting to remove the bonsai tree from its pot, gather the tools you’ll need. These include a pair of bonsai shears or sharp scissors, a small root rake or a chopstick, and a plastic or wooden prying tool. Having these tools at hand will make the process easier and prevent unnecessary damage to the tree’s roots.
Step 2: Loosen the rootball
To remove the bonsai tree from its pot, start by gently loosening the rootball. Insert the root rake or chopstick into the soil around the edges of the pot, carefully loosening the compacted soil. Be sure to go all the way around the pot to release the roots from the sides. This will help prevent the roots from breaking during the removal process.
Step 3: Pry the tree out of the pot
Once the rootball is loosened, use the prying tool to carefully lift the bonsai tree out of the pot. Start by placing the tool between the pot and the rootball, applying gentle pressure to pry the tree away from the pot’s sides. Work your way around the pot, gradually lifting the tree. Take it slow to avoid damaging the roots or breaking branches.
By following these steps, you can safely remove a bonsai tree from its pot without causing harm. Remember to handle the tree with care and be patient throughout the process. Happy gardening!
Removing Bonsai Tree: Step-by-Step Guide
When it comes to removing a bonsai tree from its pot, it’s important to be gentle and use the proper techniques to ensure the health and longevity of the tree. Here we provide a step-by-step guide to help you through the process.
|
Step 1: Prepare the Workspace Before you begin, clear a clean and spacious area where you can work comfortably with ample room to maneuver. Gather all the necessary tools, such as a sharp bonsai trimming scissors, a root rake, and a small saw or knife. |
|
Step 2: Loosen the Soil Once you have your workspace ready, carefully tap the sides of the pot to loosen the soil and roots. This will make it easier to remove the tree without causing damage. Use the root rake to gently comb through the soil and untangle any roots that may be tangled or circling the pot. |
|
Step 3: Tilt and Tap the Pot With one hand holding the trunk of the bonsai tree, carefully tilt the pot to its side. Tap the bottom of the pot with your free hand to loosen the root ball from the pot. Slowly slide the bonsai tree out of the pot, being careful not to force it. |
|
Step 4: Examine the Roots Once the tree is out of the pot, examine the roots. Look for any signs of root rot, pest infestation, or poor root development. Trim away any dead or damaged roots using the sharp bonsai trimming scissors. |
|
Step 5: Repot or Prune Depending on the health and size of the bonsai tree, you may choose to repot it with fresh bonsai soil or prune the roots. If repotting, gently remove the old soil and place the tree in a new pot with fresh soil. If pruning, carefully trim away excess roots to promote new growth. |
|
Step 6: Water and Care After you have removed the bonsai tree and either repotted or pruned it, give it a generous watering to settle the soil. Keep the tree in a shaded area for a few days to allow it to recover from the stress of the transplant. Regularly water and monitor the tree for signs of stress or dehydration. |
Following these steps will help ensure a successful removal of your bonsai tree from its pot. Remember to handle the tree with care and take your time during the process. With proper technique and care, your bonsai tree will continue to thrive and bring you joy for years to come.
Gather the necessary tools
Before removing a bonsai tree from its pot, it is important to gather the necessary tools to ensure a successful and safe process. Here is a list of tools you will need:
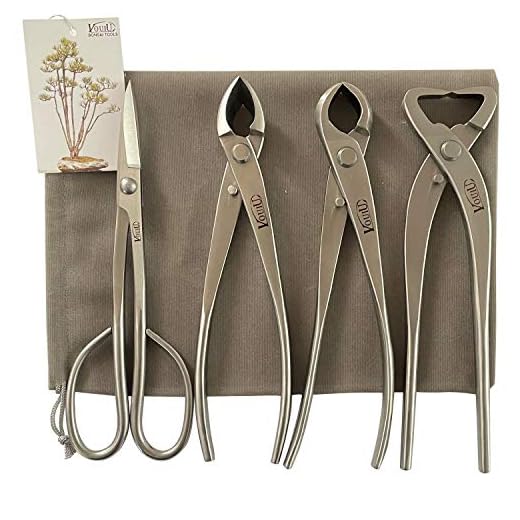
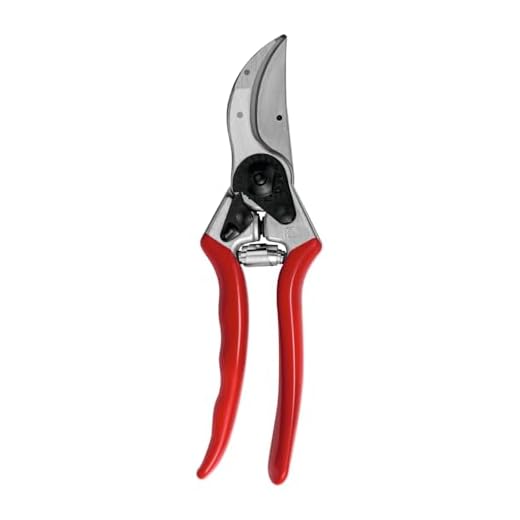
- A pair of pruning shears or bonsai scissors: These tools are used to trim any excess roots or branches before removing the tree from its pot.
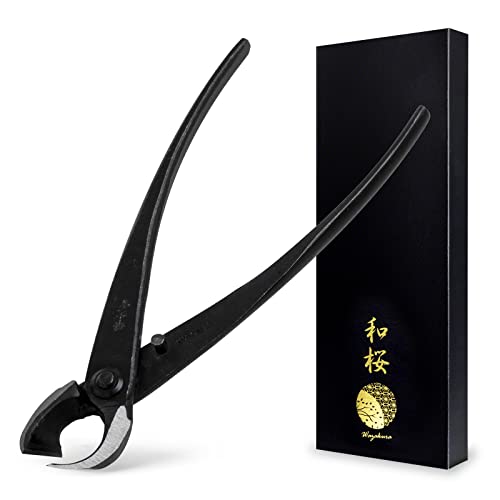
- A root hook: This tool is used to carefully loosen and separate the roots from the soil and sides of the pot.
- A small rake or chopstick: This tool is used to gently remove any stubborn soil and to help loosen tangled roots.
- A bonsai soil scoop or small trowel: This tool is used to scoop and remove the soil from the pot without damaging the roots.
- A soft brush or toothbrush: This tool is used to gently brush away any remaining dirt from the roots for better inspection and pruning.
- A clean work surface or container: It is important to have a clean and organized work area to carefully handle the tree and its roots.
By having these tools prepared and ready, you will be well-equipped to safely remove the bonsai tree from its pot and proceed with any necessary repotting or maintenance tasks.
Prepare the workspace
Before removing the bonsai tree from its pot, it’s important to set up a suitable workspace. Here are a few steps to help you prepare:
- Gather the necessary tools: Collect all the tools you will need for the task, including a pair of bonsai pruning shears, a root rake, and a soil scoop.
- Choose a clean and organized area: Find a clean and well-lit area where you can comfortably work on the bonsai tree. Make sure the space is free from any clutter or distractions.
- Protect your work surface: Place a plastic or waterproof mat on your work surface to catch any soil or water that may spill during the process. This will prevent any damage to your table or countertop.
By preparing the workspace beforehand, you can ensure a smooth and organized process when removing your bonsai tree from its pot.
Loosen the roots gently
After carefully extracting the bonsai tree from its pot, the next step is to loosen the roots gently. This is an important step as it allows the roots to spread out and grow in a new pot.
To loosen the roots, you can use a root rake or a chopstick. Start by inserting the tool into the root ball and gently loosening the soil around it. Be careful not to damage or break any of the roots while doing this.
Continue to work your way around the root ball, loosening the soil and gently separating the roots. This process will help stimulate new root growth and allow the tree to establish itself in a new pot.
Take your time and be patient while loosening the roots, ensuring that you are not causing any harm to the tree. Once you have finished loosening the roots, you can proceed to the next step of repotting the bonsai tree.
Remove the tree from its pot
Before removing the bonsai tree from its pot, make sure you have all the necessary tools nearby. You will need a pair of pruning shears, a root rake or wooden chopstick, and a clean work surface.
Follow these steps to safely remove the tree from its pot:
- Water the bonsai tree a few hours prior to removal. This will help moisten the soil and make it easier to handle.
- Place a plastic sheet or tray underneath the pot to catch any soil or water that may spill during the process.
- Hold the base of the trunk firmly and tilt the pot slightly to loosen the root ball from the sides of the pot.
- Gently tap the bottom of the pot to further loosen the root ball.
- Insert a root rake or wooden chopstick into the drainage holes to gently loosen the roots from the bottom of the pot.
- Once the roots are loosened, carefully lift the tree out of the pot. Be cautious not to damage any delicate branches or foliage during this process.
- If the tree is still firmly stuck in the pot, use a pair of pruning shears to carefully trim away any excess roots that may be protruding from the bottom.
- Inspect the root ball for any signs of root rot or damage. If any issues are detected, trim away the affected roots using the pruning shears.
- Once the tree is removed from the pot, place it on a clean work surface for further examination or repotting.
By following these steps, you can safely remove a bonsai tree from its pot without causing any harm to its delicate roots or foliage.
Inspect and trim the roots
Before removing the bonsai tree from its pot, it is important to inspect and trim the roots. This step is crucial for maintaining the health and vitality of the tree.
Start by carefully removing the tree from its pot and gently shaking off any loose soil. Take a close look at the roots to check for any signs of damage or disease. Look for roots that are brown, mushy, or have a foul smell as these may indicate rot or infection.
Using clean and sharp bonsai scissors or shears, carefully trim away any damaged or unhealthy-looking roots. Cut them back to healthy tissue, making sure to remove any dead or decaying parts. It is important to be careful not to remove too many healthy roots as this can weaken the tree.
After trimming the roots, it is recommended to soak them in a bucket of water for a few minutes. This will help to remove any debris or remaining soil and hydrate the roots.
Once the roots are clean and trimmed, it is time to place the bonsai tree back into its pot or a new pot with fresh soil. Make sure to gently spread out the roots to encourage them to grow outward rather than circling the pot.
Benefits of inspecting and trimming the roots:
- Promotes overall tree health
- Prevents root rot and infection
- Encourages new root growth
- Enhances nutrient absorption
- Prevents root-bound condition
Common mistakes to avoid:
- Removing too many healthy roots
- Using dull or dirty tools
- Not trimming damaged or unhealthy roots
- Reusing old or contaminated soil
- Not hydrating the roots before repotting
By inspecting and trimming the roots of your bonsai tree, you can ensure its health and longevity. This step is essential for maintaining a strong and vibrant bonsai tree.