

Do you want to create a whimsical and magical atmosphere this Halloween? Why not make your own witches broom out of twigs? This simple and fun DIY project will add a touch of enchantment to your home decor or costume. In this article, we will guide you through the step-by-step process of crafting a witches broom that is not only visually appealing but also easy to make.
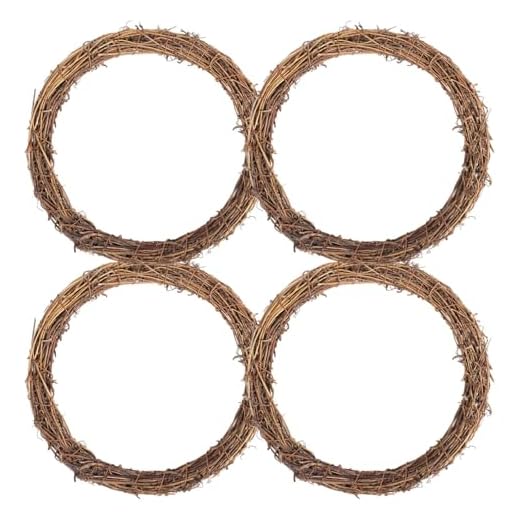
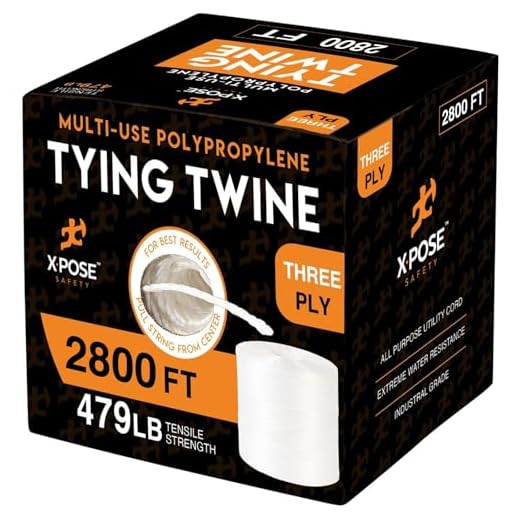
Before we begin, let’s gather the materials you will need. First and foremost, you will need a bunch of twigs. Make sure they are sturdy and long enough to create the broom’s bristles. Additionally, you will need some string or twine to hold the twigs together. Lastly, you may want to consider adding some decorative elements such as ribbons or a miniature witch hat to give your broom a personalized touch.
Now that we have all the necessary materials, let’s get started on making your witches broom. First, take a handful of twigs and arrange them in a fan shape. Make sure the ends are even and neat. Once you are satisfied with the shape, tightly bind the twigs together with the string or twine. Wrap it multiple times to ensure stability and durability.
Once you have secured the twigs, trim the ends to create a clean and uniform look. You can also leave some twigs longer to add variation to the broom’s design. If desired, you can further embellish your broom by tying ribbons or attaching a small hat to the handle. These decorative elements will add a touch of whimsy and make your broom stand out even more.
And there you have it – your very own witches broom made out of twigs! This DIY project is perfect for Halloween decorations, costume accessories, or even as a gift. Get creative and experiment with different materials and designs to make your broom truly unique. Now you can add a dash of magic to your Halloween celebrations with this homemade witches broom. Happy crafting!
Materials to Make a Witches Broom
To create your own witches broom, you will need a few simple materials. These can easily be found in your backyard or local park, making this a fun and affordable DIY project.
| 1. | A bundle of twigs or small branches, approximately 2-3 feet in length. Look for twigs that are sturdy and can withstand use as a broom. |
| 2. | A long, sturdy stick or branch for the broom’s handle. This should be slightly longer than the length of the twigs. |
| 3. | Jute twine or another strong, natural fiber for binding the twigs together. |
| 4. | A pair of gardening shears or pruners for cutting the twigs and branches to the desired length. |
| 5. | A drill with a small drill bit (optional) for creating holes in the handle to secure the twigs. |
| 6. | A hot glue gun (optional) for added stability and reinforcement. |
Once you have gathered these materials, you will be ready to start crafting your very own witches broom. Be sure to follow the steps carefully for a successful and enchanting result!
Choosing the Right Twigs for Your Broom
When it comes to making a witches broom out of twigs, choosing the right type of twigs is essential. The size, shape, and strength of the twigs can greatly affect the functionality and durability of your broom. Here are some things to consider when selecting twigs for your broom:
1. Length: Look for twigs that are long enough to create the desired length of your broom. Ideally, they should be around 3 feet long to ensure a comfortable grip while sweeping.
2. Flexibility: The twigs should have a moderate level of flexibility to allow for easy sweeping motion. Twigs that are too rigid may make it difficult to maneuver the broom effectively.
3. Strength: While flexibility is important, the twigs should also be strong enough to withstand the pressure and friction that comes with sweeping. Avoid using very thin or brittle twigs that may break easily.
4. Smoothness: Look for twigs that are relatively smooth to avoid splinters or scratches while using the broom. However, a few natural imperfections can add character to the broom.
5. Uniformity: Try to select twigs that are similar in size and shape to ensure an even and balanced broom. This will make sweeping more efficient and comfortable.
6. Sustainability: Consider using twigs that are ethically sourced or harvested from your own garden or surrounding area. This way, you can create a broom that is not only functional but also environmentally friendly.
With these tips in mind, you can choose the right twigs for your broom and create a magical tool that will accompany you on all your witchy adventures!
Gathering Other Necessary Materials
Aside from twigs, there are a few other materials that you will need to gather in order to make your witches broom. These materials include:
1. String or twine:
You will need some string or twine to bind the twigs together and create the handle of the broom. Choose a strong and durable material that will withstand the weight and use of the broom.
2. Scissors or a knife:
You will need a pair of scissors or a sharp knife to cut the twine and trim the twigs to the desired length. Make sure you have these tools handy before starting the project.
3. Optional decorations:
If you want to add some personal touches to your witches broom, you can gather some optional decorations. These can include ribbons, feathers, beads, or any other items you wish to incorporate into the design of your broom.
It’s important to have all these materials ready before you begin making your witches broom out of twigs. This way, you can complete the project smoothly and efficiently without any delays. Once you have everything gathered, you can move on to the next steps of creating your own unique witches broom.
Assembling Your Witches Broom
To assemble your witches broom, follow these simple steps:
Step 1: Prepare the Base
Begin by preparing the base of your broom. If you have gathered twigs of different sizes, select a few larger twigs to form the main handle of the broom. Lay these twigs side by side and use a strong cord or twine to tie them together at one end. Make sure the twigs are tightly secured.
Step 2: Add the Bristles
Next, it’s time to add the broom’s bristles. Choose a bundle of smaller twigs that are roughly the same length. Align the ends of the twigs and tie them together with another piece of cord or twine. Leave a small loop at the end of the twine to hang the broom later. Attach this bundle to the tied end of the main handle, making sure that it is secure and in the shape of a fan.
Step 3: Secure the Bristles
To secure the bristles in place, tightly wrap additional coordinating cord or twine around the bristle bundle where it meets the main handle. Make several loops and knots to ensure the bristles are tightly secured.
Before using your witches broom, make sure all the components are securely fastened. Take a moment to admire your handcrafted creation. With your new witches broom, you’ll be ready to embrace the magic of the season!
Adding the Finishing Touches
Once you have the basic structure of your witch’s broom made out of twigs, it’s time to add some finishing touches to make it look even more magical. Here are some ideas:
- Decorative Ribbon: Take a colorful ribbon and tie it around the base of the broom, near the bristles. This will add a pop of color and give your broom an extra festive touch.
- Glitter or Spray Paint: For an extra touch of sparkle, you can use glitter or spray paint to add a magical sheen to your broom. Choose colors that match your Halloween or witchy theme.
- Additional Embellishments: If you want to get even more creative, you can add additional embellishments such as small flowers, feathers, or beads to your broom. Simply attach them to the handle or weave them into the bristles for an added magical effect.
- Personalize it: Consider adding your own personal touch to the broom by attaching a tag with your name or creating a small charm to hang from the handle. This will make your broom unique and special to you.
Remember, the goal is to create a broom that fits your own personal style and tastes. Don’t be afraid to get creative and have fun with it!


