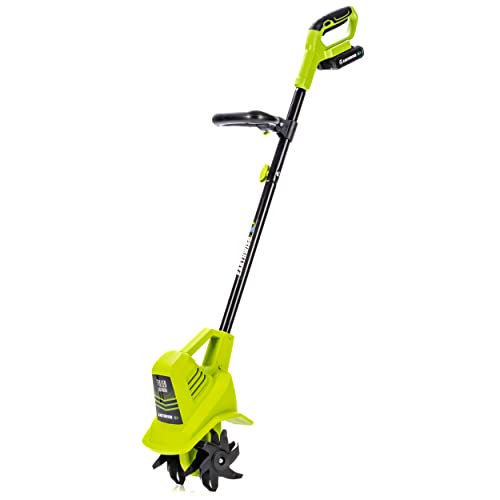
Valheim is an incredible survival game that has taken the gaming community by storm. As you explore the vast and dangerous world of Valheim, you’ll come across various tools and equipment to help you in your journey. One such tool is the cultivator, which is essential for taming the wild lands and growing crops.
Like any other tool, the cultivator in Valheim is prone to wear and tear. Over time, it may become damaged or even break, making it less efficient or completely useless. Fortunately, repairing the cultivator is a relatively simple process that you can do yourself.
To repair the cultivator, you’ll need a few resources. Firstly, you’ll need a workbench where you can perform the repairs. You’ll also need wood and bronze. Once you have these resources ready, follow these steps:
- Open your inventory and locate the damaged cultivator.
- Move the cultivator to one of the available slots in the workbench.
- Interact with the workbench to open the crafting menu.
- Find the cultivator in the crafting list and select it.
- You’ll see the repair option for the cultivator. Click on it to start the repair process.
- If you have the required resources and materials in your inventory, the repair process will begin, and your cultivator will be restored to its original condition.
It’s essential to note that repairing the cultivator will consume some of your resources. The amount will depend on the level of damage the cultivator has sustained. Ensure that you have enough wood and bronze to complete the repair process.
Properly maintaining your tools in Valheim is crucial for surviving in this challenging world. By following these steps, you can repair your cultivator and continue to cultivate your land and thrive in Valheim.
Valheim Cultivator Repair: Step-by-Step Guide
If your cultivator in Valheim is in need of repair, don’t worry! With a few simple steps, you can have your cultivator back to its original condition and ready for all your farming needs.
Step 1: Gather the Required Materials
Before you begin the repair process, make sure you have the necessary materials on hand. You will need:
| Materials | Quantity |
|---|---|
| Wood | 10 |
| Stone | 5 |
| Leather scraps | 3 |
Step 2: Repair the Cultivator
Once you have gathered all the materials, follow these steps to repair the cultivator:
- Go to a workbench or a repair station.
- Interact with the workbench or repair station to open the crafting menu.
- Select the cultivator from your inventory.
- Check the resource requirements for repairing the cultivator.
- If you have enough resources, click on the repair button.
- Wait for the repair process to complete.
Once the repair is complete, your cultivator will be as good as new! Make sure to regularly check the condition of your tools and repair them as needed to ensure optimal performance.
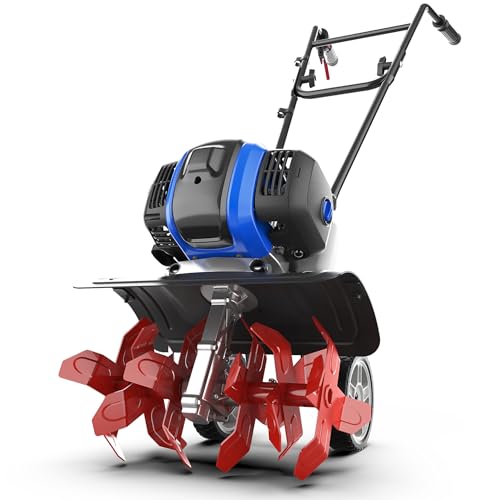
Understanding the Cultivator
The cultivator is a valuable tool in Valheim that allows players to prepare and cultivate the land for farming. It is an essential item for any farmer or aspiring agriculturalist looking to grow crops and produce food in the game.
The cultivator consists of several components that players need to be familiar with in order to repair it effectively. These components include:
| Component | Description |
|---|---|
| Cultivator Head | The main part of the cultivator that comes in contact with the ground. It can become damaged through use and needs to be repaired. |
| Cultivator Pole | The long pole that connects the cultivator head to the wielder’s hand. It provides stability and control while using the tool. |
| Cultivator Grip | The handle of the cultivator that the player holds. It allows for a firm grip and control over the tool. |
Repairing the cultivator requires players to have the necessary materials, such as wood and metal scraps, as well as access to a workbench. To repair the cultivator, you will need to interact with the workbench and select the repair option.
It’s important to regularly repair the cultivator to ensure its efficiency and effectiveness while farming. Neglecting to repair it can result in reduced farming productivity and slower growth of crops.
Understanding the components of the cultivator and knowing how to repair it will help you maintain a successful farming operation in Valheim.
Signs of Cultivator Damage
Repairing a cultivator can be quite tricky, especially if you don’t know what signs to look for. Here are some common signs that indicate cultivator damage:
- Uneven tilling: If you notice that your cultivator is not tilling the soil evenly, it could be a sign of damage. This could be due to bent or worn-out tines that need to be replaced.
- Lack of depth: If your cultivator is not reaching the desired depth when tilling, it could be a sign of damaged blades or worn-out depth control mechanism. This can result in poor soil preparation and uneven growth of plants.
- Excessive vibrations: Unusual vibrations during operation can be a sign of damaged or loose parts. This can lead to premature wear and tear of the cultivator and can also affect the quality of tilling.
- Reduced efficiency: If you notice that the cultivator is not performing as efficiently as before, it could be a sign of damage. This can manifest as decreased tilling speed, decreased fuel efficiency, or frequent stalling.
- Noise and squeaks: Unusual noise or squeaking sounds during operation can indicate damaged bearings, belts, or gears. It is important to address these issues promptly to prevent further damage.
If you notice any of these signs, it is crucial to inspect your cultivator for damage and address the issue as soon as possible. Ignoring signs of damage can lead to further deterioration of the cultivator and may require costly repairs or replacement in the future.
Repairing a Damaged Cultivator
If your cultivator in Valheim has been damaged during use, it’s important to repair it as soon as possible to maintain its effectiveness. Here is a step-by-step guide on how to repair a damaged cultivator:
Materials Needed:
- Wood (amount depends on the damage)
- Stone (amount depends on the damage)
- Metal (amount depends on the damage)
- Workbench
Steps to Repair:
- Locate a workbench in your base or craft one if you don’t have it already. Workbenches can be crafted using wood and stone.
- Approach the workbench and interact with it to open the crafting menu.
- In the crafting menu, select the cultivator and check its durability. If it is damaged, it will show a decrease in durability percentage.
- Select the cultivator and click on the repair button.
- Ensure you have enough resources (wood, stone, and metal) to repair the cultivator.
- If you have enough resources, click on the repair button to initiate the repair process.
- Wait for the repair process to complete. The time required for repair will depend on the cultivator’s damage and your skill level in repair.
- Once repaired, the cultivator will regain its full durability and can be used effectively in farming.
Remember to regularly check your cultivator’s durability to ensure it remains in good condition. Repair it whenever necessary to prevent further damage and maintain its usefulness in cultivating the land in Valheim.
Gathering Materials and Tools
Before you can begin repairing your cultivator in Valheim, you will need to gather the necessary materials and tools. Here are the items you will need:
Materials:
- Wood
- Stone
- Iron
Tools:
- Hammer
- Workbench
Wood, stone, and iron are essential materials for repairing the cultivator. You can gather wood by chopping down trees, stone by mining rocks, and iron by smelting iron ore in a smelter.
The hammer is used to repair the cultivator. Make sure you have it in your inventory before starting the repair process. The workbench is also necessary to access the repair option for the cultivator.
Once you have gathered the required materials and tools, you’ll be ready to repair your cultivator in Valheim.
Disassembling the Cultivator
If your cultivator in Valheim is damaged and needs repair, you will first need to disassemble it before you can repair it. Disassembling the cultivator is a straightforward process that requires only a few simple steps.
Step 1: Find a workbench where you can disassemble the cultivator. If you don’t have a workbench already, you can easily build one using wood and a workbench recipe.
Step 2: Once you have a workbench, approach it and open the crafting menu. In the crafting menu, navigate to the “Cultivator” section and select the option to disassemble the cultivator.
Step 3: After selecting the disassemble option, the cultivator will be broken down into its individual components, such as wood and metal. These components can be used to repair the cultivator or to craft new tools and equipment.
Note: Disassembling the cultivator will consume the durability of the tool, so make sure to disassemble it only when necessary. You can check the durability of the cultivator by hovering over it in your inventory.
Once you have disassembled the cultivator, you can proceed to repair it using the appropriate materials and tools. Following these steps will help you get your cultivator back in working condition so you can continue farming and cultivating your land in Valheim.
Cleaning and Replacing Parts
Regular cleaning and proper maintenance of your cultivator can help extend its lifespan and ensure optimal performance. Here are some steps to follow:
1. Disassembly
Before cleaning or replacing any parts, make sure to turn off the cultivator and disconnect it from the power source. Use the necessary tools to remove any covers or guards that may be obstructing access to the parts you want to clean or replace.
2. Cleaning
Using a clean cloth or brush, remove any dirt, debris, or caked-on soil from the cultivator’s parts. For harder to reach places, you can use a small brush or compressed air to dislodge any trapped particles. If necessary, you can also use a mild detergent or cleaning solution to remove stubborn stains or grease. Make sure to dry all the parts thoroughly before reassembly.
3. Inspecting and Replacing Parts
While cleaning, carefully inspect each part for any signs of damage or excessive wear. If you notice any cracks, bends, or other defects, it is recommended to replace the damaged parts. Refer to the cultivator’s user manual for specific instructions on how to replace each part properly. It is crucial to use genuine replacement parts to ensure compatibility and optimal performance.
4. Lubrication
After cleaning and replacing any necessary parts, apply a thin layer of appropriate lubricant to prevent friction and ensure smooth operation. Be cautious not to apply too much lubricant, as it may attract more dirt and debris.
5. Reassembly
Once all the parts have been cleaned, inspected, and replaced (if needed), carefully reassemble the cultivator following the reverse order of disassembly. Ensure that all the connections are secure and tight.
Following these steps regularly will help keep your cultivator in optimal condition and extend its lifespan.
| Part | Inspect for | Replace if damaged |
|---|---|---|
| Tines | Excessive wear, cracks | Yes |
| Belt | Wear, fraying | Yes |
| Blades | Blunting, chips | Yes |
| Handles | Looseness, cracks | Yes |