
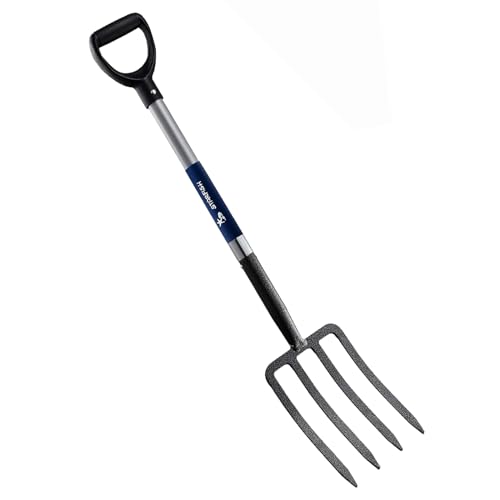
Gardening forks are essential tools for any gardener, helping to loosen soil and turn over compost. However, over time and with heavy use, gardening forks can become bent or misshapen, making them less effective and potentially dangerous to use. If your gardening fork is no longer straight, there are a few steps you can take to straighten it and restore its usefulness.
Step 1: Inspect your gardening fork to determine the extent of the bending. If the bend is minor, you may be able to straighten it yourself. However, if the fork is severely bent or damaged, it may be best to replace it with a new one.
Note: It is important to wear appropriate protective gear, such as gloves and safety glasses, when working with tools.
Step 2: Use a vice or clamp to hold the handle of the gardening fork securely in place. Make sure the fork is positioned so that the bent tines are facing up and can be easily accessed.
Step 3: Use a hammer or mallet to gently tap on the bent tines of the fork. Start at the base of the tine and work your way up towards the tip, gradually straightening it out. Be careful not to apply too much force or you may risk breaking the tine.
Step 4: Once you have straightened out the tines to your satisfaction, release the fork from the vice or clamp and inspect it again. If any tines are still bent, repeat the process until the fork is completely straight.
By following these simple steps, you can easily straighten a gardening fork and ensure its continued functionality. Remember to take your time and work carefully to avoid any unnecessary damage to the fork. Happy gardening!
How to Straighten a Gardening Fork: Tips and Tricks
Having a straight gardening fork is essential for effective and comfortable gardening. If your gardening fork has become bent or misaligned, here are some tips and tricks to help you straighten it:
- Assess the damage: Carefully examine your gardening fork to determine the extent of the damage. Look for any bends, twists, or misalignments that may be causing the issue.
- Apply heat: If your gardening fork is made of metal, applying heat can help make it more pliable and easier to straighten. Use a blowtorch or heat gun to heat the bent area until it becomes red-hot.
- Straighten with force: Once the metal is hot, use a pair of heavy-duty pliers or a vice grip to carefully straighten the bent area. Apply steady and controlled force, being careful not to exert too much pressure that could cause further damage.
- Use a leverage technique: For more severe bends, you can try using a leverage technique. Secure the fork’s handle against a solid object, such as a workbench or wall, and apply gradual pressure to the bent area until it straightens out.
- Test the fork: After straightening, test the gardening fork by applying pressure and using it in a normal gardening motion. Ensure that it feels sturdy and functions properly.
Important: Always exercise caution when using heat and tools to straighten a gardening fork. Wear protective gloves and eyewear, and be mindful of the potential for injury. If the damage is severe or you are unsure about your ability to straighten the fork, it may be best to replace it with a new one to ensure safety and performance.
By following these tips and tricks, you can effectively straighten a gardening fork and get back to enjoying your gardening tasks with ease.
Assessing the Damage
When trying to straighten a gardening fork, the first step is to assess the extent of the damage. This will help you determine whether repairing the fork is feasible or if it needs to be replaced entirely.
Take a close look at the fork and examine it for any visible signs of damage. Check for bent tines, dents, cracks, or any other deformities. It may be helpful to compare the fork to a new one for reference.
Bent Tines
If the tines of the gardening fork are bent, this can usually be fixed with some effort. You can try using a pair of pliers to carefully bend the tines back into their original position. Be gentle and gradual when applying pressure to avoid snapping or breaking.
Another method is to use a vise or clamp to hold the fork in place and apply pressure to the bent tines. This can help straighten them out effectively.
Cracks and Deformities
In cases where the gardening fork has cracks or deformities, it may not be possible to straighten it. These types of damages can compromise the integrity and strength of the fork, making it unsafe to use. It is recommended to replace the fork in such situations to ensure your safety.
If the deformities are minor, you may be able to use a file or sandpaper to smooth out rough edges or small dents. However, keep in mind that this will not fix significant structural issues.
Remember to always prioritize your safety when working with damaged tools. If you are uncertain about whether the fork can be straightened or if it is safe to use, it is best to consult a professional or replace it altogether.
Straightening the Fork
To straighten a gardening fork, you will need a few basic tools and some patience. Here are the steps to follow:
1. Assess the damage: Take a close look at the fork to determine the extent of the bend or misalignment. Identify the areas that need to be straightened.
2. Apply heat: Using a blowtorch or heat gun, carefully heat the bent or misaligned portions of the fork. This will help make the metal more malleable.
3. Use a vice: Once the metal is heated, place the fork in a vice, securing it tightly. Make sure the areas that need straightening are positioned in the jaws of the vice.
4. Apply pressure: Slowly and gradually, use a long-handled wrench or pliers to apply pressure in the opposite direction of the bend. Apply steady pressure until the fork starts to straighten.
5. Check progress: Regularly remove the fork from the vice and assess the progress. If the desired straightness is not achieved, repeat steps 2 to 4 until you are satisfied with the results.
6. Cool down: Allow the fork to cool down naturally. Do not force-cool with water or any other method, as this may cause warping or damage to the metal.
7. Test it out: Once the fork has cooled down, test it by using it for light gardening tasks. If it feels sturdy and functions well, you have successfully straightened your gardening fork!
Note: If you are unsure about performing these steps yourself or if the fork is severely damaged, it is recommended to seek professional assistance or consider getting a new fork.
Preventing Future Damage
Once you have successfully straightened your gardening fork, it is important to take steps to prevent future damage and ensure its longevity. Here are some tips:
- Store it properly: Find a designated spot in your garden shed or garage to store your gardening fork. Make sure it is kept in a place where it won’t be subjected to excessive moisture or extreme temperatures.
- Keep it clean: After each use, remove any dirt or debris from the fork using a brush or hose. This will prevent the accumulation of moisture and potential rusting.
- Inspect for damage: Regularly inspect your gardening fork for any signs of wear and tear. Check the tines for bending or splitting, and the handle for cracks or weakening. Address any issues promptly to prevent further damage.
- Use it appropriately: While a gardening fork is a versatile tool, it is important to use it for its intended purpose. Avoid using excessive force or prying motions that could lead to bending or breaking of the tines.
- Consider investing in a quality fork: If you find that your gardening fork requires frequent repairs or is constantly bending, it may be worth investing in a higher-quality fork. Look for models made from durable materials and with reinforced tines.
- Sharpen the tines: Over time, the tines of your gardening fork may become dull. If this happens, consider sharpening them to maintain their effectiveness. Use a file or sharpening tool to carefully remove any nicks or dull edges.
By following these preventive measures, you can extend the lifespan of your gardening fork and ensure that it remains a reliable tool for your gardening needs.


