

Have you ever found yourself in a situation where you accidentally dropped a fork into a bottle and it got stuck? It can be frustrating and even dangerous, especially if the bottle is made of glass. But don’t worry, there are several methods you can try to free your fork!
1. Gravity and shaking: The first thing you can try is to use the power of gravity. Hold the bottle upside down and gently tap the bottom with your hand. The force of gravity combined with the shaking motion might help dislodge the fork from its position.
2. Hot water: Pouring hot water into the bottle can sometimes expand the glass, creating a small gap between the fork and the bottle. Fill a kettle with hot water and carefully pour it into the bottle. Let it sit for a few minutes and then try to remove the fork again.
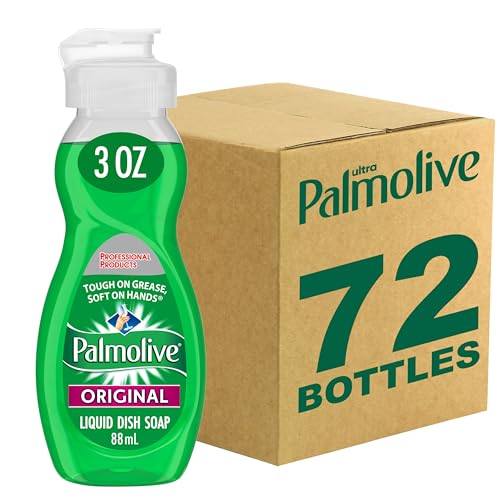
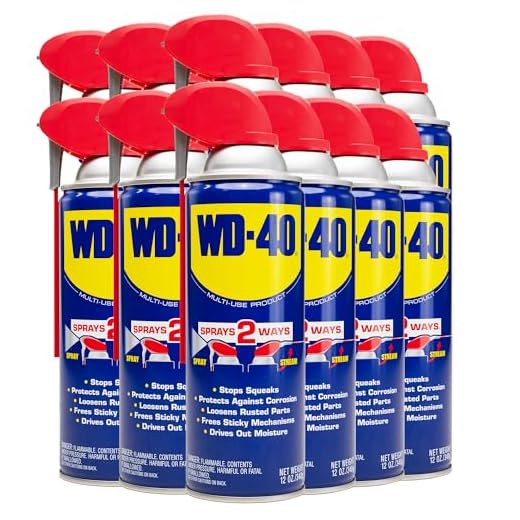
3. Oil or lubricants: Another trick you can try is to use oil or a lubricant to reduce friction between the fork and the bottle. Apply a small amount of cooking oil or WD-40 around the edges of the fork and wait for a few minutes. Then, gently twist and pull the fork to see if it loosens.
4. Use tools: If the above methods fail, you can try using tools to remove the fork. One option is to use a pair of pliers or tweezers to grip the fork tightly and pull it out. Be careful not to break the bottle while doing this.
Remember, safety should always be a priority. If the bottle is made of glass or if you are unsure about the methods mentioned above, it’s best to seek professional help or advice.
With these tips and tricks, you should be able to remove a fork stuck in a bottle without much hassle. Remember to stay patient and take your time while attempting to remove the fork. Good luck!
What causes a fork to get stuck in a bottle
When a fork gets stuck in a bottle, it can be frustrating and challenging to remove it. There are several factors that can cause a fork to become stuck:
1. Size and shape
The size and shape of the fork are crucial factors that determine whether it will get stuck in a bottle or not. If the fork has a wide handle or tines that are too close together, it may not fit through the bottleneck, causing it to become stuck.
2. Air pressure
The air pressure inside the bottle can also contribute to a fork getting stuck. When inserting a fork into a bottle, the air inside the bottle gets displaced, creating a vacuum. If the fork is not positioned correctly or is pushed too far into the bottle, this vacuum can prevent the fork from being easily removed.
Tip: To release the vacuum, you can try gently tapping the bottle or tilting it at an angle to allow air to enter and equalize the pressure.
3. Lubrication
If the fork is not properly lubricated, it can increase the chances of it getting stuck in a bottle. Dry or sticky surfaces can create friction and make it difficult to slide the fork in or out of the bottle. Using a small amount of lubricant, such as cooking oil or dish soap, can help reduce the friction and make it easier to remove the fork.
Important: When using lubricants, be cautious not to use excessive amounts as they can make the fork slippery and difficult to handle.
In conclusion, the size and shape of the fork, the air pressure inside the bottle, and the level of lubrication can all contribute to a fork getting stuck. Understanding these factors can help you prevent forks from getting stuck in bottles or assist you in safely removing them when they do.
Tools needed to remove a fork stuck in a bottle
Removing a fork that is stuck in a bottle can be a challenging task, but with the right tools, it can be done efficiently and safely. Here are some tools you will need to have:
- A pair of pliers: Pliers will be useful for providing a strong grip on the fork, allowing you to manipulate it and remove it from the bottle.
- A lubricant: Using a lubricant, such as cooking oil or soap, can help to loosen the fork and reduce friction, making it easier to remove.
- A towel or cloth: Having a towel or cloth handy will help you to get a good grip on the fork and protect your hands from any sharp edges.
- A firm surface: Finding a firm, stable surface to work on will give you better control and leverage when attempting to remove the fork.
Having these tools ready before attempting to remove the fork will make the process smoother and increase your chances of success. Remember to take your time and be patient to avoid any accidents.
Step-by-step guide on removing a fork stuck in a bottle
Step 1: Assess the situation
Before attempting to remove the fork from the bottle, carefully examine the position and angle of the fork. This will help you determine the best approach for removal.
Step 2: Gather necessary materials
Collect a pair of pliers, a thin but sturdy piece of cloth or rubber band, and a lubricant such as oil or dish soap. These items will assist in the removal process.
Step 3: Protect your hands
Prior to handling the fork, put on a pair of gloves to protect your hands from potential injury.
Step 4: Apply lubricant
Dab a small amount of lubricant onto the tip of the fork. This will help reduce friction and assist with removal.
Step 5: Create grip
Take the piece of cloth or rubber band and wrap it tightly around the handle of the fork. This will provide you with a better grip, making it easier to remove the fork from the bottle.
Step 6: Start turning
Using the pliers, firmly grip the wrapped handle of the fork and begin twisting it counterclockwise. Apply steady and gentle pressure to avoid damaging the bottle.
Step 7: Apply more lubricant if necessary
If the fork is still difficult to remove, apply more lubricant and repeat the twisting motion. This should help loosen the fork from its stuck position.
Step 8: Final removal
Continue twisting and turning until the fork is completely removed from the bottle. Take your time and exercise patience to avoid any accidents.
Note: If the fork remains stuck after following these steps, it is advisable to seek professional help to safely remove it without causing any damage to yourself or the bottle.
Tips for successfully removing a fork stuck in a bottle
If you find yourself with a fork stuck in a bottle, don’t panic! With the right technique, you can safely and easily remove it. Follow these tips to successfully remove a fork stuck in a bottle:
1. Stay calm and assess the situation
Before you start trying to remove the fork, take a moment to assess the situation. Look at the size of the fork and the opening of the bottle to determine the best approach.
2. Lubricate the fork and bottle neck
Applying some lubrication, such as cooking oil or soap, to the fork and bottle neck can help reduce friction and make it easier to remove. Be sure to apply the lubricant inside the bottle neck as well.
3. Use a twisting motion
Gently twist the fork back and forth while applying slight pulling pressure. This motion can help loosen the fork and create more space for it to be removed from the bottle.
4. Try different angles
If the fork is not coming out easily, try rotating it to different angles. Sometimes, a slight change in position can make a big difference in removing the stuck fork.
5. Use a tool or utensil
If the fork is still firmly stuck, try using another utensil or tool to pry it out. For example, you can use a pair of tongs or long-nose pliers to grip the fork and pull it out.
Remember to be patient and gentle while attempting to remove the fork, as applying too much force can cause the bottle to break. If all else fails, you may need to seek professional help to safely remove the fork from the bottle.
By following these tips, you should be able to successfully remove a fork stuck in a bottle without causing any damage.