
Intarsia is a woodworking technique that involves creating intricate designs by cutting and fitting different pieces of wood together. It is often done using a scroll saw, which allows for precise and detailed cuts.
In this article, we will explore the steps involved in doing intarsia using a scroll saw.
Step 1: Design your pattern
Before you start cutting, you need to have a clear idea of what you want to create. Sketch out your design on graph paper or use a computer software to create a digital pattern. Keep in mind that intarsia typically involves multiple wooden pieces that fit together like a puzzle, so plan accordingly.
Step 2: Select your wood
Choose the type and color of wood that will best bring your design to life. Different types of wood have different characteristics, so consider how each piece will contribute to the overall look of your project. It’s a good idea to practice cutting on scrap pieces of wood before working on your final project.
Step 3: Cut the pieces
Using your scroll saw, carefully cut out each individual piece of your design. Take your time and make precise cuts to ensure a perfect fit. It may be helpful to label each piece so you know where it belongs in the final composition. Sand the edges of each piece to smooth any rough spots.
Step 4: Assemble the pieces
Once all the pieces are cut and sanded, it’s time to put the puzzle together. Lay out the pieces according to your pattern, making any adjustments as needed. Glue each piece in place, taking care to align the edges perfectly. Allow the glue to dry completely before moving on to the next step.
Step 5: Finish and display your masterpiece
After the glue has dried, sand the entire piece to smooth any imperfections and create a cohesive finish. Apply a wood finish or stain of your choice to enhance the natural beauty of the wood. Finally, find a special place to display your intarsia masterpiece and enjoy the admiration of others!
What is Intarsia?
Intarsia is a woodworking technique that involves creating a design or picture by fitting together different types and colors of wood. This technique is typically used in scroll saw projects to create stunning and intricate designs.
Unlike other types of woodworking, where the different pieces of wood are joined together, intarsia relies on the precise cutting and fitting of individual pieces to create the desired image. Each piece of wood is carefully shaped to match the contours of the design, and then glued onto a base wood surface.
Intarsia requires a high level of precision and attention to detail, as the fit between the pieces of wood needs to be seamless. The result is a stunning piece of art that looks like a painting, but is made entirely of wood.
This woodworking technique has a long history and can be traced back to the ancient Egyptians, who used intarsia to decorate their furniture and tombs. It became particularly popular during the Renaissance, where it was used to create intricate panels and friezes.
The Process of Intarsia
The process of creating an intarsia design starts with selecting the right types and colors of wood. Different types of wood can be used to create depth and texture in the design, while varying colors can be used to add details and highlights.
Once the wood is selected, the design is transferred onto a piece of paper or cardboard, which serves as a template. Each individual piece of wood is then shaped and sanded to match the contours of the design. This step requires precision and care to ensure that the pieces fit together perfectly.
After the pieces are shaped, they are glued onto a base wood surface, such as plywood or MDF. The pieces should be arranged in the correct order and orientation to create the desired image. Once the glue dries, the intarsia piece can be sanded and finished to bring out the natural beauty of the wood.
Tips for Intarsia
Here are some tips to keep in mind when doing intarsia:
- Choose the right types and colors of wood to create contrast and depth in your design.
- Take your time in shaping and fitting the pieces together – precision is key in creating a seamless intarsia design.
- Use a sharp scroll saw blade to cut the wood pieces cleanly and accurately.
- Take breaks when working on intricate designs to avoid fatigue and mistakes.
- Experiment with different finishing techniques to enhance the natural beauty of the wood.
With practice and patience, you can create beautiful intarsia designs that showcase the natural beauty of wood.
Tools and Materials Needed
Before diving into the world of intarsia scroll saw, you will need to gather the necessary tools and materials. Here is a list of what you will need:
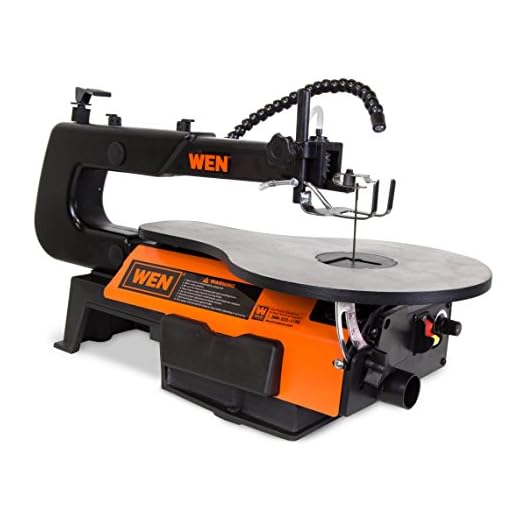
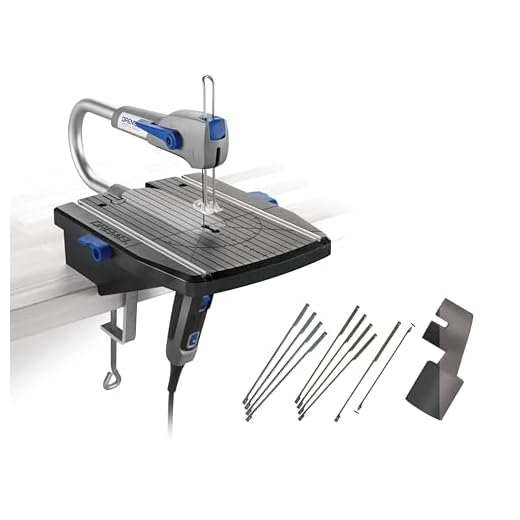
| Scroll Saw: | A quality scroll saw is essential for this technique. Look for one that has variable speed control and can accommodate different blade types. |
| Blades: | You will need a variety of blades for different types of wood and intricate designs. Make sure to have a selection of skip-tooth blades for rough cutting and fine-tooth blades for detailed work. |
| Wood: | The type of wood you use will affect the final outcome of your intarsia piece. Choose a hardwood like oak or walnut for durability and a beautiful finish. |
| Patterns: | Intarsia requires a pattern to guide your cutting. You can find patterns online or create your own. Make sure the pattern is clear and easy to follow. |
| Sanding Tools: | Sanding is an important step in finishing your intarsia piece. Have a variety of sandpaper grits on hand, as well as sanding blocks and files for intricate areas. |
| Clamps: | Clamps are useful for holding your wood securely in place while cutting. Look for ones that are adjustable and have rubber or plastic pads to avoid scratching the wood. |
| Wood Glue: | You will need a strong wood glue to assemble your intarsia piece. Look for one that dries clear and bonds securely. |
| Finishing Materials: | To bring out the natural beauty of the wood, you will need finishing materials such as sanding sealer, wood stain, and varnish or lacquer. |
| Protective Gear: | Intarsia involves working with sharp tools and potentially harmful substances. Always wear safety goggles, a dust mask, and protective gloves when working on your project. |
Having these tools and materials ready will set you up for success in your intarsia scroll saw journey. Make sure to take your time, follow safety protocols, and enjoy the process of creating beautiful wooden pieces!
Step-by-Step Guide to Intarsia
Intarsia is a woodworking technique that involves creating intricate designs by fitting together various shapes and pieces of different woods. It can be done using a scroll saw, and here is a step-by-step guide to help you get started:
Step 1: Choose the Design
Begin by selecting a design for your intarsia project. It could be anything from animals and landscapes to abstract patterns. Keep in mind the complexity of the design and your skill level.
Step 2: Select the Woods
Choose the types of woods you want to use for your design. Intarsia typically involves using different species with varying colors and grain patterns. Consider the contrast and visual effect you want to achieve.
Step 3: Prepare the Woods
Cut the different woods into thin boards or veneers of equal thickness. Sand each piece to ensure smooth surfaces and clean edges for better fitting.
Step 4: Trace and Cut the Pattern
Transfer the design onto the wood using carbon paper or tracing. Secure the wood piece onto the scroll saw table and carefully cut along the traced lines, making sure to follow the contours of the design.
Step 5: Fit and Adjust
Once you have all the pieces cut, start fitting them together like a puzzle. Use a file, sandpaper, or a carving tool to adjust the shapes as needed for a precise fit. The pieces should align perfectly without gaps.
Step 6: Glue and Assemble
Apply wood glue to the back of each piece and carefully assemble them together. Use clamps or weights to hold everything in place until the glue dries. Remove any excess glue that squeezes out.
Step 7: Sand and Finish
After the glue has dried, sand the entire piece to smooth out any rough edges or surfaces. Apply your chosen finish, such as varnish or lacquer, to protect and enhance the beauty of the wood.
By following these steps, you can create your own intarsia masterpiece using a scroll saw. It may take time and practice to master the technique, but with patience and dedication, you can achieve stunning results.
Tips and Tricks for Intarsia Success
Intarsia is a beautiful woodworking technique that involves creating intricate designs by fitting together different pieces of wood. While it may seem challenging, with the right tips and tricks, you can achieve stunning intarsia results. Here are some key pointers to help you succeed:
1. Choose the right wood
When it comes to intarsia, wood selection is crucial. Use contrasting woods with different colors and grain patterns to create depth and visual interest in your design. Avoid using wood with large knots or other defects that may affect the final result. Hardwoods like oak, walnut, and cherry are popular choices for intarsia projects due to their attractive grain and durability.

2. Prepare your wood
Before you start cutting, make sure your wood is properly prepared. Smooth the surfaces and edges to ensure a tight and seamless fit between pieces. Sanding or planing the wood also brings out its natural beauty and provides a great foundation for finishing.
3. Use a scroll saw
A scroll saw is an essential tool for intarsia. Its fine blades allow for precise and intricate cuts required for creating detailed designs. Take your time and follow the lines carefully to achieve clean, accurate cuts.
4. Secure your workpiece
To prevent slipping and ensure safe cutting, secure your workpiece firmly to the scroll saw table or a workbench. This will help you maintain control and produce accurate cuts, especially when working with smaller and more delicate pieces.
5. Practice patience
Intarsia requires patience and attention to detail. Take your time with each cut and assembly. Rushing can lead to mistakes and compromise the overall quality of your project. Enjoy the process and embrace the craftsmanship involved in creating intarsia pieces.
6. Experiment with stains and finishes
Once you have completed the intarsia design, consider experimenting with different stains and finishes to enhance its visual appeal. Test various finishes on scrap pieces of wood to find the one that best showcases the natural beauty of the different woods used in your project.
7. Learn from others
Joining a woodworking community or attending workshops and classes can be an excellent way to learn from experienced intarsia artists. Engaging with fellow craftsmen and participating in discussions and demonstrations can help refine your skills and expand your knowledge.
With these tips and tricks, you’ll be well on your way to creating stunning intarsia projects. Remember, practice makes perfect, so don’t be discouraged by initial challenges. Keep honing your skills, and soon you’ll be able to add beautiful intarsia pieces to your woodworking repertoire!