

Creating a scroll saw portrait pattern can be a challenging and rewarding project for any woodworking enthusiast. With the right tools and techniques, you can transform a photograph or any image into a stunning piece of art.
Step 1: Choose the right image
Start by selecting a high-resolution photograph or image that you want to turn into a scroll saw portrait. It’s important to choose a picture with clear details and good contrast for best results.
Step 2: Adjust the image
Use photo editing software or an online tool to adjust the image’s brightness, contrast, and sharpness. This will help enhance the details and create a more striking portrait pattern.
Step 3: Trace the image
Print out the adjusted image and tape it to a piece of tracing paper. Use a pencil or pen to carefully trace the main outlines and details of the image onto the tracing paper. Pay close attention to the smaller details and shading.
Step 4: Transfer the pattern
Place the traced pattern onto a thin piece of plywood or MDF board and secure it with tape. Use a carbon paper or transfer paper to transfer the lines onto the wood surface. Press firmly and go over the lines to ensure they transfer accurately.
Step 5: Cut with a scroll saw
Now it’s time to bring your pattern to life using a scroll saw. Choose the right blade for your project and carefully cut along the traced lines, following the contours of the image. Take your time and make precise cuts to create smooth and accurate shapes.
Step 6: Sand and finish
Once you have completed cutting the pattern, use sandpaper to smooth out any rough edges or imperfections. Apply a finish of your choice, such as varnish or paint, to protect the wood and enhance the overall appearance of your scroll saw portrait.
Remember, creating a scroll saw portrait pattern requires patience and practice. Don’t get discouraged if your first attempt doesn’t turn out exactly as planned. With time and experience, you’ll improve your skills and be able to create even more intricate and stunning scroll saw portraits.
Creating Scroll Saw Portrait Pattern
Creating a scroll saw portrait pattern is a detailed and intricate process that requires careful planning and attention to detail. With the right tools and techniques, you can create a beautiful and unique portrait that showcases your artistic skills.
1. Choose a Suitable Image
The first step in creating a scroll saw portrait pattern is to choose a suitable image that you would like to use as a reference. Ensure that the image has a clear and focused subject, as this will make it easier to create the pattern.
2. Adjust the Image
Using image editing software, adjust the contrast and brightness of the image to make the subject stand out. Simplify the image by reducing the number of colors and removing any unnecessary details. This will make it easier to convert the image into a scroll saw pattern.
3. Transfer the Image to Graph Paper
With a printout of the adjusted image, transfer the outline onto graph paper using a pencil. Each square on the graph paper represents a single piece in the pattern. Start by outlining the major features and gradually fill in the details.
4. Define the Cutting Lines
Next, use a pen or marker to define the cutting lines on the graph paper. This will help you visualize the pattern and understand how the pieces fit together. Be sure to mark the areas that will be cut out and the areas that will remain intact.
5. Number the Pieces
To make it easier to assemble the pattern later, number each piece on the graph paper. This will help you keep track of the order in which the pieces should be cut and assembled. You can use either a simple numbering system or a more complex one, depending on the complexity of the pattern.
6. Transfer the Pattern to Wood
Once you have finalized the pattern on graph paper, transfer it onto the wood using tracing paper or carbon paper. Ensure that the wood is smooth and free of any imperfections that may affect the cutting process.
7. Cut the Pieces
Using a scroll saw, carefully cut along the defined cutting lines to create each individual piece of the pattern. Take your time and work slowly to ensure precise cuts and avoid any mistakes. Remember to wear safety goggles to protect your eyes.
8. Sand and Finish
After cutting all the pieces, sand them to remove any rough edges or imperfections. Apply a finish of your choice to protect the wood and enhance its appearance. This will give your scroll saw portrait pattern a polished and professional look.
With these steps, you can create a stunning scroll saw portrait pattern that showcases your creativity and craftsmanship. Practice your skills and experiment with different images to create unique and personalized patterns.
Choosing the Right Image
When it comes to making a scroll saw portrait pattern, choosing the right image is crucial. The image you select will serve as the basis for your pattern, so it’s important to choose one that will translate well into a scroll saw design.
Consider the Level of Detail
The first thing to consider when choosing an image is the level of detail. Keep in mind that scroll saw patterns are limited in the amount of detail they can accurately replicate. Images with intricate details, such as small facial features or complex textures, may not translate well into a scroll saw pattern. Instead, opt for images with clear lines and defined shapes.
Think About Contrast and Shadows
Contrast and shadows play a significant role in a scroll saw portrait pattern. Images with strong contrast between light and dark areas will create a more striking and realistic pattern. Look for images that have well-defined shadows and highlights to add depth and dimension to your design.
Additionally, consider the background of the image. Simplified backgrounds or images with a single subject will be easier to convert into a scroll saw pattern.
Size Matters
Keep in mind that the size of your image will affect the final pattern size. Larger images will result in larger patterns, which may require a larger piece of wood and more detailed cutting. If you’re a beginner, it’s advisable to start with smaller images and gradually work your way up to more complex designs.
Overall, choosing the right image for your scroll saw portrait pattern requires careful consideration of detail, contrast, shadows, and size. By selecting an image that meets these criteria, you’ll be well on your way to creating an impressive scroll saw portrait.
Converting the Image to a Pattern
Once you have selected the image you want to turn into a scroll saw portrait pattern, the next step is to convert it into a pattern that can be used with a scroll saw. There are several methods you can use to achieve this:
- Manually tracing the image: If you have a steady hand and some patience, you can use a pencil and tracing paper to manually trace the key lines and shapes of the image onto the paper. This method allows for a more personalized and unique pattern.
- Using image editing software: Another option is to use image editing software such as Adobe Photoshop or GIMP to digitally recreate the image as a pattern. This method gives you more control over the final result and allows for adjustments and enhancements.
- Using pattern generator software: There are also specific software programs available that can automatically convert an image into a scroll saw pattern. These programs use algorithms to analyze the image and create a pattern with varying levels of detail and complexity.
Regardless of the method you choose, it is important to ensure that the image is high-resolution and clear. Low-quality images may result in a pattern that is difficult to interpret or cut accurately.
Once you have converted the image into a pattern, you can then print it out and transfer it onto the material you will be using for your scroll saw project. Make sure to adjust the size of the pattern if needed to fit the dimensions of your material.
Preparing the Materials
Before you can start creating your scroll saw portrait pattern, you’ll need to gather the necessary materials. Here’s a list of what you’ll need:
1. Image or Photograph
Choose a high-quality image or photograph that you’d like to turn into a scroll saw portrait. The image should have clear details and a good contrast between light and dark areas. Keep in mind that intricate designs may be more challenging to recreate.
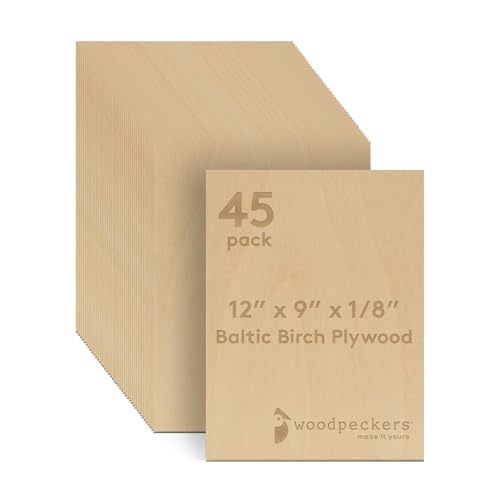
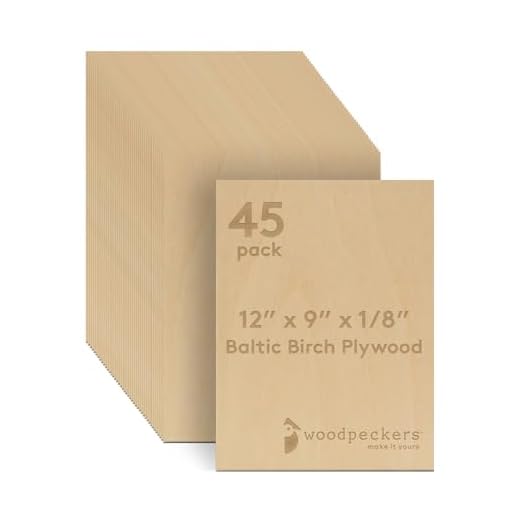
2. Plywood
Select a piece of plywood that’s suitable for scroll sawing. Plywood with a thickness of 1/4 inch or 1/2 inch is commonly used for these projects. Make sure the plywood is smooth and free from any rough edges or defects.
3. Scroll Saw Blades
Choose the appropriate scroll saw blades for your project. Different blades have different tooth configurations and sizes, which affect the level of detail you can achieve. Refer to the manufacturer’s recommendations for the best blade for your portrait pattern.
4. Safety Equipment
Prioritize safety by wearing protective gear such as safety glasses or goggles and hearing protection. Scroll sawing involves high-speed cutting, and debris and noise can pose hazards.
Once you have gathered all the necessary materials, you’ll be ready to move on to the next steps of creating your scroll saw portrait pattern.
Cutting the Portrait with Scroll Saw
Once you have prepared your portrait pattern and transferred it onto your workpiece, it’s time to start cutting with a scroll saw. Follow these steps to ensure accurate and clean cuts:
1. Choose the Right Blade
Select a scroll saw blade suitable for your project. Different blade sizes and types are available, each with their own characteristics. For intricate portrait patterns, a smaller blade with fine teeth is recommended to achieve detailed cuts.
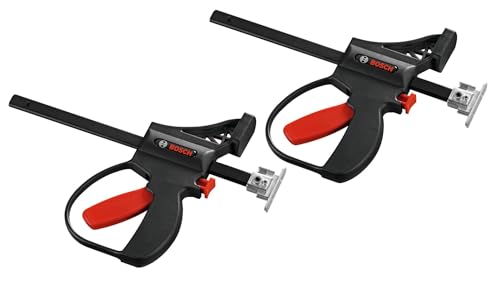
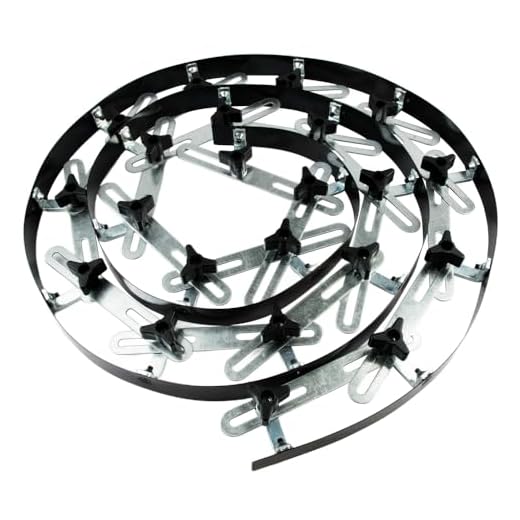
2. Secure Your Workpiece
Clamp your workpiece securely to a stable surface or use a scroll saw table if available. Make sure the workpiece is stable and won’t move during cutting.
3. Start Cutting
Begin cutting along the lines of your portrait pattern. Take your time and move slowly, keeping a steady hand. Follow the lines closely to achieve accurate cuts.
4. Maneuver the Workpiece
Rotate your workpiece as needed to make the cutting process more comfortable. Just make sure the blade doesn’t touch the table or any other surfaces besides the workpiece.
5. Cut Inner Areas first
When cutting intricate patterns, start with the inner areas first. This will prevent the cut-out piece from breaking away prematurely, providing more support for the fragile sections of the portrait.
6. Cut Outer Areas last
After cutting the inner areas, move on to cutting the outer edges of the portrait. This will ensure that the overall shape remains intact and keeps your workpiece stable during the cutting process.
7. Sand and Smooth
Once you have finished cutting, remove the workpiece from the scroll saw and sand the edges to smooth any rough spots. Use different grits of sandpaper to achieve a polished finish.
Following these steps will help you create a beautiful scroll saw portrait with clean and precise cuts. Remember to always prioritize safety and take breaks if needed to prevent fatigue.