
When working with a table saw, safety should always be a top priority. One of the most important safety precautions is using a pushing tool to keep your hands and fingers away from the spinning blade. While there are many different commercial pushing tools available on the market, you can easily make your own with just a few simple materials.
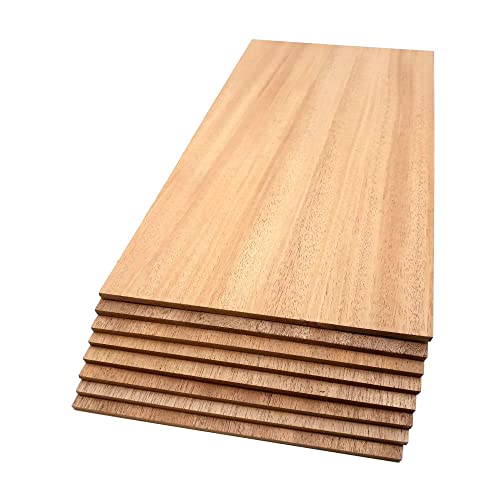
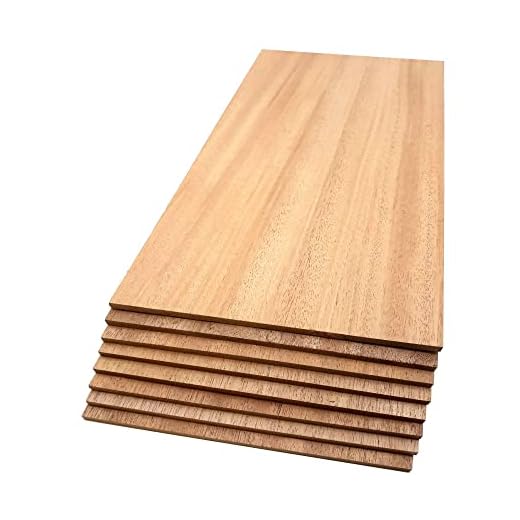
To make a pushing tool, you will need a piece of plywood or hardwood, measuring approximately 12 inches long and 2 inches wide. This will serve as the handle. You will also need a piece of scrap wood, measuring approximately 5 inches long and 3 inches wide. This will be used as the push block.
Start by attaching the push block to the handle. Position the block about 2 inches from one end of the handle and secure it with wood screws. Make sure the block is centered and flush with one side of the handle. You can also add some wood glue for extra stability.
Next, it’s a good idea to add some grip to the handle. This can be done by wrapping the handle with a non-slip material, such as self-adhesive rubber grip tape or electrical tape. This will ensure that the pushing tool doesn’t slip out of your hand while in use.

Once you have finished making your pushing tool, it’s important to test it out before using it on a real project. Place a scrap piece of wood on the table saw and practice making a few cuts. Pay attention to how the pushing tool feels in your hand and how it effectively keeps your fingers away from the blade. If any adjustments need to be made, do so before using the tool on a larger project.
Remember, safety should always be your top priority when working with power tools, especially table saws. By making your own pushing tool, you can ensure that your hands and fingers are protected while still maintaining control and accuracy in your cuts.
What is a Pushing Tool?
A pushing tool, also known as a push stick or push block, is a simple yet essential accessory for table saws. It is a handheld device used to safely guide and push workpieces through the saw blade. The primary purpose of a pushing tool is to keep your hands a safe distance away from the blade, minimizing the risk of injury.
A pushing tool typically consists of a flat, elongated piece of wood or plastic with a handle at one end and a notch or ledge at the other end. The notch or ledge is designed to securely hook onto the workpiece, allowing you to exert pressure and control the feeding process while keeping your hands away from the blade.
Pushing tools come in various shapes and sizes, including basic designs and more advanced ones with added features. It is essential to choose a pushing tool that suits your specific needs, taking into consideration the type of material you will be cutting and the intricacy of the work.
Benefits of Using a Pushing Tool
The use of a pushing tool offers several benefits, including:
- Enhanced safety: By keeping your hands away from the blade, a pushing tool dramatically reduces the risk of accidents and injuries.
- Improved control: A pushing tool provides better grip and control over the workpiece, allowing for precise cuts and minimizing the chance of kickback.
- Consistent results: Using a pushing tool helps ensure that the workpiece is evenly fed through the blade, resulting in more consistent and accurate cuts.
- Reduced fatigue: By using a pushing tool, you can exert pressure on the workpiece more comfortably, reducing the strain on your hands and arms during long cutting sessions.
Overall, a pushing tool is an indispensable accessory for anyone working with a table saw. It is a simple yet effective tool that significantly enhances safety, control, and accuracy when operating a table saw.
Importance of Using a Pushing Tool
When working with a table saw, it is crucial to prioritize safety. One essential tool that should always be used is a pushing tool. A pushing tool is a simple but effective device that helps in guiding wood or other materials through the table saw, ensuring a secure and accurate cut.
Here are a few reasons why using a pushing tool is important:
- Safety: The primary reason to use a pushing tool is for safety. Table saws can be dangerous if not handled properly. By using a pushing tool, you can keep your hands a safe distance from the blade, reducing the risk of accidents.
- Control: A pushing tool allows you to maintain control over the material being cut. It provides a steady and even pressure, ensuring precise cuts while minimizing the chance of kickback.
- Consistency: A pushing tool helps in maintaining consistency in the size and shape of the cuts. It prevents the material from moving or drifting during the cutting process, resulting in straight and accurate cuts.
- Efficiency: By using a pushing tool, you can work more efficiently. It enables you to quickly and safely feed the material through the saw, saving time and effort.
- Versatility: Pushing tools can be used with various materials, including wood, plastic, and metal. Whether you are a professional or a DIY enthusiast, a pushing tool is a versatile accessory that can be utilized in different projects.
In conclusion, a pushing tool is an indispensable accessory when using a table saw. It promotes safety, control, consistency, efficiency, and versatility. Investing in a pushing tool is a small but significant step towards ensuring a positive woodworking experience while minimizing the risk of accidents and achieving accurate cuts.
Materials Needed
To make a simple pushing tool for table saw, you will need the following materials:
- 1 piece of hardwood board: You will need a piece of hardwood board that is about 1 inch thick, 4 inches wide, and 12 inches long. This will serve as the base of the pushing tool.
- 2 wooden handles: You will need two wooden handles that are about 1 inch in diameter and 3 inches long. These will be attached to the top of the base to provide a comfortable grip.
- 4 screws: You will need four screws that are approximately 1 inch long to attach the handles to the base.
- Sandpaper: You will need sandpaper to smooth out any rough edges on the wooden handles and base.
- Drill: You will need a drill to create holes for attaching the handles to the base.
- Screwdriver: You will need a screwdriver to tighten the screws and secure the handles in place.
- Optional: Paint or varnish: If desired, you can paint or varnish the pushing tool to protect and enhance its appearance.
Note: It is important to use hardwood for the base and handles to ensure durability and stability while using the pushing tool with the table saw.
Wooden Plank
A wooden plank is a versatile tool that can be used for various woodworking projects. It is a flat, rectangular piece of wood that can be easily cut, shaped, and joined together to create different structures and components.
Wooden planks are commonly made from solid hardwoods such as oak, maple, or cherry. These types of wood are known for their durability, strength, and resistance to warping or splitting.
When selecting a wooden plank, it is important to choose one that is straight and free from knots or defects. This ensures that the plank will be stable and reliable during use.
Wooden planks can be used in a variety of ways in woodworking projects. They can be used as the base for building a table or workbench, as the sides or shelves of a bookshelf or cabinet, or as the surface for a cutting board or countertop.
When working with wooden planks, it is important to use proper safety precautions. Always wear protective eyewear, gloves, and a dust mask to prevent injury and inhalation of sawdust. Additionally, make sure to use appropriate tools and techniques to cut, shape, and join the planks together.
Overall, wooden planks are a valuable tool for any woodworker. They provide a solid foundation for woodworking projects and can be easily customized to meet specific needs and preferences.
Measurements and Cuts
Before you start building your pushing tool, you need to take measurements and make precise cuts. This will ensure that your tool functions properly and fits your table saw correctly.
Taking Measurements
The first step is to measure the width and length of your table saw’s surface. Use a tape measure to determine the exact dimensions. This is important because it will determine the size of the pushing tool you need to build.
Next, you should measure the height of your table saw’s surface. This is important because it will determine the height of the pushing tool. Measure from the bottom of the surface to the top, and make sure to write down the measurement for reference.
Making Cuts
Now that you have your measurements, it’s time to make cuts. You will need a piece of plywood or another sturdy material to build your pushing tool. Using a table saw or a circular saw, cut the plywood into the desired size and shape.
For the base of the pushing tool, cut a rectangular piece of plywood according to the width and length measurements you took earlier. Make sure to double-check your measurements before making any cuts.
Next, cut a smaller rectangular piece of plywood to serve as the handle of the pushing tool. The size of the handle will depend on personal preference, but make sure it is comfortable to hold and easy to grip.
Once you have made all the necessary cuts, you can assemble your pushing tool. Attach the handle to the base using screws or nails, making sure it is securely fastened.
Tip: It’s always a good idea to double-check your measurements before making any cuts. It’s better to be safe than sorry, and you can always trim the pieces if needed.
Assembly Instructions
To assemble the simple pushing tool for a table saw, follow these step-by-step instructions:
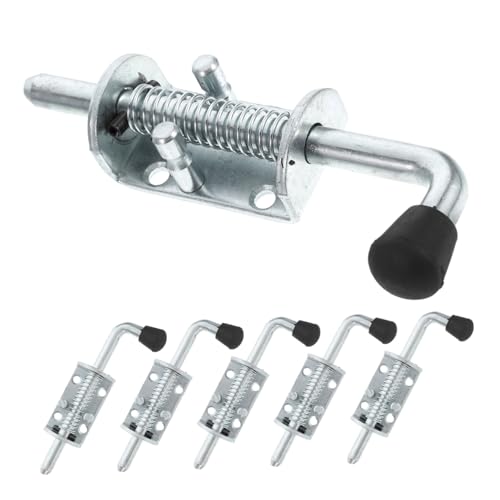
- Step 1: Gather all the materials needed for the assembly, including a wooden board, safety clamps, a ruler, a pencil, a drill, screws, and a screwdriver.
- Step 2: Place the wooden board on a flat surface and measure and mark the desired dimensions for your pushing tool.
- Step 3: Use a drill to create holes at the marked dimensions on the wooden board.
- Step 4: Align the safety clamps with the holes on the wooden board and secure them using screws and a screwdriver.
- Step 5: Tighten the screws on the safety clamps to ensure that they are firmly attached to the wooden board.
- Step 6: Test the pushing tool on the table saw by placing it against a piece of wood and applying gentle pressure to guide it through the saw.
- Step 7: Make any necessary adjustments to the pushing tool to ensure smooth and safe operation.
- Step 8: Use the pushing tool with caution, always keeping your hands clear of the blade and maintaining a firm grip on the tool.
Note: It is important to prioritize safety when using a table saw. Always follow the manufacturer’s instructions and wear appropriate protective gear, such as safety glasses and gloves, while operating the tool.
Attach Handle
Once you have constructed the main body of your pushing tool for the table saw, the next step is to attach a handle for easier grip and control. Here is a step-by-step guide on how to attach a handle:
- Measure and mark the desired location for the handle on the main body of the pushing tool.
- Drill pilot holes at the marked location to ensure that the handle will be securely attached.
- Select a handle of your choice, such as a wooden dowel or a metal bar.
- Align the handle with the pilot holes and insert screws or bolts through the holes to secure the handle in place. Make sure to use screws or bolts that are appropriate for the material of your handle and main body.
- Tighten the screws or bolts with a screwdriver or wrench until the handle is firmly attached to the pushing tool.
- Test the handle by applying pressure and pushing the tool against the table saw. Ensure that the handle provides a comfortable grip and allows for easy control.
- If needed, make any adjustments to the handle position or fastening for the best fit and functionality.
By attaching a handle to your pushing tool, you will enhance safety and precision while using a table saw. Remember to always follow safety guidelines and wear appropriate protective gear when operating power tools.
Attach Push Pad
Step 1: Start by selecting a suitable piece of plywood or hardwood for the push pad. It should be large enough to provide a comfortable grip but small enough to maneuver easily on the table saw.
Step 2: Measure and mark the desired dimensions for the push pad on the selected piece of wood. It is recommended to make it around 6-8 inches long and 3-4 inches wide.
Step 3: Cut out the marked shape using a jigsaw or band saw. Take your time to ensure smooth edges and a clean finish.
Step 4: Sand the edges and surfaces of the push pad to remove any roughness. This will help prevent splinters and ensure a comfortable grip.
Step 5: Drill a small hole near one end of the push pad. This will be used to attach a handle or rope for additional control and safety.
Step 6: Attach a handle or rope through the drilled hole. This will provide you with an extra grip and allow you to control the movement of the push pad effectively.
Step 7: Apply a protective finish to the push pad to enhance its durability and lifespan. Consider using a polyurethane or varnish for this purpose.
Step 8: Allow the finish to dry completely before using the push pad with your table saw. Once dry, it is ready to be used as a simple but effective pushing tool.
Note: Always prioritize safety when working with power tools, including table saws. Make sure to read and follow the manufacturer’s instructions and use protective equipment such as safety glasses and gloves.