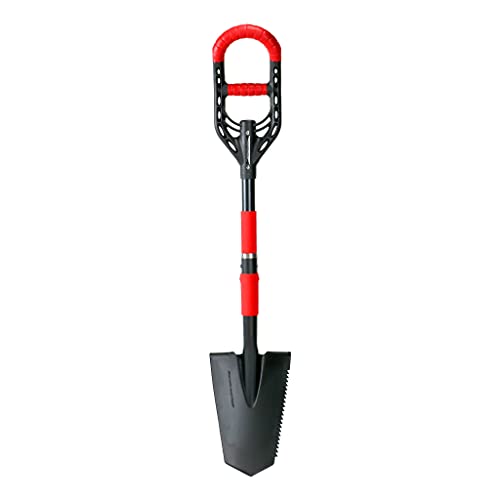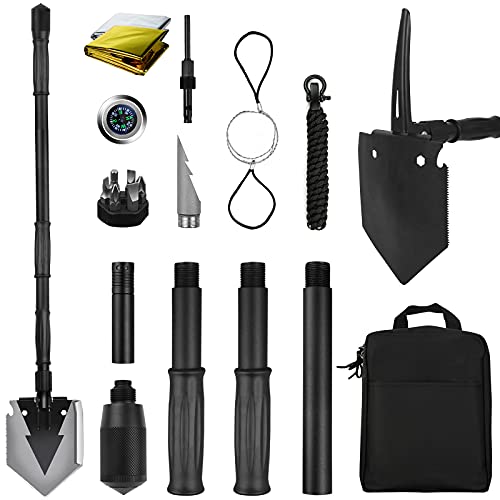


If you’re dreaming of having your own pool but don’t want to spend a fortune on hiring professionals or renting heavy machinery, you’re in luck! It is actually possible to dig a pool with just a simple shovel. Though it may sound like a daunting task, with the right planning, tools, and determination, you can turn your backyard into a cool oasis. So grab your shovel and let’s get digging!
1. Choose the perfect location:
Before you start digging, it’s important to select the perfect spot for your pool. Look for an area that has good drainage and is accessible to sunlight. Keep in mind any underground utilities or structures that may interfere with your digging plans. Also, consider the overall layout and aesthetics of your backyard to ensure the pool fits in harmoniously.
2. Gather the necessary tools:
Now that you’ve found the ideal location, it’s time to gather the tools you’ll need for this project. Besides a sturdy shovel, you might also want a pickaxe, a wheelbarrow, a measuring tape, string, stakes, and a level to ensure your pool is perfectly balanced. Having the right tools on hand will make the process much easier and more enjoyable.
Remember, this is a time-consuming and physically demanding task, so make sure you are up to the challenge. Take regular breaks, stay hydrated, and listen to your body. If you feel overwhelmed, don’t hesitate to ask for help or consider hiring a professional.
With a lot of hard work and determination, you’ll soon be able to enjoy your own homemade pool. So roll up your sleeves, put on some sunscreen, and get ready to create the pool of your dreams – with just a shovel!
Preparing the Ground
Before you start digging, it is important to properly prepare the ground to ensure a stable and even pool. Follow these steps to prepare the ground:
| Step 1 | Clear the designated area of any debris, rocks, or vegetation. Use a rake or shovel to remove any obstacles that could hinder the pool installation process. |
| Step 2 | Mark the outline of the pool area using stakes and a string or rope. Ensure that the outline is the correct dimensions and shape of your desired pool. |
| Step 3 | Excavate the marked area using a shovel. Start from the perimeter and work your way towards the center to create a gradual slope. Keep the sides as straight as possible to prevent collapse. |
| Step 4 | Measure the depth of the hole as you dig to ensure it is consistent throughout. Use a measuring tape or stick to check the depth regularly. |
| Step 5 | Remove any large rocks or roots that may be encountered during the excavation process. Clear the area of all obstructions to create a smooth and stable surface. |
| Step 6 | Level the ground using a rake or shovel to create an even base for the pool. Ensure that there are no low or high spots that could cause issues during pool installation. |
| Step 7 | Compact the soil using a hand tamper or plate compactor. This will help to stabilize the ground and prevent any future settling or shifting of the pool. |
By properly preparing the ground before digging, you can ensure that your pool will be stable, level, and ready for installation.
Choosing the location
Before you start digging a pool with a shovel, it is important to carefully choose the location where you want the pool to be. Here are some factors to consider when selecting the perfect spot:
- Sunlight exposure: Determine how much sunlight the area receives throughout the day. A pool that receives ample sunlight will be more enjoyable to use and will help keep the water warm.
- Drainage: Ensure that the chosen location has proper drainage to prevent water from accumulating around the pool area. Poor drainage can cause water to seep into the pool, leading to potential damage.
- Distance from trees and plants: Avoid placing the pool too close to trees or plants, as their roots can potentially damage the pool structure over time. Additionally, falling leaves and debris can create extra maintenance tasks.
- Accessibility: Consider the proximity of the pool to the house and other amenities. Placing the pool closer to the house can make it more convenient to access and can also enhance visibility for supervision.
- Privacy: If privacy is important to you, select a location that is shielded from the view of neighbors or passersby. This can be achieved by placing the pool in a secluded area or by installing privacy fences or landscaping.
- Utility lines: Check for the presence of any underground utility lines before starting the excavation process. Contacting your local utility company can help you identify and avoid potential hazards.
Once you have taken these factors into consideration, you can confidently choose the best location for your DIY pool project. Remember to plan and measure the area accurately before beginning the excavation process.
Clearing the area
Before you start digging, it’s important to clear the area where you plan to install your pool. Clearing the area not only ensures a clean workspace, but it also helps prevent any damage to the pool or injury to yourself during the digging process.
Here are some steps to follow when clearing the area:
|
1. Remove any obstructions: Walk around the area and remove any rocks, branches, or other debris that may hinder your digging progress. |
|
2. Mark the boundaries: Using flags or stakes, mark the boundaries of the pool area to ensure that you dig within the desired dimensions. This will help you maintain a consistent shape and size for your pool. |
|
3. Check for underground utilities: Before you start digging, it’s crucial to check for any underground utilities, such as water pipes, gas lines, or electrical cables. Contact your local utility companies to locate and mark these lines. |
|
4. Level the ground: Using a shovel or a rake, level the ground to remove any bumps or uneven areas. This will provide a stable base for your pool and prevent any future problems. |
|
5. Clear vegetation: If there are any plants, grass, or shrubs in the area, clear them out to create a clean and open space. You can use a lawnmower or a weed trimmer to remove the vegetation. |
By following these steps, you’ll have a clear area ready for digging your pool with a shovel. Remember to take your time and work carefully to ensure a successful excavation process.
Measuring and marking the pool area
Before you begin digging, it is important to measure and mark the pool area accurately. This will ensure that the pool is the correct size and shape, and that it is centered in the desired location.
Here is a step-by-step guide to help you measure and mark the pool area:
| 1. | Determine the dimensions of the pool. Use a measuring tape to measure the length and width of the pool. This will help you determine how large the hole needs to be. |
| 2. | Using stakes and twine, mark the corners of the pool area. Drive a stake into the ground at each corner. Then, tie twine between the stakes to create an outline of the pool. |
| 3. | Measure the diagonals of the pool area. This will help you ensure that the pool is square and not misaligned. The diagonals should be equal in length. |
| 4. | Adjust the stakes and twine as needed. If the diagonals are not equal, or if the outline is not aligned properly, make the necessary adjustments. This will help ensure that the pool is properly centered. |
| 5. | Double-check the measurements and markings. Measure the length and width of the pool area again to ensure accuracy. Make any final adjustments as needed. |
Once you have measured and marked the pool area, you are ready to begin digging. Remember to always follow safety guidelines and take breaks when needed. Digging a pool with a shovel may be a labor-intensive process, but with careful planning and preparation, you can achieve great results.
Digging the Pool
Before you start digging your pool, it’s important to plan and prepare the area properly. Ensure you have all the necessary permits and locate any underground utilities such as water pipes or electrical cables. Once you have done this, follow these steps to dig your pool with a shovel:
1. Mark the Area
Use stakes and string to mark the outline of your pool. Make sure the area is level and the dimensions are accurate. This will help you stay on track while digging.
2. Start Digging
Begin by removing the top layer of turf or vegetation. Use a shovel to dig a trench around the perimeter of the marked area. This will act as a guide for the rest of the digging process.
Next, start digging in the center of the pool area. Use the shovel to remove soil and debris, creating piles nearby. Remember to pace yourself and take breaks to avoid exhaustion.
3. Create Shelves and Slopes
Once you’ve reached the desired depth for your pool, create shelves and slopes. Shelves will provide a step-like area on which pool equipment can sit, while slopes will allow for a gradual transition from the shallow end to the deep end.
Take your time while creating these features, ensuring they are smooth and level. Use a rake or shovel to remove any excess soil and achieve the desired shape.
Remember to check the depth and level periodically as you proceed with digging to ensure accuracy.
Once you have finished digging your pool, it’s time to move on to the next steps of the construction process, such as installing the pool liner and filling it with water. With careful planning and hard work, you’ll soon be able to enjoy your very own pool!


