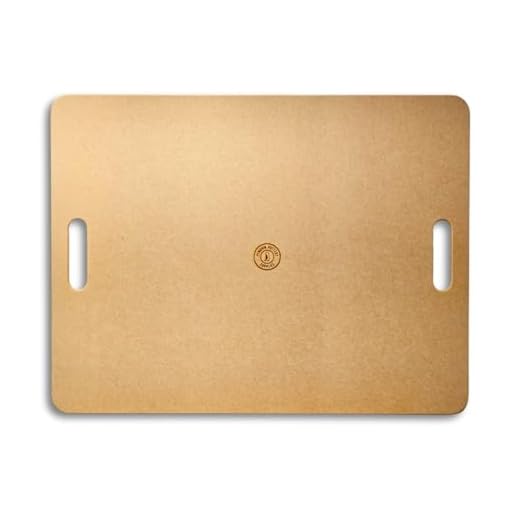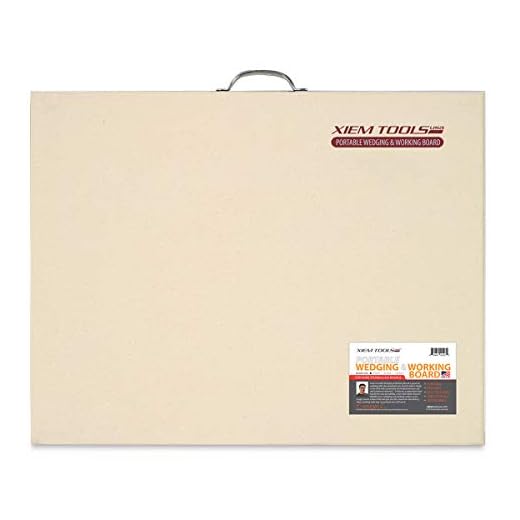


Wedge, also known as kneading or conditioning, is a vital step in working with clay. It involves the process of mixing and preparing the clay to remove air bubbles and ensure uniform consistency. But do you really have to wedge new clay?
The short answer is yes. While some potters may argue that you can skip wedging if you buy clay from a professional supplier, it’s always recommended to wedge your clay, especially if it’s fresh out of the bag. This is because clay often settles during transportation, which can lead to uneven moisture distribution and the formation of air pockets.
Wedging not only helps to break up and distribute the moisture evenly, it also aligns the clay particles, removes air bubbles, and improves the overall workability of the clay. Without proper wedging, you may encounter difficulties when throwing on the wheel or hand-building, as the clay might crack or warp during the drying and firing process.
Reasons to Wedge New Clay
Wedging new clay is an important step in the pottery process, and there are several reasons why it is necessary:
1. Remove Air Bubbles: Clay that has not been wedged may contain air bubbles, which can cause problems during the firing process. These air bubbles can expand and explode when the clay is heated, resulting in broken or damaged pottery. Wedging helps to remove these air bubbles, ensuring a more even and successful firing.
2. Even Moisture Distribution: Clay that has been sitting for a while may have uneven moisture distribution. Wedging helps to evenly distribute the moisture throughout the clay, making it easier to work with and reducing the risk of cracking or warping during drying and firing.
3. Homogenize the Clay: When clay sits for a period of time, it can become stiffer and harder to work with. Wedging helps to soften and homogenize the clay, making it more malleable and easier to shape and form into pottery.
4. Improve Clay Consistency: Clay can vary in consistency depending on the brand or batch. Wedging helps to improve the consistency of the clay, ensuring that it is the right texture and workability for the desired pottery project. Consistent clay results in more predictable and successful outcomes.
5. Remove Contaminants: Clay can sometimes contain impurities or foreign particles that can affect the quality of the pottery. Wedging helps to remove these contaminants, ensuring a cleaner and purer clay for creating pottery.
In conclusion, wedging new clay is an essential step in the pottery process. It helps to remove air bubbles, even out moisture distribution, homogenize the clay, improve clay consistency, and remove contaminants. By wedging new clay, potters can ensure better quality and more successful pottery creations.
Improve Workability
To improve the workability of new clay, wedging is usually recommended. Wedging helps to remove air bubbles, distribute moisture evenly, and align the clay particles, making it easier to work with.
Removing Air Bubbles
When clay is first opened, it often contains air bubbles trapped within the mass. These air bubbles can cause the clay to warp or explode when fired in a kiln. Wedging is a technique that involves forcefully kneading the clay to remove these air bubbles. By compressing the clay and pushing out the air pockets, wedging helps to ensure a more stable and uniform material for sculpting or throwing on a wheel.
Distributing Moisture Evenly
Newly opened clay may also have varying levels of moisture throughout its mass. Some areas may be dry and crumbly, while others may be overly wet and difficult to work with. Wedging helps to distribute moisture evenly across the clay, creating a consistent and workable texture. By folding and compressing the clay, wedging allows moisture to spread uniformly, making it easier to shape and mold the material.
Note: It is important to note that wedging may not always be necessary, especially if the clay is already well-prepared and does not contain excessive air bubbles or moisture imbalance. However, it is generally recommended as a good practice to improve the workability of new clay.
Remember: Practice and experience can also play a significant role in manipulating clay effectively. As you continue to work with clay, you will develop your own techniques and preferences for achieving the desired workability.
Remove Air Bubbles
One of the key steps in working with clay is removing air bubbles to ensure a smooth and even surface. Air bubbles can cause cracks and distortions in the final product, so it is important to take the time to remove them before continuing with your project.
Here are a few techniques you can use to remove air bubbles from your clay:
1. Wedging
Before you start working with new clay, it is often necessary to wedge it. Wedging is a process where you knead the clay with your hands to remove any air bubbles trapped within it. This can be done by cutting the clay in half, slamming the two pieces together, and repeating the process until you achieve a smooth consistency. Wedging not only removes air bubbles, but it also homogenizes the clay, making it easier to work with.
2. Hand smoothing
Another method to remove air bubbles is through hand smoothing. This technique involves using your hands or a smooth tool to gently press and smooth the surface of the clay. By applying even pressure and smoothing out any imperfections, you can help release any trapped air bubbles. It is important to be gentle and take your time when hand smoothing to avoid distorting the shape of the clay.
By following these techniques and removing air bubbles from your clay, you can ensure a high-quality final product that is free from cracks and distortions.
Increase Plasticity
Increasing the plasticity of clay can be beneficial for various reasons. Whether you are a beginner or an experienced potter, understanding how to increase plasticity will help you work with clay more easily and create better ceramic pieces. Here are some techniques to improve clay plasticity:
- Add water: Sprinkle small amounts of water on the clay and knead it with your hands. The water will hydrate the clay particles and make it more malleable.
- Mixing clay: Mix different types of clay together to increase their plasticity. Some clays naturally have higher or lower plasticity levels, so combining them can bring out the best qualities of each clay.
- Add a plasticizer: Plasticizers like bentonite or ball clay can be added to the clay to enhance its plasticity. These additives act as lubricants and help the clay particles slide against each other more easily.
- Wedging: Wedging is the process of kneading the clay to remove air bubbles and align the particles. This can increase plasticity by creating a more consistent clay body.
- Clay rejuvenator: If you are working with dry or stiff clay, a clay rejuvenator can be used to soften it and improve its plasticity. Apply the rejuvenator to the clay and let it sit for a while before kneading it.
- Drying methods: Properly drying the clay can also increase its plasticity. Slow drying in a humid environment can help the clay retain moisture and become more pliable.
By following these techniques, you can significantly increase the plasticity of your clay. Experiment with different methods and find what works best for you and your creative process. Remember to always handle clay with care and respect, as it is a delicate material that requires attention and patience.
Prevent Cracking
When working with new clay, it is important to take proper precautions to prevent cracking. By following these guidelines, you can ensure that your clay remains intact and free from unwanted fissures.
1. Wedge the Clay
One of the most crucial steps in preventing cracking is wedging the clay. Wedging involves kneading and compressing the clay to remove any air pockets and ensure that the clay is evenly mixed. This process helps to create a stronger and more uniform structure, reducing the chances of cracking.
2. Keep the Clay Moist
Dry clay is more prone to cracking, so it is essential to keep the clay moist throughout the working process. You can achieve this by misting the clay with water or covering it with a damp cloth. By maintaining an adequate level of moisture, you can reduce the risk of cracks forming.
Tip: If you notice that your clay is drying out while you are working with it, you can spritz it with water or wrap it in plastic wrap to retain moisture.
Additionally, when storing unused clay, make sure to keep it in an airtight container or wrap it tightly in plastic to prevent moisture loss.
3. Slow and Even Drying
One of the main causes of cracking in clay is rapid and uneven drying. To prevent this, it is important to allow your clay pieces to dry slowly and evenly. This can be achieved by placing them on a porous surface such as a plasterboard or canvas and covering them with a plastic bag or damp cloth. By controlling the drying process, you can minimize the risk of cracks developing.
Note: Larger or thicker clay pieces may require even longer drying times to ensure proper drying and prevent cracking.
By following these guidelines and taking proper care when working with clay, you can greatly reduce the likelihood of cracks appearing in your finished pieces. Remember to wedge the clay, keep it moist, and allow it to dry slowly and evenly for the best results.


