
Woodworking is a fascinating and rewarding hobby that allows you to create beautiful and functional objects out of wood. One essential tool every woodworker needs is a chisel. While you can easily buy chisels from a store, there is something special about making your own. In this article, we will guide you step by step on how to make a wooden chisel.
A wooden chisel is a versatile and traditional tool that has been used for centuries. It consists of a handle made of wood, which provides a comfortable grip, and a blade made of steel, which is used for cutting and carving wood. Making your own wooden chisel allows you to customize the size and shape of the blade to suit your needs.
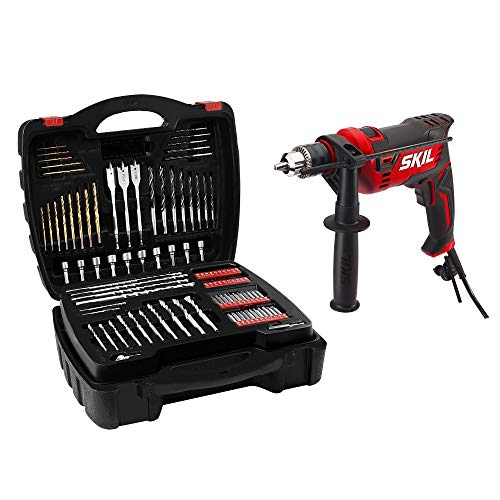
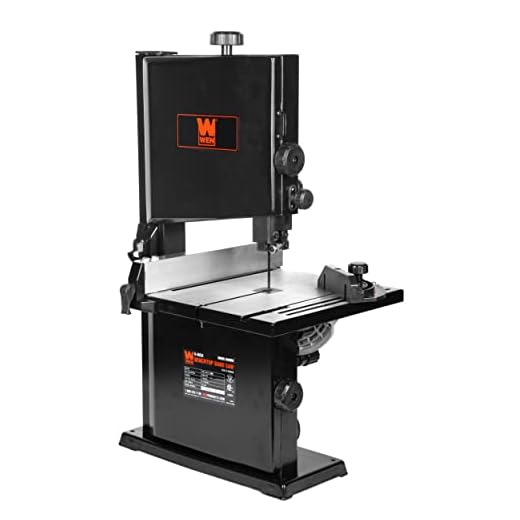
To make a wooden chisel, you will need a few basic tools and materials. These include a block of hardwood, such as maple or beech, a saw for cutting the wood, a drill for making the hole in the handle, a file for shaping the blade, and sandpaper for smoothing and finishing the chisel. You will also need a bench vise or clamps to secure the wood while working on it.

Once you have gathered all the necessary tools and materials, you can begin making your wooden chisel. Start by cutting the wood block to the desired length for the handle. Next, mark the center of the block and use the drill to make a hole the same diameter as the tang of the blade. After that, shape the handle using a file, sandpaper, or other shaping tools. Finally, insert the blade into the handle and secure it with epoxy or a wedge.
Choosing the Right Wood
When making a wooden chisel, one of the most important aspects to consider is the type of wood you use. The choice of wood will determine the durability and performance of the chisel. Here are some factors to consider when choosing the right wood:
Hardness: It’s important to select a wood that is hard enough to resist daily wear and tear. Some recommended hardwoods for making chisels include oak, ash, and maple. These woods are known for their high density and strength.
Density: The density of the wood affects the overall weight of the chisel. A denser wood will provide better stability and control. Woods like rosewood and cocobolo are denser and ideal for a chisel handle.
Grain Orientation: The grain orientation of the wood should be considered to ensure the chisel’s strength and stability. It’s best to choose a wood with straight and even grain patterns. This will make the chisel less prone to splitting or warping during use.
Resistance to Moisture: Wood that resists moisture well is essential for a chisel that will last. Moisture-resistant woods like teak, walnut, and mahogany are highly recommended for making chisels.
Aesthetics: While not essential to its function, the appearance of the wood can add beauty and personality to your chisel. Consider choosing a wood with an attractive grain pattern or a natural color that appeals to you.
By considering these factors, you can select the right wood for your homemade chisel and ensure its longevity and performance.
Preparing the Wood for Carving
Before you start carving, it is essential to prepare the wood properly. This ensures that you have a clean, smooth surface to work on and helps prevent any issues during the carving process.
First, select a high-quality piece of wood that is suitable for carving. Hardwoods such as cherry, maple, and walnut are good choices as they are durable and hold up well to carving.
Next, examine the wood for any defects or imperfections. Look for knots, cracks, or uneven areas that may impact the carving process. If you find any, consider removing or repairing them before proceeding.
Once you have a suitable piece of wood, use a sharp chisel or plane to remove the outer layer of bark and any rough spots. This will give you a smooth surface to work on.
Afterward, consider sanding the wood to further refine the surface. Start with a coarse grit sandpaper and gradually work your way up to a finer grit for a smooth finish. Make sure to sand in the direction of the wood grain to avoid causing any scratches.
Finally, apply a coat of wood finish or sealant to protect the wood and enhance its natural beauty. Allow the finish to dry completely before starting the carving process.
By properly preparing the wood for carving, you will create an optimal working surface and improve the overall quality of your finished piece.
Creating the Blade
Once you have selected the right type of wood, it’s time to create the blade for your wooden chisel. The blade is the most essential part of the chisel, as it is responsible for cutting and shaping the wood.
Materials and Tools Needed
Before you begin creating the blade, gather the following materials and tools:
- Wood block
- Chisel template or existing chisel for reference
- Bandsaw or coping saw
- Files or rasps
- Sandpaper
- Clamps
Steps to Follow
Follow these steps to create the blade:
- Begin by tracing the chisel template or an existing chisel onto the wood block. Make sure to outline both the shape of the blade and the tang.
- Using a bandsaw or coping saw, carefully cut along the traced lines to separate the blade from the rest of the wood block.
- Once the blade is separated, smooth out any rough edges or uneven surfaces using files or rasps. Take your time to ensure the blade has a clean and sharp edge.
- After filing, sand the blade with progressively finer grits of sandpaper. Start with a coarse grit and gradually move to a finer grit until the blade feels smooth to the touch.
- Finally, place the blade in a clamp to secure it in position while you work on attaching the tang and handle.
Creating the blade is a delicate process that requires attention to detail. Take your time, and make sure the blade is precise and well-crafted before moving on to the next steps.
Shaping the Blade
To make a wooden chisel, shaping the blade is a critical step. The blade of a chisel is what determines its effectiveness in cutting and shaping wood. Here are the steps to shape the blade:
1. Choose the right wood: Select a hardwood for the blade that is durable and resistant to wear. Beech, cherry, and maple are popular choices for chisel blades.
2. Mark the outline: Use a pencil or marking knife to draw the desired shape of the blade on the wooden blank. Make sure to include the bevel angle and the cutting edge in your outline.
3. Cut the excess wood: Use a bandsaw or coping saw to cut out the rough shape of the blade. Leave some extra material on the edges to allow for refining the shape later.
4. Shape the bevel: Use a bench grinder or a sharpening stone to shape the bevel of the blade. Start by grinding away the excess material at a low speed, and gradually increase the speed as you get closer to the desired bevel angle.
5. Refine the shape: Use a file or sandpaper to refine the shape of the blade. Smooth out any rough edges and ensure that the bevel angle is consistent along the entire length of the blade.
6. Sharpen the cutting edge: Use a honing guide and sharpening stones to create a sharp and durable cutting edge on the blade. Start with a coarse grit stone and gradually work your way up to finer grits for a polished edge.
7. Test the blade: Check the sharpness and functionality of the blade by making a few test cuts on a piece of scrap wood. Make any necessary adjustments to the shape or sharpness of the blade.
Remember to always wear protective eyewear and work in a well-ventilated area when shaping the blade. Proper safety measures are crucial to prevent accidents and injury.
Tempering the Blade
Tempering is a crucial step in the process of making a wooden chisel, as it helps to harden the blade and improve its durability. This process involves heating the blade and then cooling it rapidly to achieve the desired hardness.
1. Heating the Blade
Before tempering the blade, it is important to ensure that it is clean and free of any contaminants. This can be done by wiping it with a clean cloth or using a degreasing agent. Once the blade is clean, it can be placed in a heat source such as a forge or a gas burner.
It is important to heat the blade evenly, as uneven heating can lead to warping or cracking. To achieve this, the blade should be placed in the heat source and rotated regularly to ensure all areas are exposed to the heat. Heating the blade to a temperature between 300-400 degrees Celsius is usually sufficient for tempering.
2. Cooling the Blade
After the blade has been heated to the desired temperature, it needs to be rapidly cooled to lock in the hardened state. This can be done by quenching the blade in a liquid medium such as water, oil, or a specialized quenching oil.
The choice of quenching medium depends on the type of steel used in the blade. Water is a common choice for carbon steel blades, while oil or specialized quenching oils are preferred for high-speed steel blades. It is important to carefully follow the manufacturer’s recommendations for the specific type of steel being used.
The blade should be immersed in the quenching medium for a sufficient amount of time to ensure maximum hardness. This can range from a few seconds to a few minutes, depending on the thickness of the blade. After the blade has been quenched, it should be allowed to cool naturally and then cleaned to remove any residual quenching medium.
It is worth noting that extreme care should be taken during the tempering process, as the blade will be extremely hot. Protective gear such as gloves and safety glasses should be worn, and the process should be carried out in a well-ventilated area to avoid the inhalation of fumes.
By following these steps, you can successfully temper the blade of your wooden chisel, ensuring its durability and long-lasting performance.
Crafting the Handle
When it comes to making a wooden chisel, crafting the handle is an important step that should not be overlooked. The handle plays a crucial role in providing comfort and control while using the chisel, so it is essential to take the time to create a well-designed and sturdy handle.
Choosing the Wood
The first step in crafting the handle is selecting the right type of wood. Hardwoods like oak, ash, or walnut are popular choices for chisel handles due to their durability and strength. It is important to choose a wood that is free of defects such as knots or cracks, as these can weaken the handle over time.
Shaping the Handle
Once you have chosen the wood for your handle, you can begin shaping it. Start by cutting a length of wood approximately 6-8 inches long, depending on your personal preference. Use a saw or a bandsaw to cut the wood to size.
Next, use a chisel or a rasp to shape the handle to your desired design. Pay attention to ergonomics and comfort, making sure the handle feels comfortable in your hand. Consider adding contouring or finger grooves to improve grip and control.
Smooth out any rough edges or splinters using sandpaper. Start with a coarse grit sandpaper and gradually work your way up to a finer grit for a smooth and polished finish.
Finally, drill a hole through the length of the handle to accommodate the chisel blade. Make sure the hole is aligned with the blade and provides a secure fit. Sand the interior of the hole to ensure a smooth surface.
Remember, the handle is what connects you to the chisel, so take the time to craft it carefully. A well-crafted handle will not only enhance your woodworking experience but also ensure the longevity of your wooden chisel.