

Japanese chisels are known for their exceptional quality and sharpness. Properly sharpening a Japanese chisel is essential to maintain its performance and extend its lifespan. While it may seem daunting at first, with the right approach and techniques, you can easily sharpen your Japanese chisel like a professional.
Step 1: Gathering the necessary tools
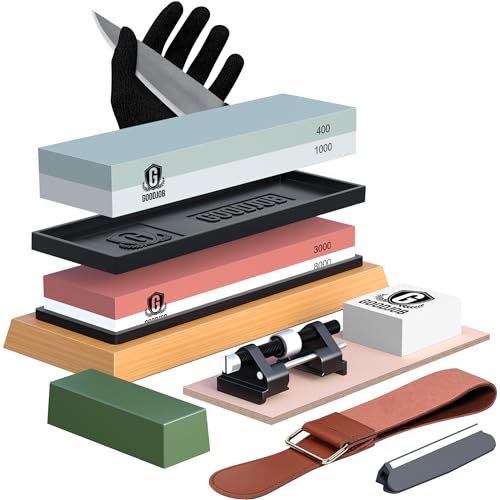
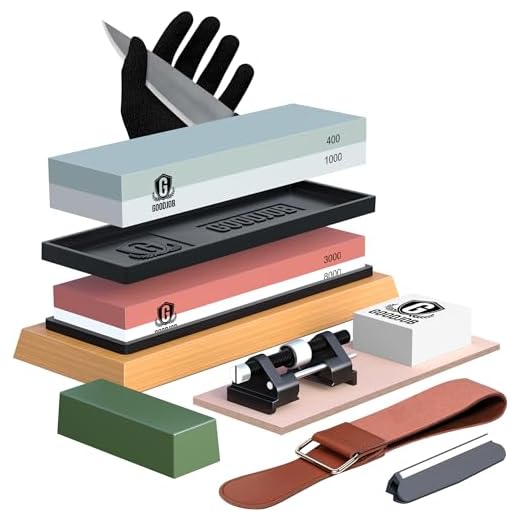
Before you begin sharpening your Japanese chisel, you will need a few essential tools. These include a set of sharpening stones with various grits, a honing guide, a flat working surface, and a leather strop. You may also need a marker or pencil to mark the bevel angle.
It’s important to note that Japanese chisels have a hollow-ground back and a single bevel. This means that you only need to sharpen the bevel side, while keeping the back flat.
Step 2: Setting the bevel angle
Start by setting the bevel angle on your chisel using a honing guide. The bevel angle will depend on your personal preference and the type of work you’ll be doing. Once set, you can mark the bevel angle using a marker or pencil for reference.
Step 3: Sharpening the bevel
Begin sharpening the bevel side of the chisel by starting with a coarse grit stone. Place the chisel in the honing guide and secure it firmly. Move the chisel back and forth on the stone, making sure to maintain a consistent angle and apply even pressure. Repeat this process on each grit stone, gradually moving to finer grits, until you achieve a razor-sharp edge.
Remember to clean the stone between grits to remove any metal particles that may clog the surface.
Step 4: Honing the back
Once the bevel is sharpened, you can proceed to hone the back of the chisel. Lay the chisel flat on the stone and move it back and forth in a circular motion to evenly remove the metal. Ensure that the back of the chisel remains flat throughout the process. You can use a marker to check for any low spots that need further honing.
Step 5: Polishing and stropping
After sharpening and honing, it’s time to polish the bevel and refine the edge even further. This can be done by using a finer grit stone or a leather strop. Move the chisel along the stone or strop, applying light pressure, and repeating until the desired sharpness is achieved.
Remember to periodically flatten and clean your sharpening stones to maintain their effectiveness.
By following these steps and practicing regularly, you can master the art of sharpening a Japanese chisel and ensure that it remains a precise and reliable tool in your woodworking arsenal for years to come.
Why Sharpening a Japanese Chisel is Important
Sharpening a Japanese chisel is crucial for achieving precise and clean cuts. Japanese chisels are renowned for their exceptional sharpness and craftsmanship, which makes them highly sought after by woodworkers and artisans alike. However, to maintain their cutting edge, regular sharpening is necessary.
Here are a few reasons why sharpening a Japanese chisel is important:
1. Enhanced Cutting Performance: Sharpening your chisel ensures that it maintains its keen edge, allowing you to effortlessly work through various types of wood. A sharp chisel minimizes the risk of splintering or tear-out, resulting in clean and precise cuts.
2. Safety: A dull chisel can be more dangerous to use than a sharp one. Dull edges require more force to cut through the wood, increasing the risk of slipping or causing accidental injuries. Regular sharpening helps maintain a sharp and controlled cutting edge, reducing the risk of accidents.
3. Longevity of the Chisel: Proper sharpening and maintenance can extend the lifespan of your Japanese chisel. Keeping the cutting edge sharp reduces the wear and tear on the chisel’s blade, preventing the need for frequent replacements.
4. Precision and Finish: Sharpening a Japanese chisel ensures that the tool performs at its best, providing clean and precise cuts. Whether you are working on joinery, shaping, or carving, a well-sharpened chisel allows you to achieve the desired level of precision and enhances the overall finish of your projects.
In conclusion, sharpening a Japanese chisel is vital for maintaining its cutting performance, ensuring safety, prolonging its lifespan, and achieving precise results. Regular sharpening not only enhances the functionality of the chisel but also reflects the respect and care one has for their tools.
The Tools You Will Need
To sharpen a Japanese chisel, you will need the following tools:
1. Bench Stone
A bench stone is a necessary tool for sharpening a Japanese chisel. It is typically made of a high-quality abrasive material such as waterstones or diamond stones. The bench stone is used to remove the dullness and restore the sharpness of the chisel blade.
2. Honing Guide
A honing guide is a device that holds the chisel at a fixed angle to the bench stone while sharpening. Using a honing guide ensures that the blade is sharpened evenly and at the correct angle. It prevents any accidental variations in the angle, resulting in a consistent edge on the chisel.
3. Nagura Stone
A nagura stone is a small abrasive stone used to create a slurry on the bench stone. The slurry helps to improve the sharpening process by providing a lubricating effect and aiding in the removal of metal particles from the chisel blade. It also helps to maintain the flatness of the bench stone.
4. Water
Water is essential for sharpening Japanese chisels. It is used to wet the bench stone and nagura stone, creating the necessary slurry. Additionally, water helps to cool down the chisel blade and prevent overheating during the sharpening process.
With these tools, you will have everything you need to successfully sharpen your Japanese chisel and achieve a razor-sharp edge.
Step-by-Step Guide to Sharpening a Japanese Chisel
Step 1: Preparation
Before you begin sharpening your Japanese chisel, gather all the necessary tools. You will need a sharpening stone, water, and a flat surface to work on.
Step 2: Soak the stone
Place the sharpening stone in a container filled with water and let it soak for about 10-15 minutes. This will ensure that the stone is properly hydrated and ready for sharpening.
Step 3: Establish the bevel angle
Hold the Japanese chisel against the stone at the desired bevel angle. Make sure to maintain a consistent angle throughout the sharpening process. This will determine the cutting edge of the chisel.
Step 4: Start sharpening
Begin the sharpening process by grinding the chisel against the stone in a circular motion. Apply even pressure and make sure the entire bevel is in contact with the stone. Repeat this motion several times on each side of the chisel.
Step 5: Check for burrs
After grinding, check the edge of the chisel for any burrs or rough spots. If you notice any, use a honing guide to remove them by dragging the chisel along the stone.
Step 6: Hone the edge
Once the burrs are removed, switch to a finer grit sharpening stone and repeat the grinding process to further refine and hone the cutting edge of the chisel.
Step 7: Strop the chisel
After honing, use a leather strop to give the chisel a final polish. This will help remove any remaining burrs and leave the chisel with a sharp, clean edge.
Step 8: Test the chisel
Once you have finished sharpening and honing the chisel, test the sharpness by making a few gentle cuts on a piece of wood. If the chisel cuts cleanly and effortlessly, you have successfully sharpened it.
Step 9: Maintenance
To ensure your Japanese chisel stays sharp, regularly check and touch up the edge. A well-maintained chisel will provide you with precise and clean cuts for years to come.
Tips and Techniques for Sharpening
Sharpening a Japanese chisel requires precision and attention to detail. Here are some tips and techniques to help you achieve a sharp edge:
1. Choose the Right Sharpening Stone
When sharpening a Japanese chisel, it is important to use the right sharpening stone. Japanese water stones are recommended due to their ability to create a fine edge and provide a consistent sharpening surface.
2. Soak the Stone
Before using a water stone, it is important to soak it in water for approximately 10-15 minutes. This ensures that the stone is properly saturated and ready for use.
3. Establish the Correct Angle
Hold the chisel securely and establish the correct sharpening angle. The optimal angle for sharpening is typically between 20-30 degrees. Use a honing guide or your hand as a reference to ensure consistency.
4. Start with the Coarse Grit
Begin the sharpening process by using the coarse grit side of the water stone. This initial rough grinding will remove any nicks or imperfections on the blade, helping to establish a clean cutting edge.
5. Maintain a Consistent Pressure
While sharpening, it is important to maintain a consistent and even pressure on the blade. This ensures an even sharpening across the entire length of the edge. Avoid applying too much pressure, as it can damage the blade or stone.
6. Use a Circular Motion
When sharpening, it is recommended to use a circular motion. This helps to evenly distribute the sharpening action across the chisel’s bevel, preventing uneven wear and maintaining a consistent edge.
7. Switch to Finer Grit
Once the desired edge is achieved with the coarse grit, switch to a finer grit water stone for honing and polishing. This will refine the edge and make it sharper.
8. Remove Burrs
After sharpening, remove any burrs or wire edges that may have formed on the blade. This can be done by lightly passing the chisel’s back along the water stone to remove any protrusions.
9. Strop for Extra Sharpness
For an extra sharp edge, consider stroping the chisel after sharpening. This involves using a leather strop or a piece of hardwood with some honing compound to polish the edge further.
By following these tips and techniques, you can ensure your Japanese chisel is sharp and ready for precision work. Remember to take your time and practice, as sharpening is a skill that improves with experience.


