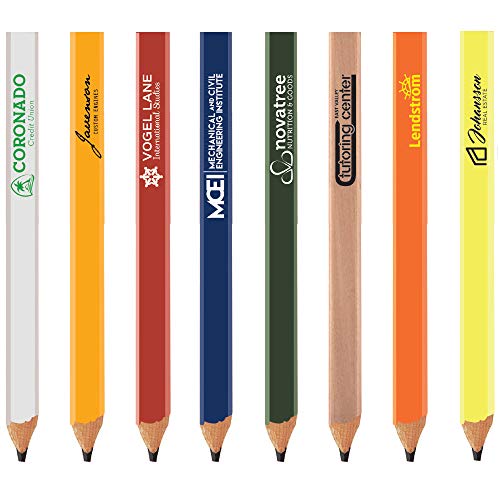


A carpenter’s pencil is an essential tool for any woodworker or carpenter. Its unique shape and design make it ideal for marking and measuring on rough surfaces such as wood, concrete, or even metal. However, like any pencil, it eventually becomes dull and requires sharpening to maintain its accuracy. Here we will explain the steps to properly sharpen a carpenter’s pencil to ensure crisp and clean lines every time.
Firstly, it is important to choose the right pencil sharpener for the job. Unlike standard pencils with cylindrical shapes, a carpenter’s pencil has a flat oval shape, which requires a specific sharpener. Look for a sharpener with a wider opening that can accommodate the width of a carpenter’s pencil. This will prevent the pencil from getting stuck or breaking during the sharpening process.
Before sharpening, make sure to remove any graphite or debris from the pencil. Simply use a soft cloth or eraser to clean the surface. This will prevent any unwanted markings or smudging when using the pencil after sharpening. Additionally, it is a good idea to inspect the pencil for any damages. If the pencil is cracked or splintered, it is best to replace it as a damaged pencil can affect the accuracy of measurements.
Importance of a Sharp Carpenter’s Pencil
A carpenter’s pencil is an essential tool for any carpentry project. It is specifically designed to be durable and accurate, allowing carpenters to make precise marks on wood surfaces. One crucial aspect of using a carpenter’s pencil effectively is ensuring that it is sharp.
Accurate Measurements
Using a sharp carpenter’s pencil ensures accurate measurements and markings on the wood. A dull or blunt pencil may lead to imprecise lines, which can result in errors during cutting or fitting. A sharp pencil allows for exact measurements, improving the overall quality and precision of the carpentry work.
Clear Visibility
A sharp pencil creates clear and visible markings on the wood surface. Whether it be outlining a shape or marking a specific point, a sharp pencil leaves a distinct and precise line that is easily distinguishable. This clarity aids in following the markings accurately, leading to a higher level of craftsmanship.
Efficiency
Using a sharp carpenter’s pencil leads to better efficiency during the carpentry process. A sharp pencil allows for quick and confident measurements and markings, reducing the time spent on re-measuring or re-marking areas. This increased efficiency enables carpenters to complete projects more effectively and meet tight deadlines.
In conclusion, keeping a carpenter’s pencil sharp is of utmost importance for any carpentry work. It ensures accurate measurements, clear visibility of markings, and enhances overall efficiency. Taking the time to sharpen the pencil regularly will greatly benefit the outcome of the carpentry project.
Materials Needed for Sharpening
Before you can sharpen a carpenter’s pencil, you will need a few materials. Here is a list of items that you will need:
- A carpenter’s pencil
- A pencil sharpener
- A utility knife
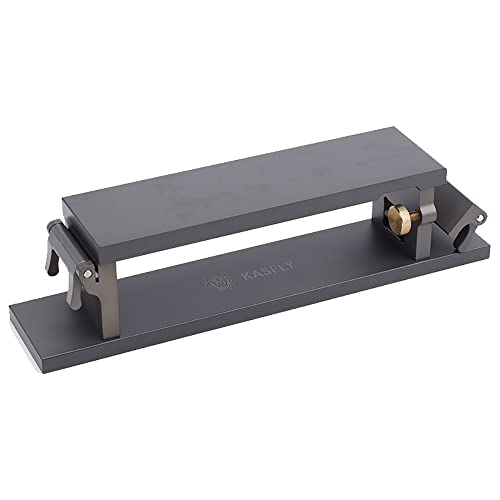
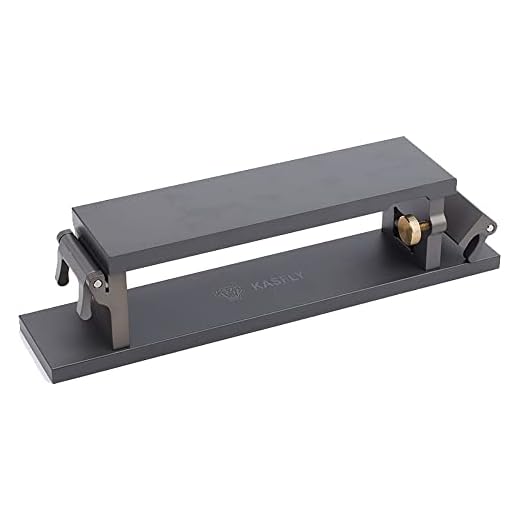
- A sandpaper block or emery board
The carpenter’s pencil is the main tool that you will be sharpening, so make sure you have a good quality pencil to work with. A dull pencil will be more difficult to sharpen and may produce uneven lines.
A pencil sharpener is essential for sharpening the pencil tip. You can use a handheld sharpener or an electric sharpener, depending on your preference.
A utility knife can be used to reshape the pencil tip or remove excess wood. It is recommended to use a sharp knife to ensure clean and precise cuts.
A sandpaper block or emery board can be used to smooth the pencil tip after sharpening. This will give the pencil a finer point and help prevent the lead from breaking easily.
Having these materials on hand will make the sharpening process much easier and ensure that your carpenter’s pencil is ready for use.
Methods
There are a few different methods you can use to sharpen a carpenter’s pencil, depending on the tools and materials you have available.
- Knife Method: One of the most common methods is to use a sharp knife. Hold the pencil in one hand and the knife in the other. Carefully shave off the wood from one side of the pencil, working your way around the entire circumference. Make sure to rotate the pencil evenly to maintain a consistent shape.
- Sanding Block Method: Another option is to use a sanding block. Hold the pencil firmly and rub one side of the pencil against the sanding block, moving it back and forth in a sawing motion. Repeat this process on all sides until the pencil is sharp and even.
- Pencil Sharpener: If you have a pencil sharpener specifically designed for carpenter’s pencils, you can use this tool to quickly and easily sharpen your pencil. Simply insert the pencil into the sharpener and twist it until the desired sharpness is achieved.
- Planer Method: If you have access to a woodworking planer, you can use this tool to sharpen your carpenter’s pencil. Hold the pencil firmly and run it through the planer, taking off small amounts of wood each time until the desired sharpness is achieved. Be careful not to remove too much wood at once.
Regardless of the method you choose, always be careful when handling sharp tools and take your time to ensure a clean and precise sharpening. A sharp carpenter’s pencil will make your work easier and more accurate, so it’s worth the effort to properly sharpen it.
Method 1: Using a Knife
One effective way to sharpen a carpenter’s pencil is by using a knife. This method is simple and requires a few basic steps.
Step 1: Choose a Knife
Start by selecting a suitable knife for sharpening your carpenter’s pencil. It is important to choose a knife with a sharp blade and a pointed tip. A utility knife or a craft knife can work well for this purpose.
Step 2: Hold the Pencil
Hold the carpenter’s pencil firmly in your non-dominant hand. Ensure that the lead end is facing away from your body to prevent any accidental injuries.
Step 3: Make Shallow Cuts
With the knife in your dominant hand, place the tip of the blade on the surface of the pencil’s lead. Apply gentle pressure and use the knife to make shallow cuts to remove the worn-out wood and expose the fresh lead beneath.
- Remember to make shallow cuts to avoid breaking the lead or removing too much wood at once.
- Rotate the pencil slowly as you make the cuts to maintain an even sharpening.
Step 4: Fine-tune the Point
Once you have removed the desired amount of wood, you can fine-tune the point of the pencil. Use the blade to shape the lead into a sharp, precise point. Be careful not to make the point too fragile or sharp, as it can break easily during use.
By following these steps, you can effectively sharpen your carpenter’s pencil using a knife. This method allows you to customize the pencil point according to your preference, resulting in a precise and accurate tool for your woodworking projects.
Method 2: Using Sandpaper
If you don’t have a knife or a razor blade handy, don’t worry. You can still sharpen your carpenter pencil using sandpaper. This method is simple and doesn’t require any special tools.
Step 1: Prepare the Sandpaper
Start by choosing a fine-grit sandpaper, around 120 to 180 grit, for best results. Cut a small piece of sandpaper, about the size of your hand, and fold it in half. This will provide a firm and stable surface for sharpening your pencil.
Step 2: Sharpen the Pencil
Hold the folded sandpaper in one hand and the carpenter pencil in the other. Place the pencil against the folded edge of the sandpaper at a slight angle. Use your thumb or fingers to apply gentle pressure and move the pencil back and forth along the sandpaper. Rotate the pencil occasionally to ensure even sharpening.
Continue sharpening the pencil until you achieve the desired point. Take your time and be careful not to apply too much pressure, as this can lead to uneven sharpening or breakage of the pencil.
Once you are satisfied with the sharpness, remove any loose sandpaper residue from the pencil.
Using sandpaper to sharpen your carpenter pencil is a convenient and effective method, especially when you don’t have access to a knife or a razor blade. It’s important to remember to always exercise caution and take your time while sharpening to avoid any accidents or injuries.
Method 3: Using a Pencil Sharpener
If you don’t have access to sandpaper or a utility knife, using a pencil sharpener is another convenient way to sharpen a carpenter’s pencil. Here’s how:
Step 1: Start by holding the pencil sharpener in your dominant hand and the carpenter’s pencil in your other hand.
Step 2: Insert the end of the carpenter’s pencil into the hole of the pencil sharpener.
Step 3: Rotate the carpenter’s pencil in a clockwise motion while applying gentle pressure.
Step 4: Continue rotating the pencil until the desired level of sharpness is achieved.
Note: Be careful not to rotate the pencil too forcefully, as it may cause the lead to break.
Step 5: Once you are satisfied with the sharpness, remove the pencil from the sharpener.
Step 6: Wipe off any excess shavings from the pencil using a cloth or your hand.
Using a pencil sharpener is a quick and easy method to sharpen a carpenter’s pencil. It provides a consistent and precise tip, making it ideal for detailed woodworking tasks.


