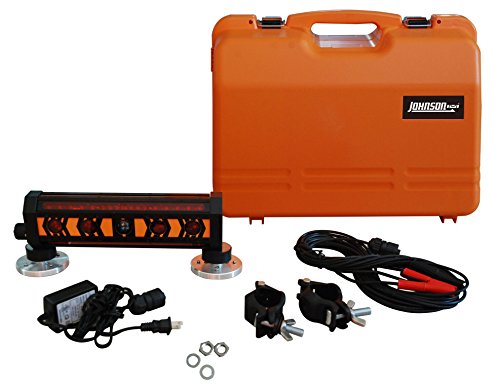
Using a torpedo laser level is a great way to ensure your projects, whether it’s hanging pictures or installing shelves, are straight and level. This simple yet powerful tool uses laser technology to provide accurate and precise measurements. If you’re new to using a torpedo laser level, don’t worry! In this article, we will guide you through the process of using this handy tool step by step.
Step 1: Choose the Right Location
Before getting started, it’s important to choose the right location for your torpedo laser level. Find a spot that offers a clear and unobstructed view of the surface you want to work on. This will allow the laser to project a straight line without any interference.
Step 2: Set Up the Level
Once you have found the perfect location, it’s time to set up your torpedo laser level. Place it on a solid surface, such as a table or a tripod, to ensure stability. Make sure the bubble level is centered to ensure accuracy.
Some torpedo laser levels also have adjustable feet or magnets that allow you to attach them to metal surfaces. Take advantage of these features if they are available to you.
Step 3: Turn On the Laser
Now that your torpedo laser level is set up, it’s time to turn on the laser. Most torpedo laser levels have a power button or switch that activates the laser. Once turned on, you will see a bright and highly visible laser line projected onto the surface.
It’s worth noting that some torpedo laser levels also have additional features, such as multiple laser lines or a laser dot. Familiarize yourself with the specific features of your torpedo laser level for an enhanced experience.
Step 4: Align and Measure
With the laser turned on, it’s time to align and measure. Use the laser line as a guide to align your project, whether it’s hanging a picture or installing a shelf. The laser line will provide a straight and level reference, ensuring precision and accuracy.
Make sure to measure the distance between the laser line and the desired position of your project. This will help you determine the exact placement. Take multiple measurements to ensure accuracy and make adjustments as needed.
Remember to always follow the safety instructions provided by the manufacturer while using a torpedo laser level. Keep the laser away from your eyes and avoid looking directly into the beam.
By following these simple steps, you can easily and effectively use a torpedo laser level for your projects. Say goodbye to crooked pictures and uneven shelves, and welcome precise measurements and straight lines!
Understanding the Torpedo Laser Level
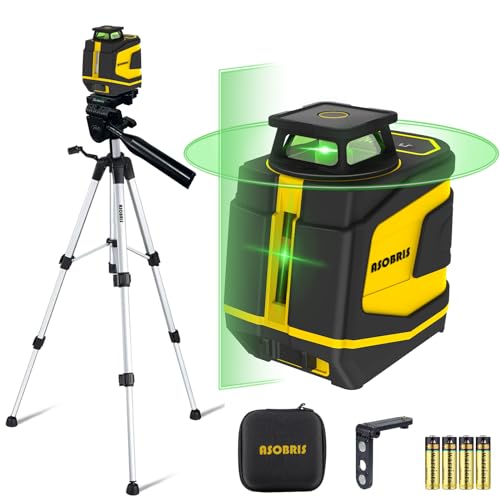
A torpedo laser level is a versatile tool that is commonly used in construction and DIY projects to determine level and plumb. It is designed to emit a laser beam that is projected onto a surface, allowing users to easily identify any deviations from a level or vertical position.
How it Works
The torpedo laser level consists of a small box-shaped device that contains a laser diode. This diode emits a laser beam that is usually either red or green. The device is equipped with leveling vials that can be used to adjust its position and ensure accuracy.
To use a torpedo laser level, start by placing it on a flat surface. Once it’s in position, toggle the power switch to turn on the laser beam. The laser beam will then project onto the surface in a straight line. This beam can be used as a reference point for determining level or plumb.
Applications
The torpedo laser level is commonly used in a variety of applications, both indoors and outdoors. Some common uses include:
- Installing drop ceilings
- Setting up shelving and cabinets
- Aligning tiles during installation
- Creating accurate vertical lines for painting or wallpapering
- Checking the levelness of foundations and footings
By using a torpedo laser level, you can ensure that your projects are completed with precision and accuracy. Whether you’re a professional contractor or a DIY enthusiast, this tool can greatly simplify the process of achieving level and plumb.
Tips for Proper Torpedo Laser Level Setup
A torpedo laser level is a versatile tool that can help you achieve accurate measurements and precise alignments in a variety of tasks. To ensure that you get the most out of your torpedo laser level, here are some tips for proper setup:
|
1. Choose a level surface: |
To get accurate readings, it’s important to set up the torpedo laser level on a flat and stable surface. Make sure the surface is free from any debris or obstructions that might affect the level’s accuracy. |
|
2. Position the level: |
Place the torpedo laser level in the desired location, making sure it is secure and stable. Ideally, you want to position it at a height that allows you to easily see the laser line without straining your neck or back. |
|
3. Adjust the vials: |
Most torpedo laser levels have vials that indicate if the level is in a horizontal or vertical position. Before taking any measurements, check and adjust the vials to ensure they are level. This will help provide accurate readings. |
|
4. Activate the laser: |
Turn on the laser beam of the torpedo laser level and adjust its brightness if necessary. Some models have different laser options, such as a single point, crosshair, or line. Choose the appropriate laser option for your specific application. |
|
5. Take measurements: |
Use the laser line projected by the torpedo laser level to take precise measurements or alignments. Take note of the reference points and measurements needed for your task, ensuring accuracy by aligning the laser line with the desired targets. |
|
6. Calibrate regularly: |
To maintain the accuracy of your torpedo laser level, it’s important to calibrate it regularly. Follow the manufacturer’s instructions for calibration, as it may vary depending on the model. Regular calibration will ensure reliable and precise measurements in your future projects. |
By following these tips, you can make the most of your torpedo laser level and achieve accurate measurements and alignments in your projects.
Using a Torpedo Laser Level for Horizontal Measurements
When it comes to achieving accurate horizontal measurements, a torpedo laser level is an essential tool. With its ability to project a laser line across a surface, it allows for precise alignments and measurements. Here is a step-by-step guide on how to use a torpedo laser level for horizontal measurements:
1. Select a sturdy surface: To ensure accurate measurements, it is important to place the torpedo laser level on a stable and flat surface. This could be a table or a tripod.
2. Turn on the laser level: Switch on the torpedo laser level and allow it to calibrate. Some models may require a few seconds to align the laser properly.
3. Position the laser level: Place the torpedo laser level at the starting point of your measurement. Make sure it is aligned with the surface you want to measure horizontally.
4. Adjust the bubble levels: Most torpedo laser levels come with built-in bubble levels. Use these levels to ensure that the laser level is perfectly level horizontally and vertically. Adjust the position of the torpedo laser level until both bubble levels indicate a level position.
5. Activate the laser: Once the torpedo laser level is properly positioned and leveled, activate the laser by pressing the laser button. The laser line will be projected across the surface you want to measure horizontally.
6. Take your measurements: With the laser line projected, use a tape measure or another measuring tool to take the horizontal measurements you need. Align the measuring tool with the laser line to ensure accuracy.
7. Mark your measurements: As you take your measurements, mark each point or measurement on the surface using a pencil or marker. This will help you keep track of your measurements and make adjustments if needed.
8. Repeat if necessary: If you need to take multiple horizontal measurements, repeat the process by repositioning the torpedo laser level at the next starting point and following steps 4 to 7.
9. Turn off the laser level: Once you have completed your measurements, switch off the torpedo laser level to conserve battery power and ensure safety when storing the tool.
By following these steps, you can easily and accurately use a torpedo laser level for horizontal measurements in various projects and applications.
Vertical Alignment with a Torpedo Laser Level
When it comes to vertical alignment, a torpedo laser level can be a handy tool. Whether you are hanging pictures, installing shelves, or leveling cabinets, a torpedo laser level can ensure that everything is perfectly aligned.
Setting up the Torpedo Laser Level
Before you begin, make sure the torpedo laser level is calibrated and adjusted properly. Follow the manufacturer’s instructions to ensure accurate results. Once it is set up, you are ready to start aligning vertically.
Using the Torpedo Laser Level
To use the torpedo laser level for vertical alignment, follow these steps:
- Place the torpedo laser level firmly against the surface you want to align vertically.
- Adjust the level until the bubble is centered in the vial.
- Switch on the laser beam and check if it is projecting vertically.
- If needed, make adjustments to ensure a perfect vertical alignment.
- Once the laser beam is projecting vertically, you can mark the desired points on the wall or surface.
Remember to always double-check the alignment before proceeding with any installation or construction work. A torpedo laser level can save you time and frustration by providing accurate vertical alignment.